Some of our patterns, such as the Classic, Linda, Shelley and Sherri use elastic trim to finish the neckline edge. Others, including all of the Jewel series as well as the Ingrid and the Sweet Sixteen Bralette, use Fold-over Elastic (FOE) binding as a finish for the neckline edge.
It’s easy-peasey when you have a pattern that is already designed to use FOE or elastic trim. But what happens if you do NOT want to use elastic trim or fold-over elastic at all? What do you do then?
You can try our “no-finish” neckline edge. It is easy to do and even easier to sew (because you don’t have to sew it at all!)
Start by trimming off the elastic allowance on any upper cup that uses elastic trim. That would be the Classic, Linda and Sherry patterns. On patterns that use fold-over elastic, like the Ruby, Sapphire, Amyethst, Ingrid and the Sweet Sixteen Bralette, good news! You don’t have to prep the pattern in any way.
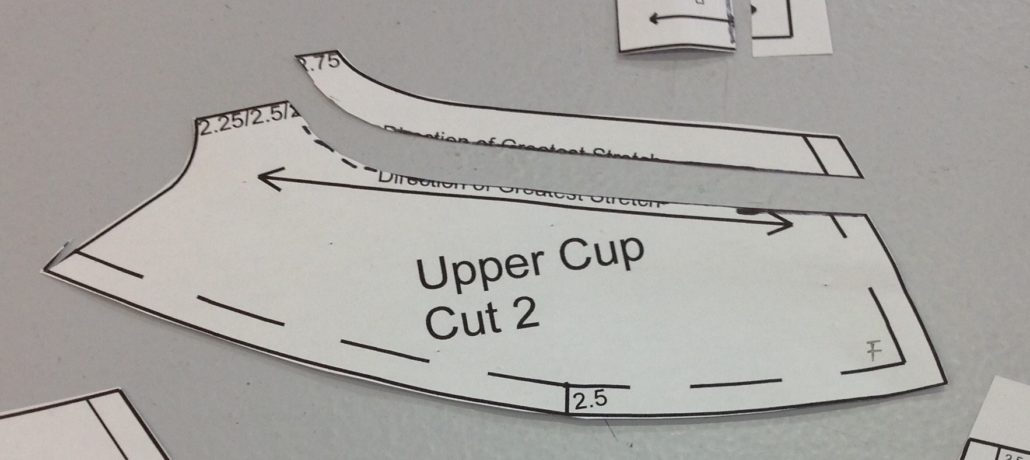
Next, you need to straighten out that top edge of the neckline. The Shelley neckline is already straight, as is the Bralette and the Amythest neckline.
Use the new straightened upper cup pattern and lay that straight edge on the fold of the fabric. Here we’ve used sheer cup lining. When the upper cup is unfolded, it looks very strange (sort of like a butterfly pork chop) Cut two of these upper cups.
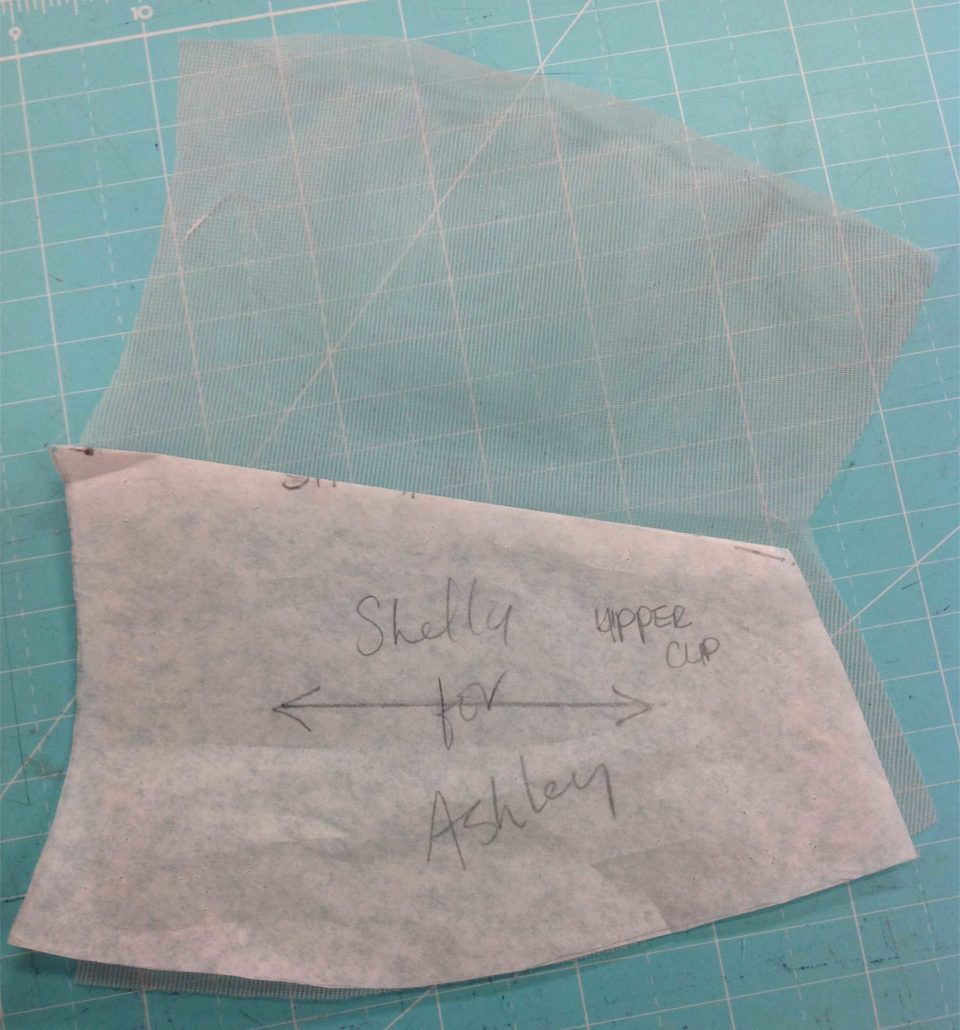
You can apply lace to it when it is nice and flat like this if you want.
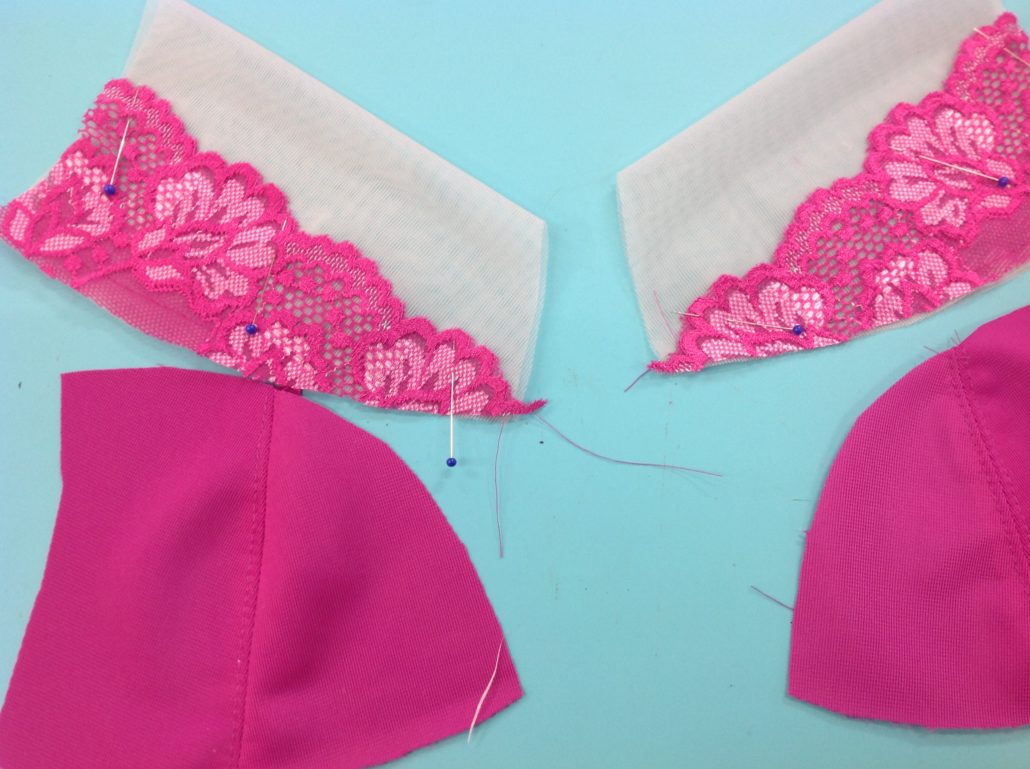
Press the upper cups in half. The upper cup is now a double layer of sheer, and because the folded edge is beautiful on its own, it doesn’t need any finishing. If you’ve used lace and sewn it to only one layer of the sheer, you won’t even feel or see the stitching on the inside of the cup!
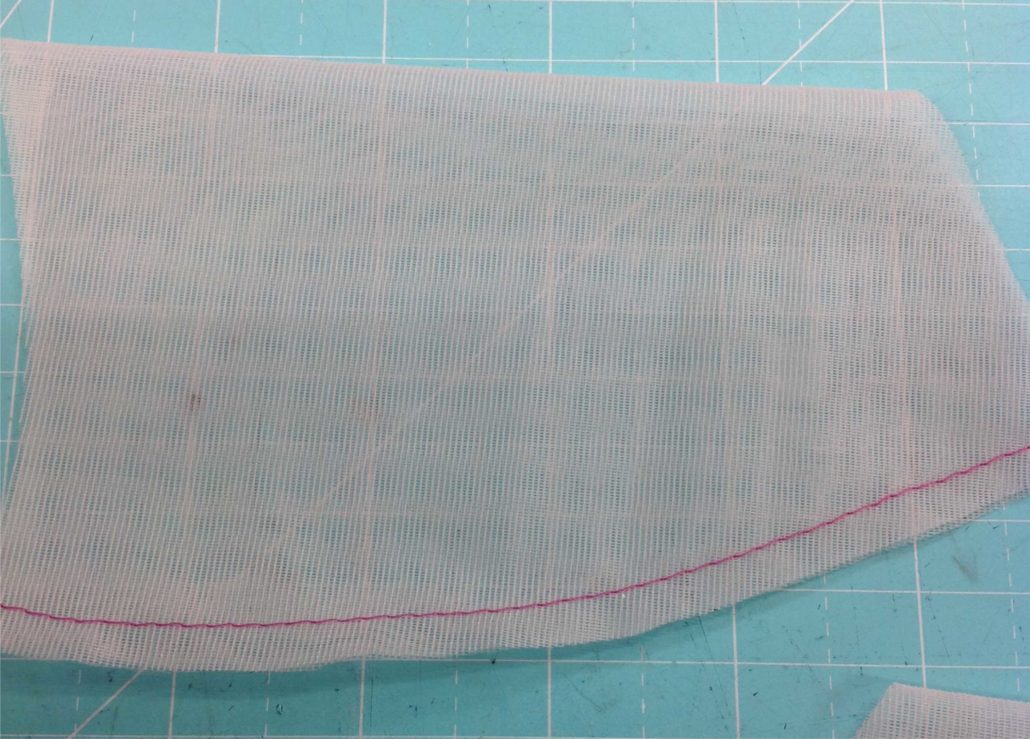
Baste around the edges of the cup. No need to do the top edge – it is already finished!
Now sew the doubled upper cup to the lower cups.
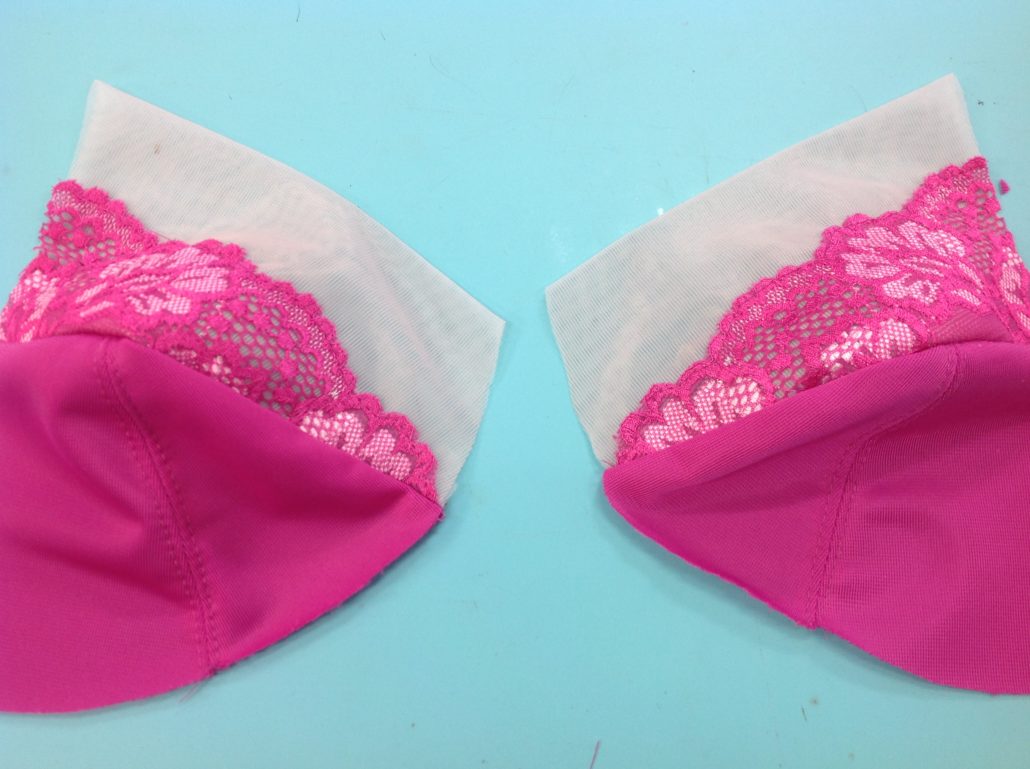
Finish the bra as usual!
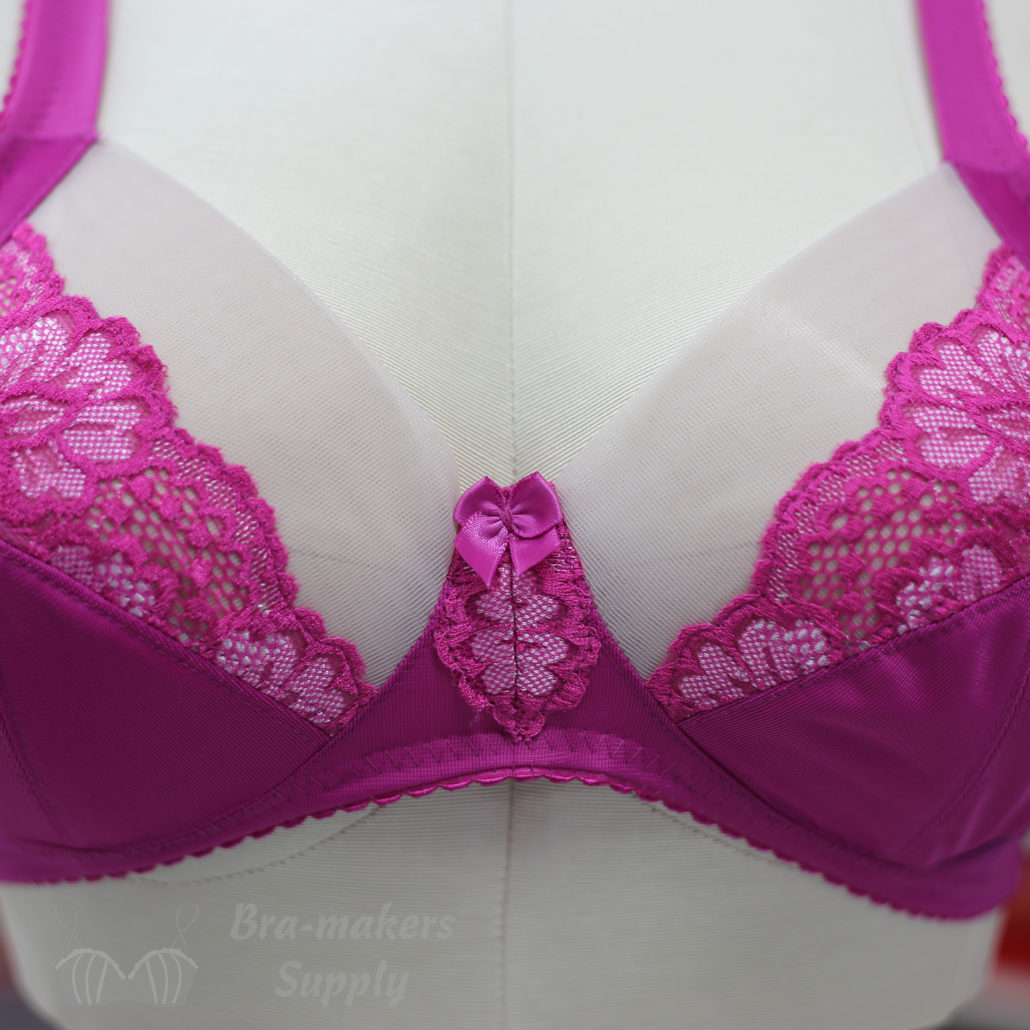

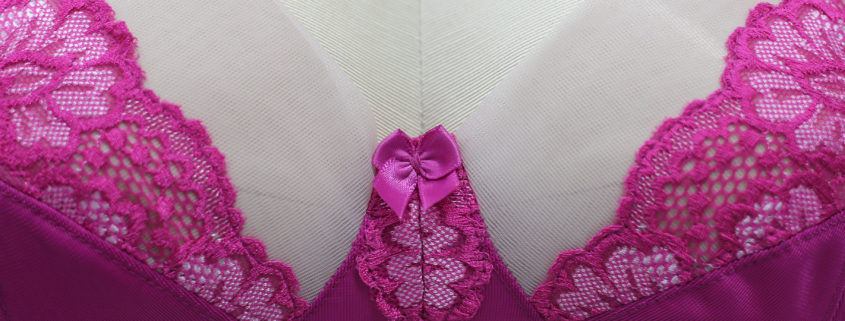


I use this method all the time but I’ve never thought to place the lace like that, I love how it looks!
Ooo-lala! I LOVE this. Coming soon to a machine close to me!