Shamrock and Black Lace
It is St. Patrick’s Day and what better way to say Top o’ the mornin’ to ya than with a beautiful Shamrock and Black lace bra! This is an unusual and vibrant colour but what the heck…after a long winter, we all want to see something green! And shamrock green and black it is! A balconette bra made of cut & sew foam, covered in duoplex and sexy black lace. The lace actually covers the seaming on the cups so it appears seamless.
Once again, Linda Crawford of Uplift Custom Bras made a bra that is exceptionally blog-worthy! She and Ollie watched my Craftsy Class, so Ollie was able to supervise!

She started by making the pattern – this time, she used my 3-D method of changing the style line. She cut off the seam allowances of her favourite bra pattern, the Shelley!

Why? So she could sew the cup totally from cut & sew foam! This makes a 3 dimensional copy of her bra cup. To do this in fabric isn’t the same!

Then she marked and re-cut the foam into the shapes she wanted. In this case, she wanted the seam moved over a bit (the original lines are the zig-zagged lines) and the strap tab is going to be cut off in order to make the balcnette style.
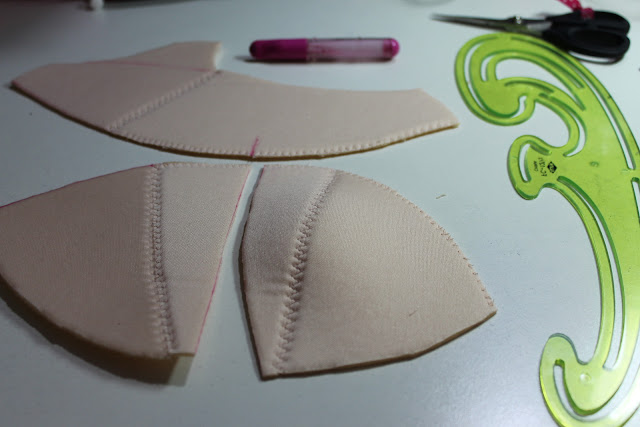
Then she pinned out the foam allowing the foam to stretch out where the bumps are. If you don’t do that, the cup will be too small!

Add the seam allowances after checking all the seams to make sure they are the same length.
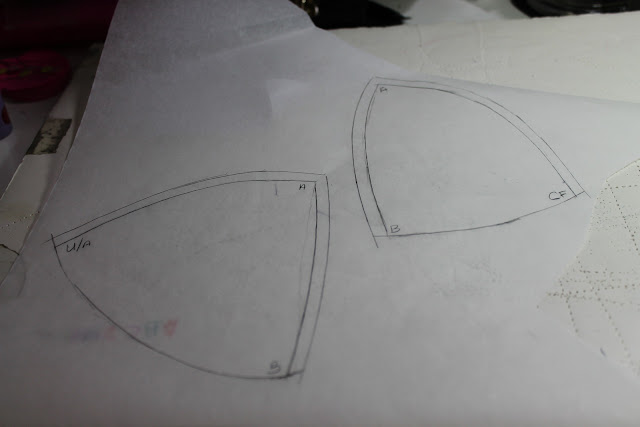
Now she was ready to cut out the fabric and the foam. You can see the balconette style line runs along the top of the wire line at the side to the top of the wire line at the front, with no discernible strap attachment point. (That being the definition of a balconette bra btw)

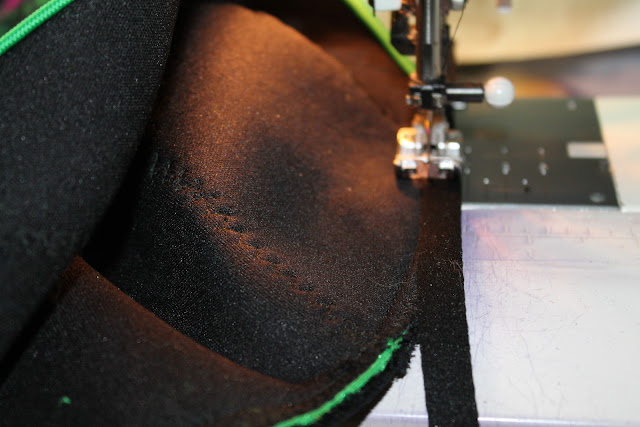
Once the cup was sewn with regular seams, and the foam was sewn with a zig-zag stitch, she was ready t put the two together. To attach the cover to the cups without using elastic, Linda used a roll-over finish along the neckline edge (shown at the bottom)

and then smoothed the cover over the foam. Look at those curves. Using the 3-D method of style changes keeps the curves in the right places.
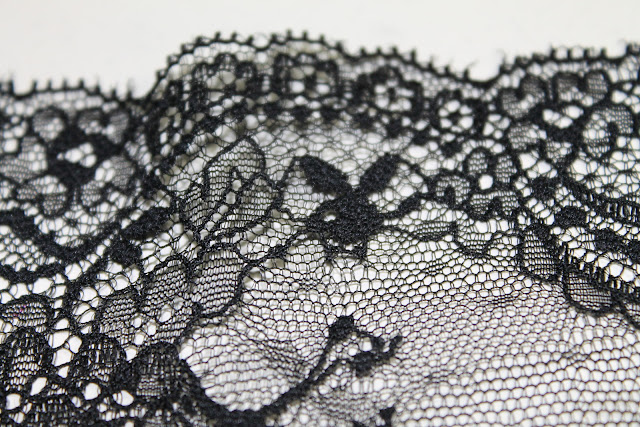
Next the lace…check out the bunnies! Told ya it was a sexy black lace…lol!
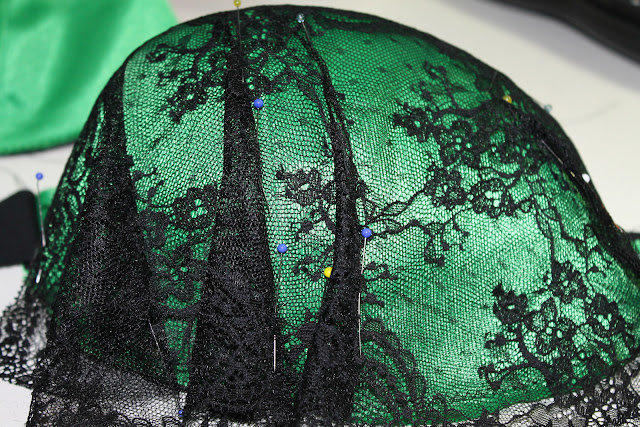
Position the lace over the cup, making sure it covers the seam across the cup. The lace is rigid so it won’t stretch over the cup like you would want, so the next best thing to have the lace co-operate, is to hand pinch some pleats in strategic places. You only need a few. You can also dart the lace if you want, pinning the darts on the wrong side so it is easier to sew. This Shamrock and Black lace bra is really shaping up!
Once the cups are done, put the finished cups in a already finished band. I like sewing the band first when making cut & sew foam cups because if you try to sew the elastics on the band while the cups are sewn in place, you risk mangling the cups
All that’s left to do is to apply the channel to the wire line. Look how thin that band is! And yes, that IS a full band bra!

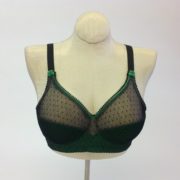
And here is the finished Shamrock and Black lace bra! many thanks to Linda (once again she produced a wonderful bra!) Top o’ the mornin’ to ya and Happy St. Patrick’s Day everyone! 




And we love sharing them with all of you! Sorry this post was late for "the day" but I was away!
Wonderful post and bra, Linda! I love seeing all these techniques being shown and seeing the finished bra. Lovely.
Michelle