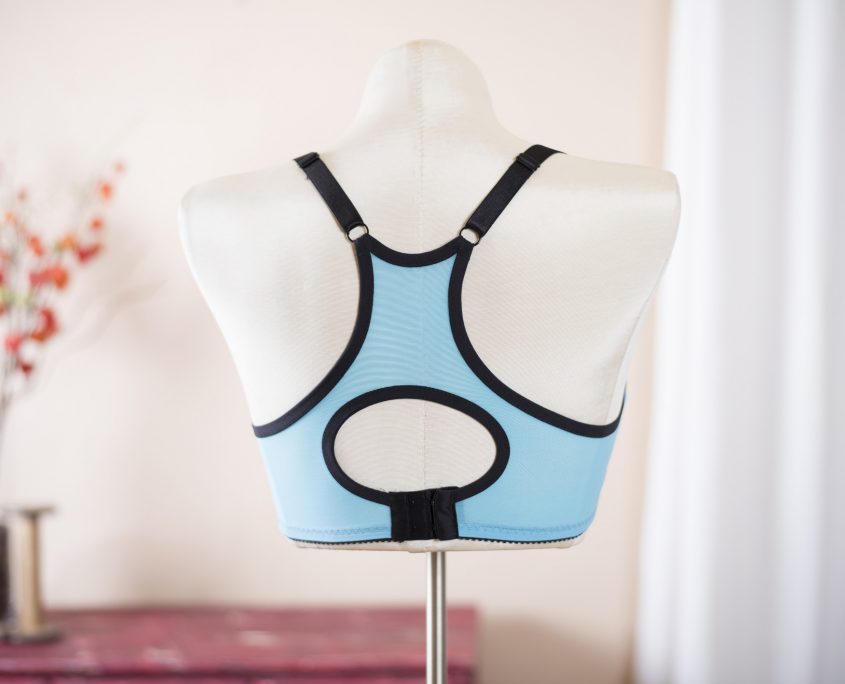
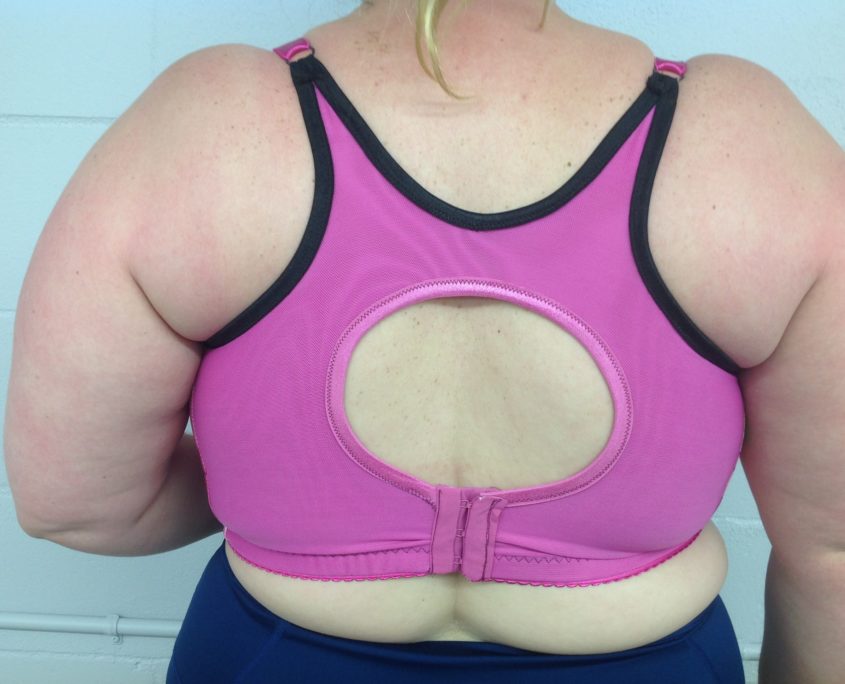
If you’ve made our new Ingrid pattern, you will quickly realize that it could easily be adapted to be a sports bra. One thing it lacks however is a back typical of sports bras – a racer back. These backs are often called Y-backs or sports backs, but with slight variation they are all the same. This one has a keyhole finished with fold-over elastic and a hook and eye closure for adjustability. Here’s how to make a Racer Back Ingrid for your next run.
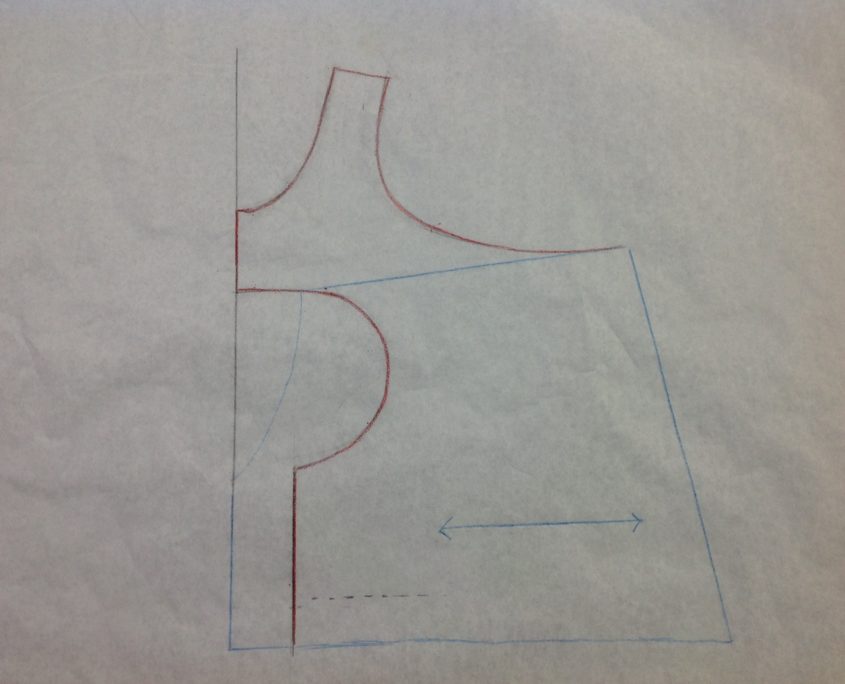
Start with the basic Ingrid back pattern.
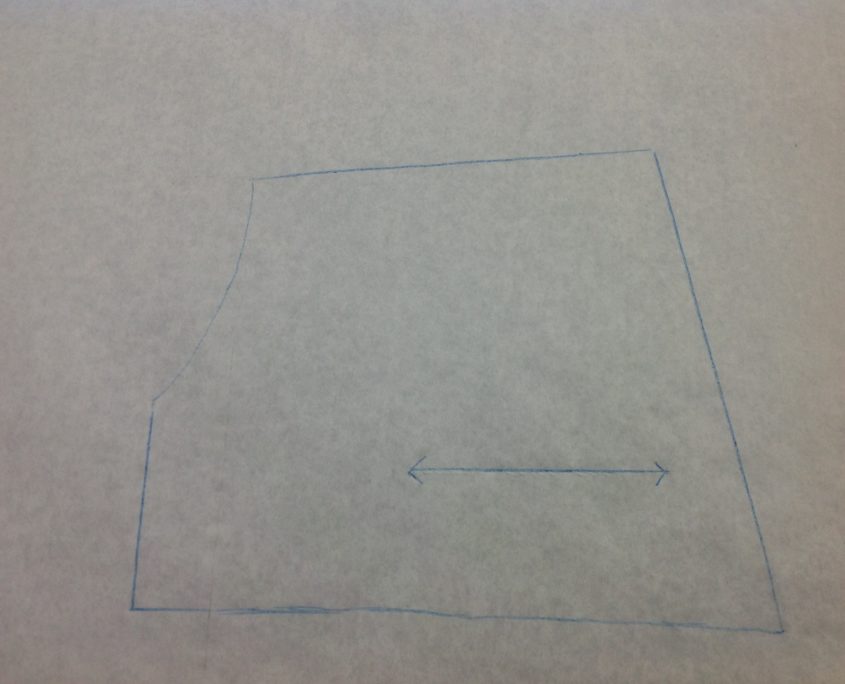
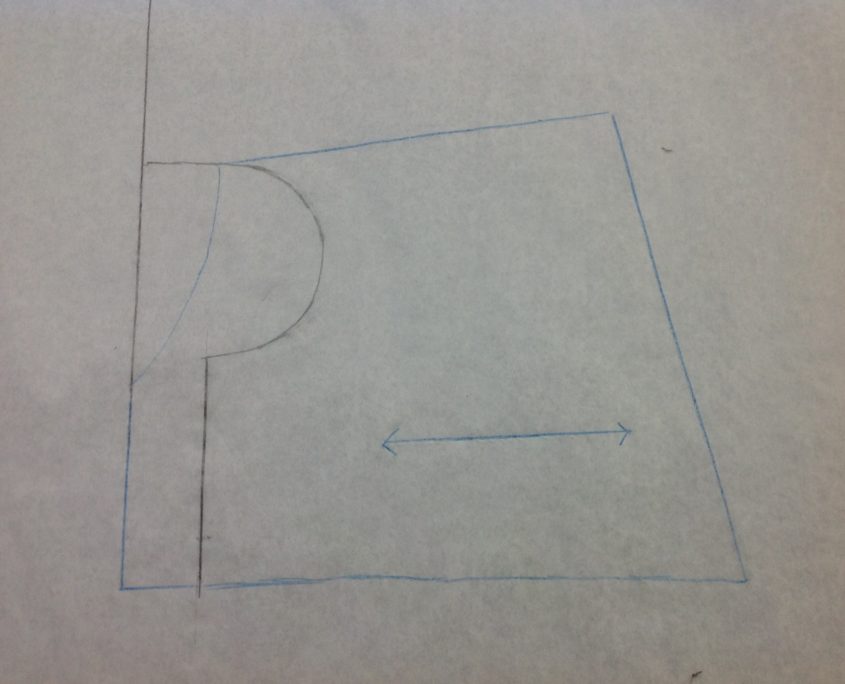
We have to allow for the space the hook and eye actually takes up on the back, so reduce the length by 1″ (2.5 cm). The typical hook and eye uses up approximately 2″ of space when fastened on the tightest hook.
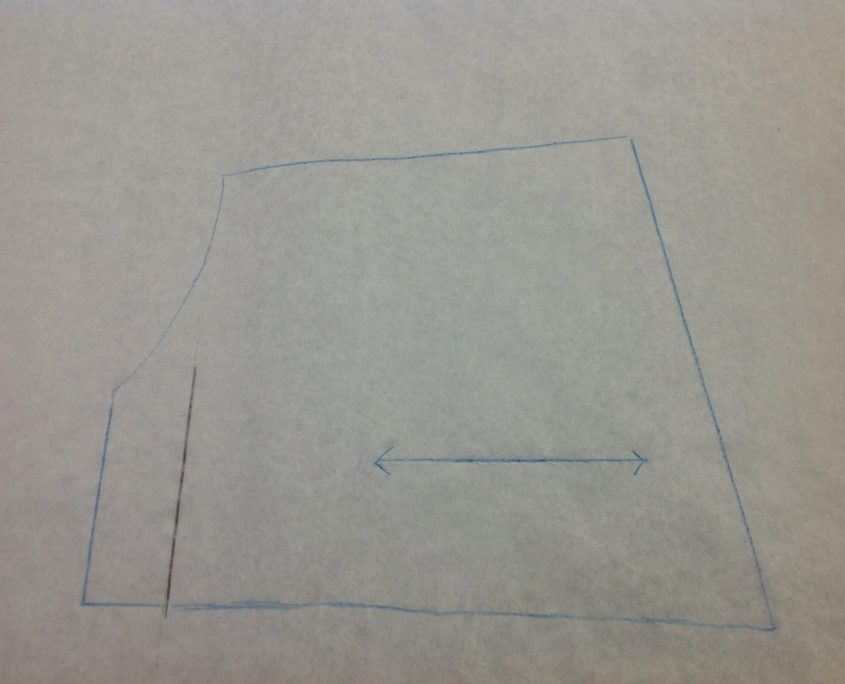
Next, add a line for the centre back that runs along the original centre back.
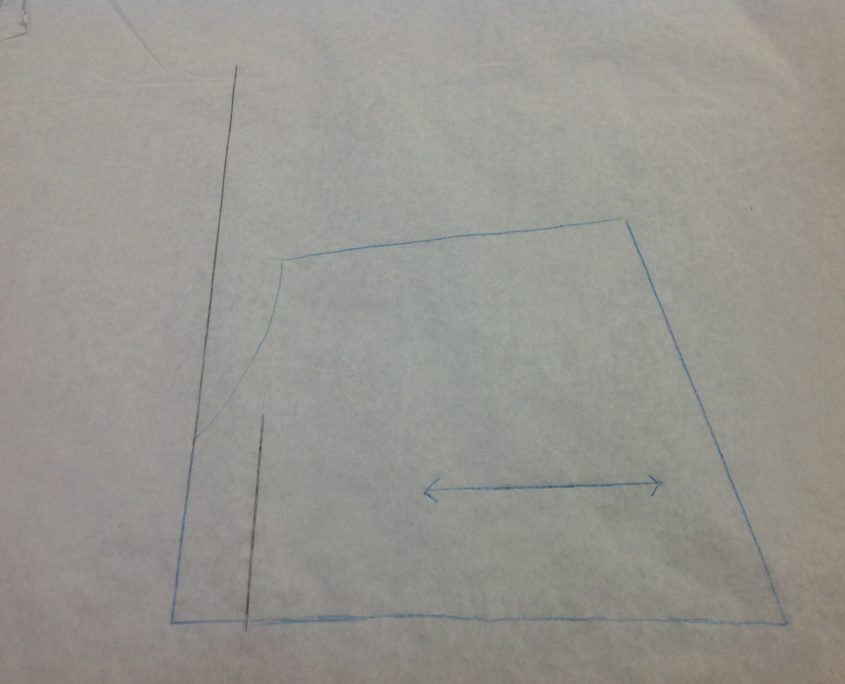
Now it’s time to calculate the height of the hook and eye and where to draw the circle. This is what it will look like but, how did we determine that?
Mark along the edge the height of the bottom band elastic. On top of that elastic, lay the hook and eye you are going to use. At the top of the hook and eye, is the place to start the keyhole back. The top of the original back is a fine place to end the top of the keyhole.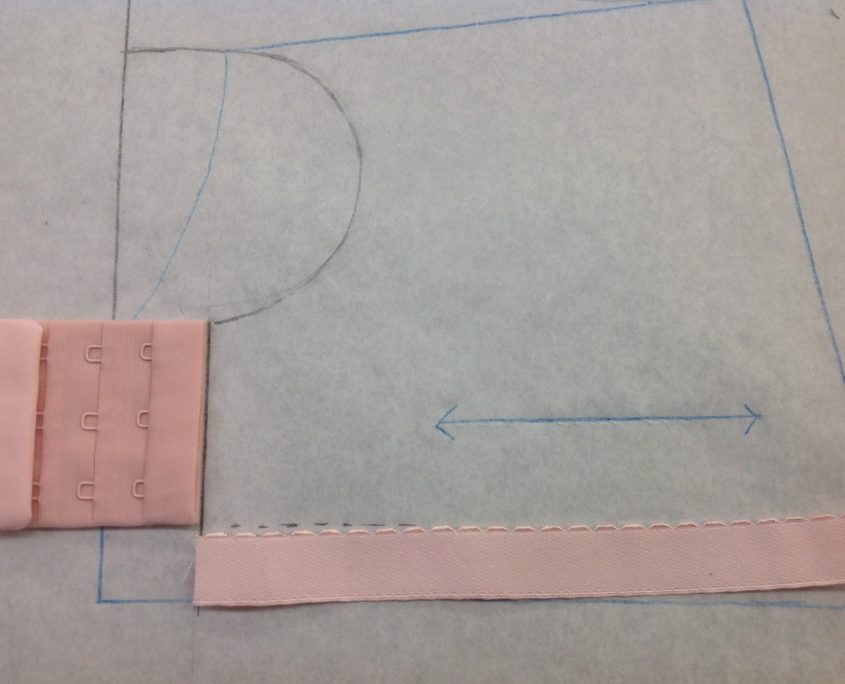 Next, draw the extension for the strap. It should extend out from the centre back line and move out a couple of inches. The other side of the strap extension curves back down to the side seam.
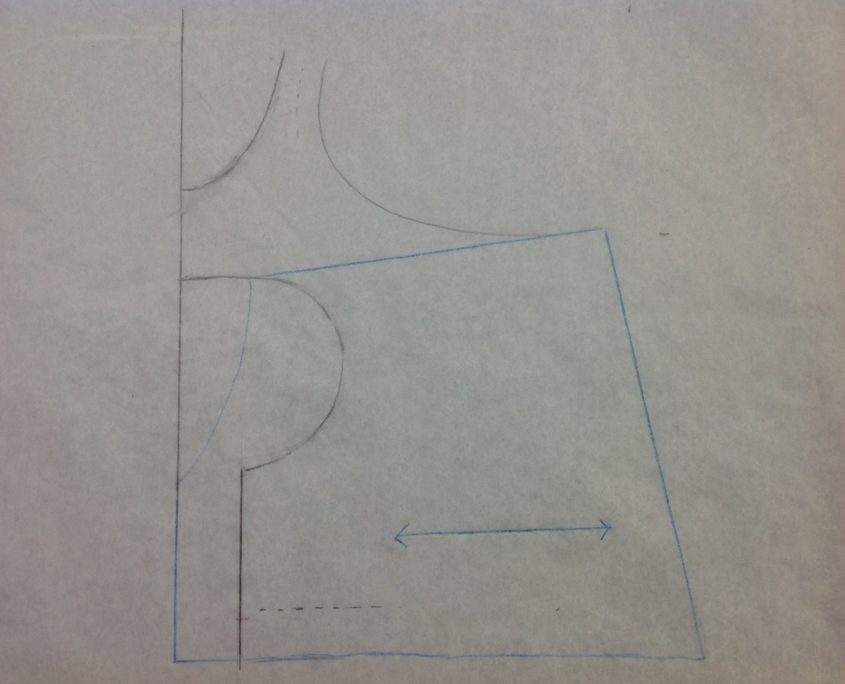
How wide do we make that back strap width? As wide as your planned strap elastic PLUS 3/8″ (9 mm) for the top band elastic.
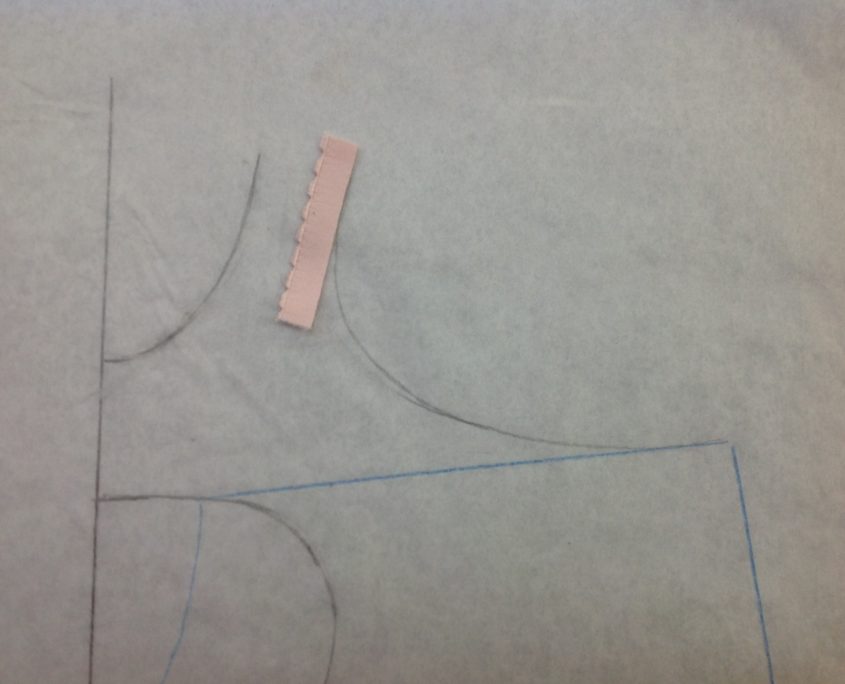
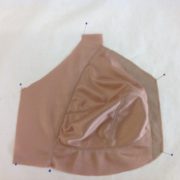
Here is our finished draft. Finish the keyhole and the top of the Y-back with fold-over elastic binding. It is easy to sew on, especially if you use a glue stick to help you!
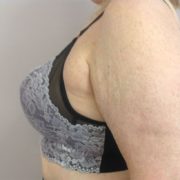
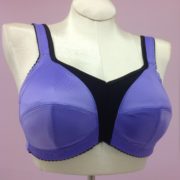
And here is our finished Racer Back Ingrid.
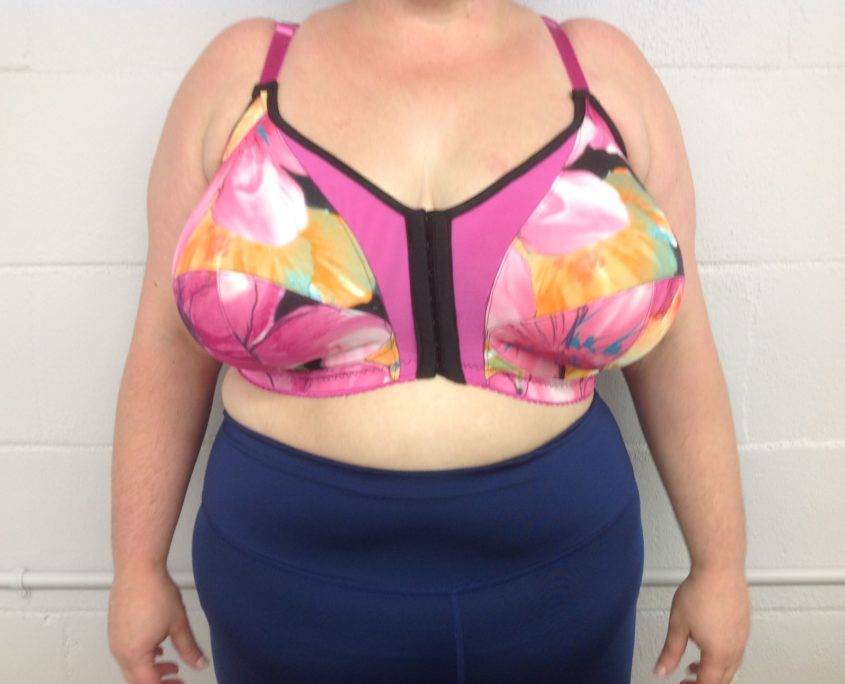
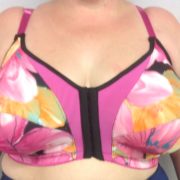
(Couldn’t resist showing you the front as well)



Thanks for sharing such an amazing article. It’s amazing.
Please offer this class in Saskatchewan this May and June!
I believe it is going to be offered in 2019!
I thought I left a comment yesterday, but alas, the message appears to have been devoured by cyberspace. My question is this: why does one have to subtract the inch in step one for the hook and eye? Isn’t the back pattern designed for use with a hook and eye? Seems from a drafting standpoint that one should be adding the inch to determine the center back for the area above the keyhole instead of shortening for the hook and eye. Help me understand the why behind the directions please!
I have exactly the same question, Kristen! I have been trying to figure that out to, and am hesitant to try it until I understand why!
I’m going to a class in November. I will get someone to explain, Kathleen!
Kristen Diane Kemp- did you ever get an explanation?
I’m very excited about the Ingrid! My longest friend is currently wearing a 38 O (in one brand, JJ or KK in others) and they don’t quite fit her properly. Most bra sizes assume that if your cup is that big, you must be fat elsewhere, but her ribcage us approximately a 38 and she and I eat similar sized clothing (I’m ribcage 36.5 and BCD of 5.5-5.75 ish).
Here’s my question about this post… Why does one have to shorten the band in the first step to accommodate the book and eye? Doesn’t the pattern already assume that you’re putting a book and eye on the bra? I understand that the center back has to extend over to the middle for the part that’s on the fold for the shoulders, I just can’t fathom why the shortening in step one…
Thanks!
I’m getting pretty excited about Ingrid, and am probably going to purchase soon to use as a front-zip sports bra pattern. Does Ingrid provide compression, encapsulation, or both? I’m having issues with my inversions (e.g. downward dog) in yoga and my current sports bras. I’m in the 38F range, so often feel like I’m being smothered by my chest when I’m upside-down, which is not the kind of breath-focus I want in yoga! Thanks!!
We love Ingrid too! In fact, one of our customers told us that wearing Ingrid in her golfing has improved her golf score because her breasts are out of the way. Ingrid is both a compressiona and encapsulation style bra. the front panel is made of power net so that area can breathe.
Great tutorial on how to change the back. Thank you!