Veronica Panty Hack
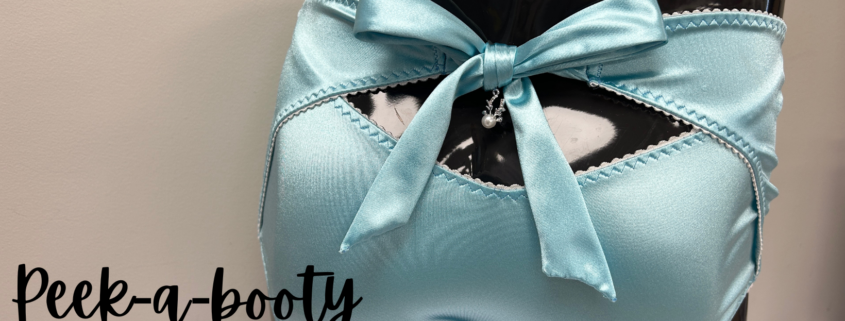
We have been inspired. Some of you might remember That Peek-a-Boo Bra that Beverly made many moons ago (To refresh your memory, click here) and one slow day at Bra-makers, I had the question “Why can’t we make a Peek-a-Boo Panty to match?”
So, I drew out what I was hoping to accomplish, and gave it to one of our Sample Sewists, Janna, to see if she could make sense of it. And well, it turns out to be easier than I had originally thought! Follow along with us below to find out how she managed to turn a regular Veronica Pattern into the Peek-a-Booty!
Materials Needed
We decided to use View A of the Veronica Pattern, so what you’ll need is listed on the Pattern, but for blog sake we’ll relist everything here:
- Stretch Knit Fabric (We used Turquoise Stretch Satin)
- Cotton for the gusset (Since our sample is not going to be worn, we used Stretch Satin, though we recommend using a cotton or cotton blend fabric)
- 3/8 Plush Back Band Elastic
Drafting the Peek-a-Booty Panty
For reference, we are using size 38 for this pattern. We recommend using a version that has a higher waist.
Step One: After tracing your back piece, use the waist point as your starting guide to draw a diagonal line through to the centre back. Our centre point was about 4.5inches down. Feel free to play around and increase or decrease your centre point based on your preference.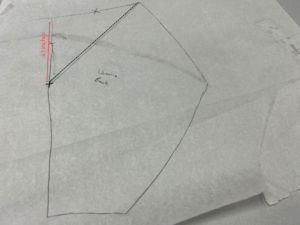
Step Two: Use your back piece as a guide to create what we’ll be calling the “Top Back” You’ll want the centre point to start 1.5 inches from the top. Using the hip point, connect to the centre point you just made using a slight curve.
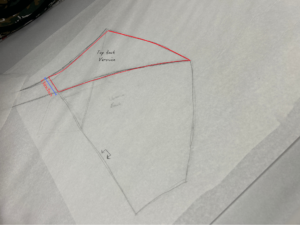
Step Three: Once you’re happy with the shape of your Top Back piece, use the bottom curve as a guide to help you create the bow extension piece. From the centre point, extend the Top Back by 15inches, as demonstrated below. Once you have created your initial extension piece, mirror the shape, as we’ll need it to create our own ‘ribbon’ for a more substantial bow.
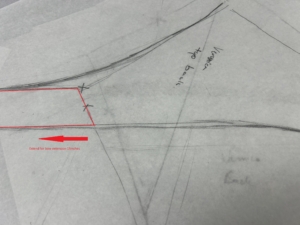
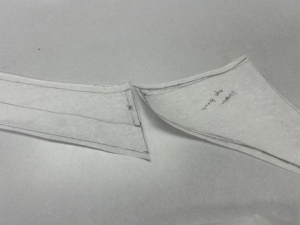
To make for easier fabric cutting and ribbon assembly, we cut our bow extension piece from the Top Back →
Assembling your Peek-a-Booty
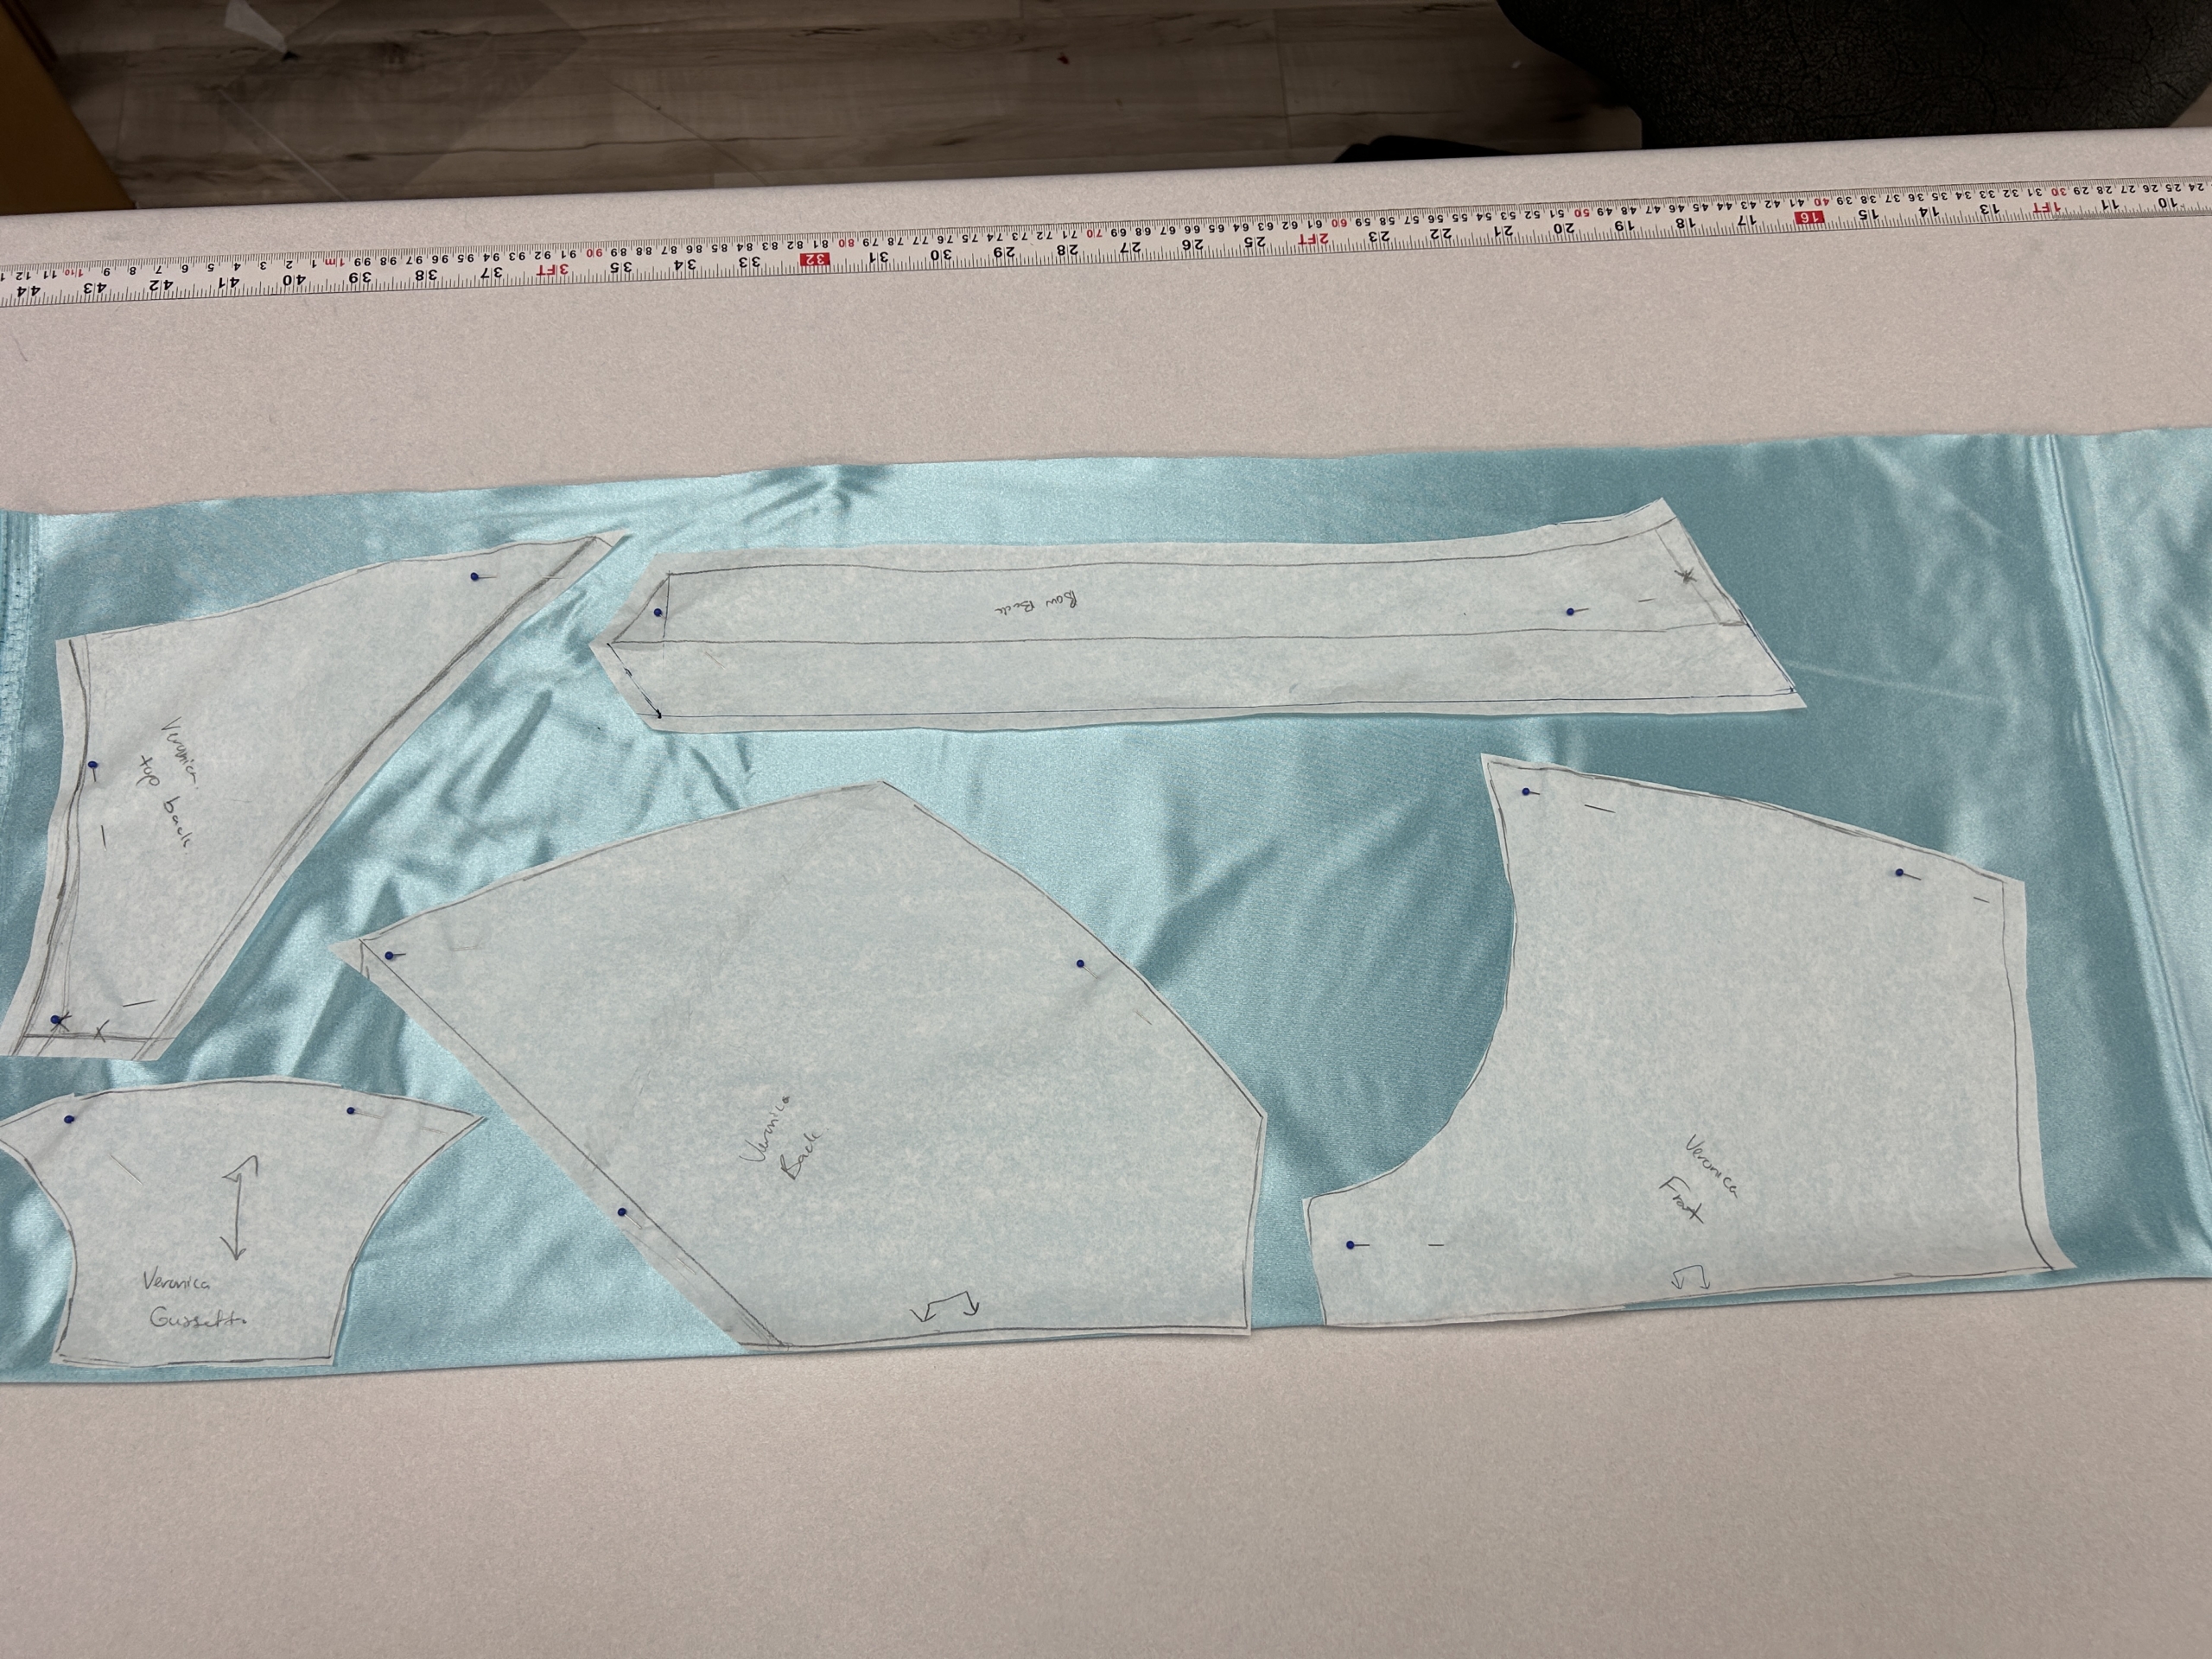
Step One: Apply 3/8 band elastic to the Back piece and both Top Back pieces, using a regular zig zag stitch. Once you’ve finished, start sewing your Top Back pieces and your Back pieces together at the side seams using a 1/4inch seam allowance.
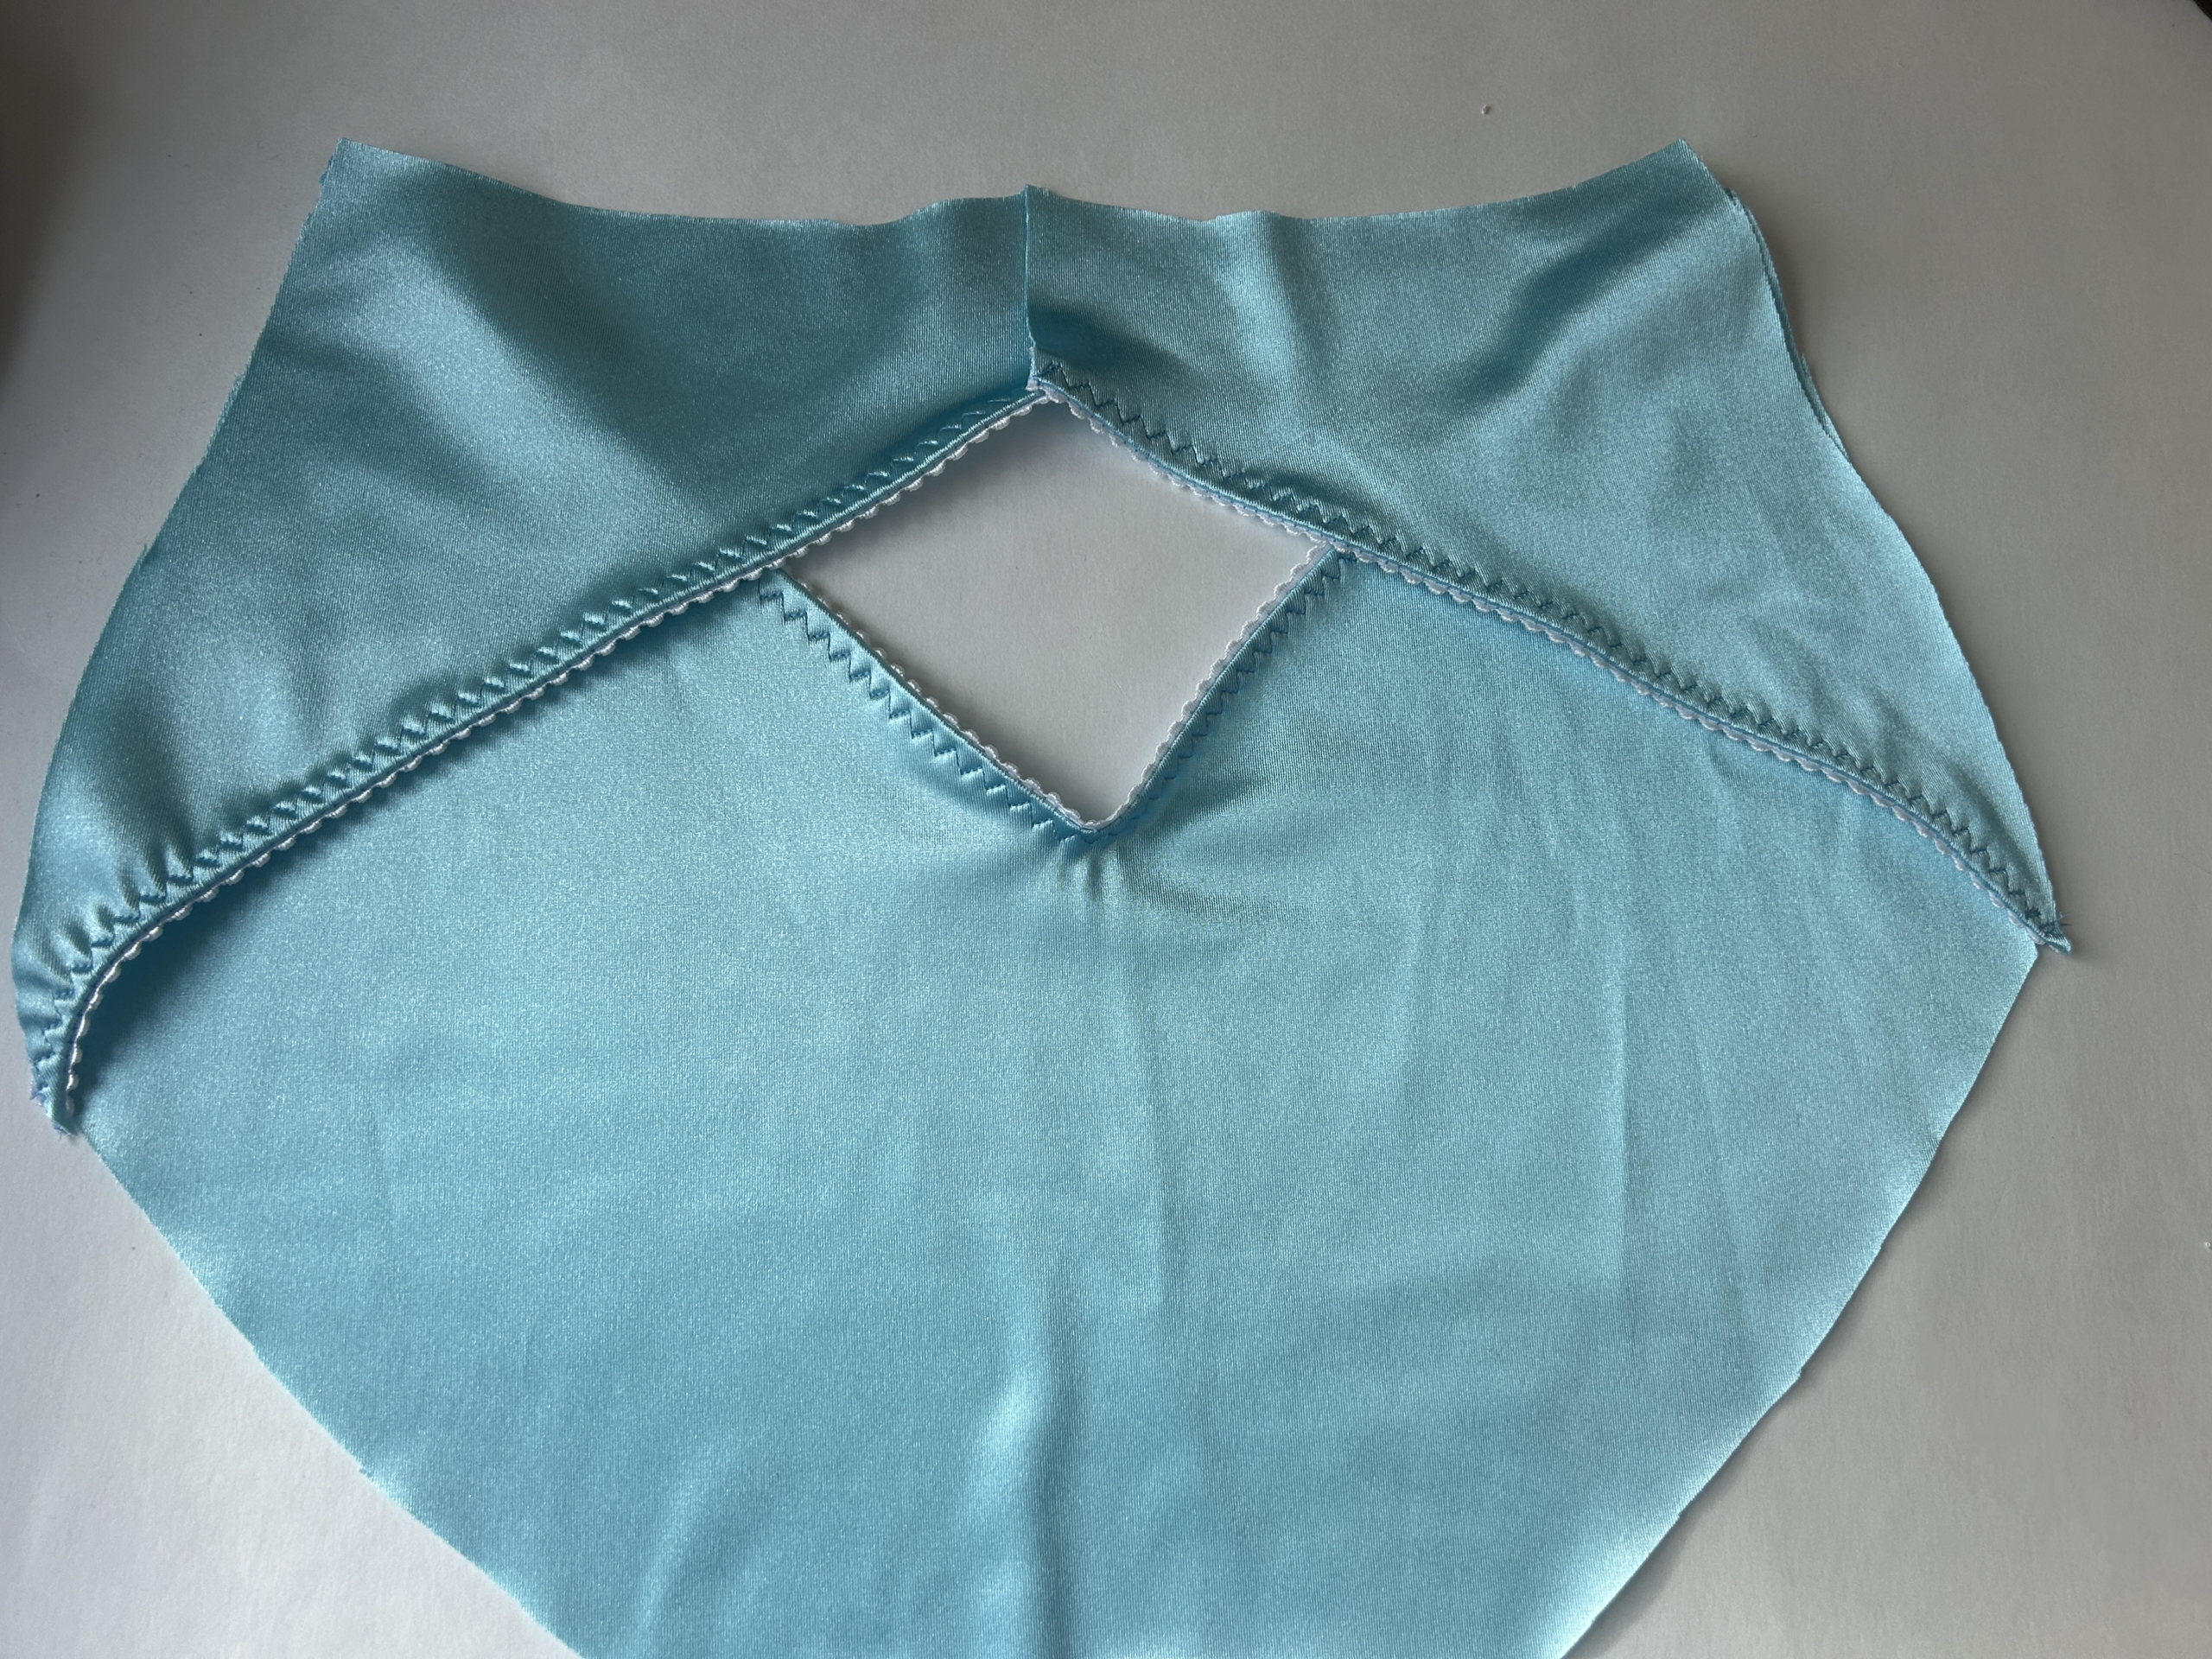
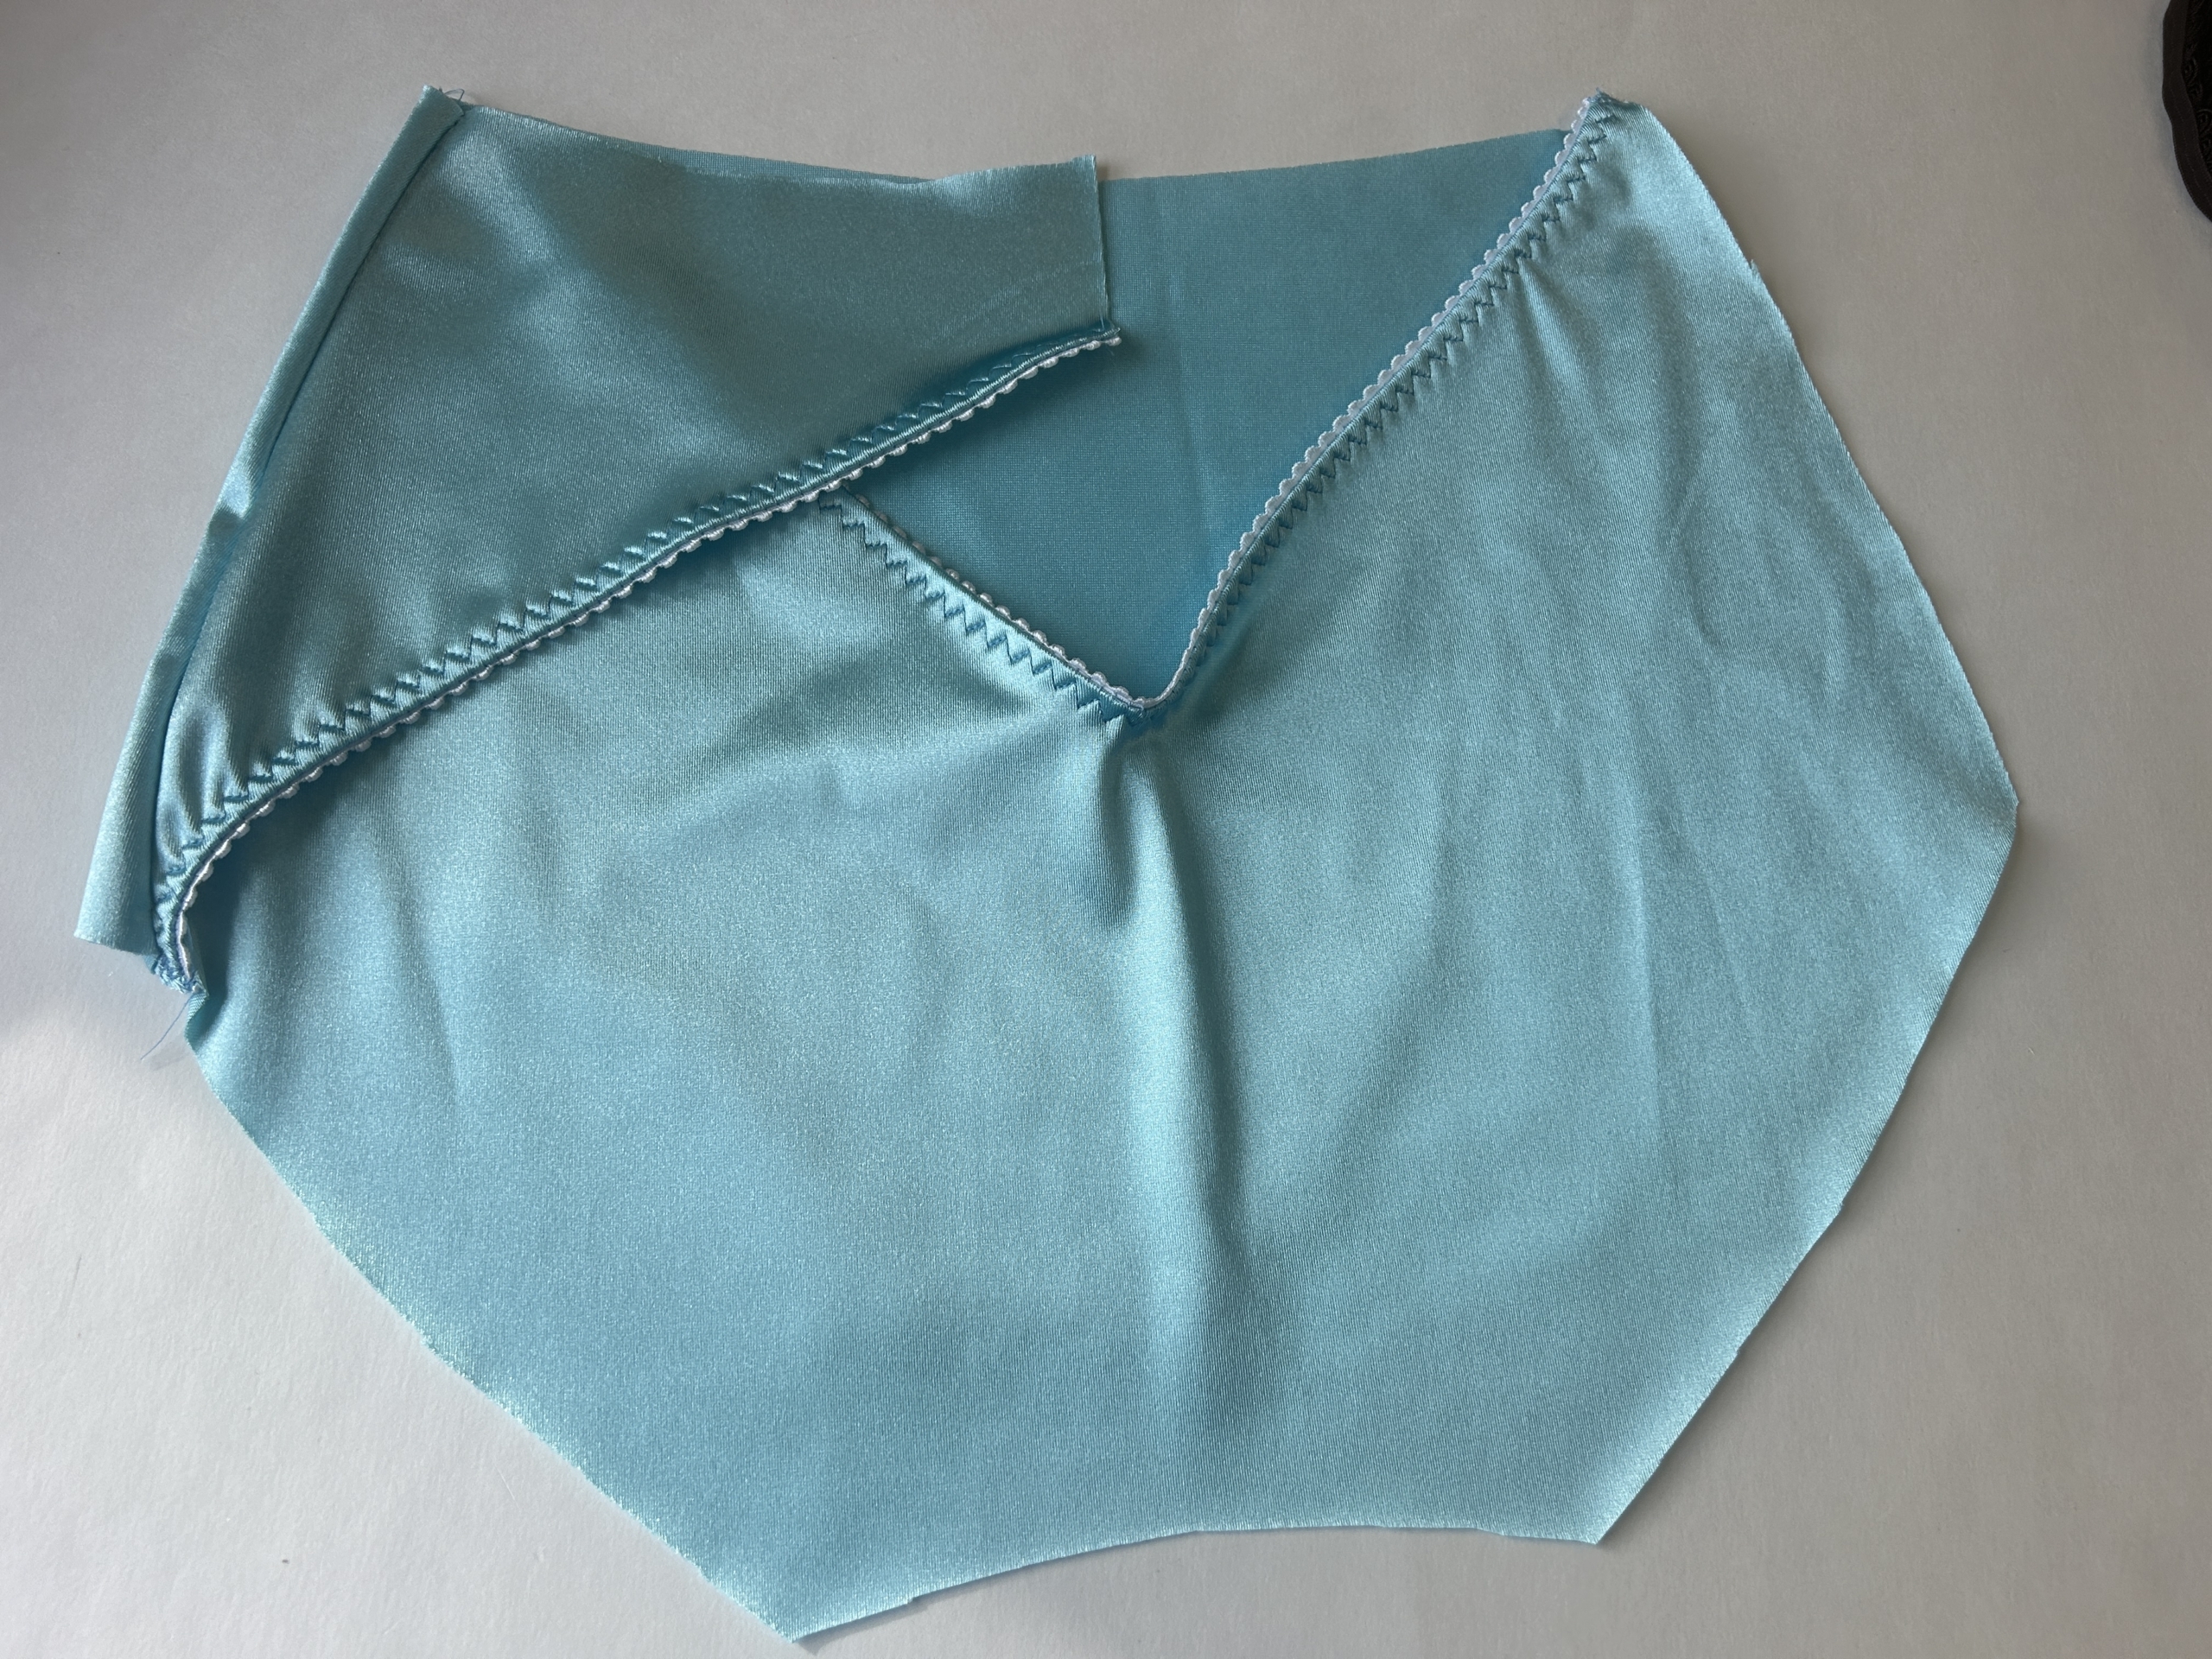
Step Two: Proceed to sew your garment as you would if it were a regular Veronica. Attaching the gusset and adding elastic around the legs and waist.
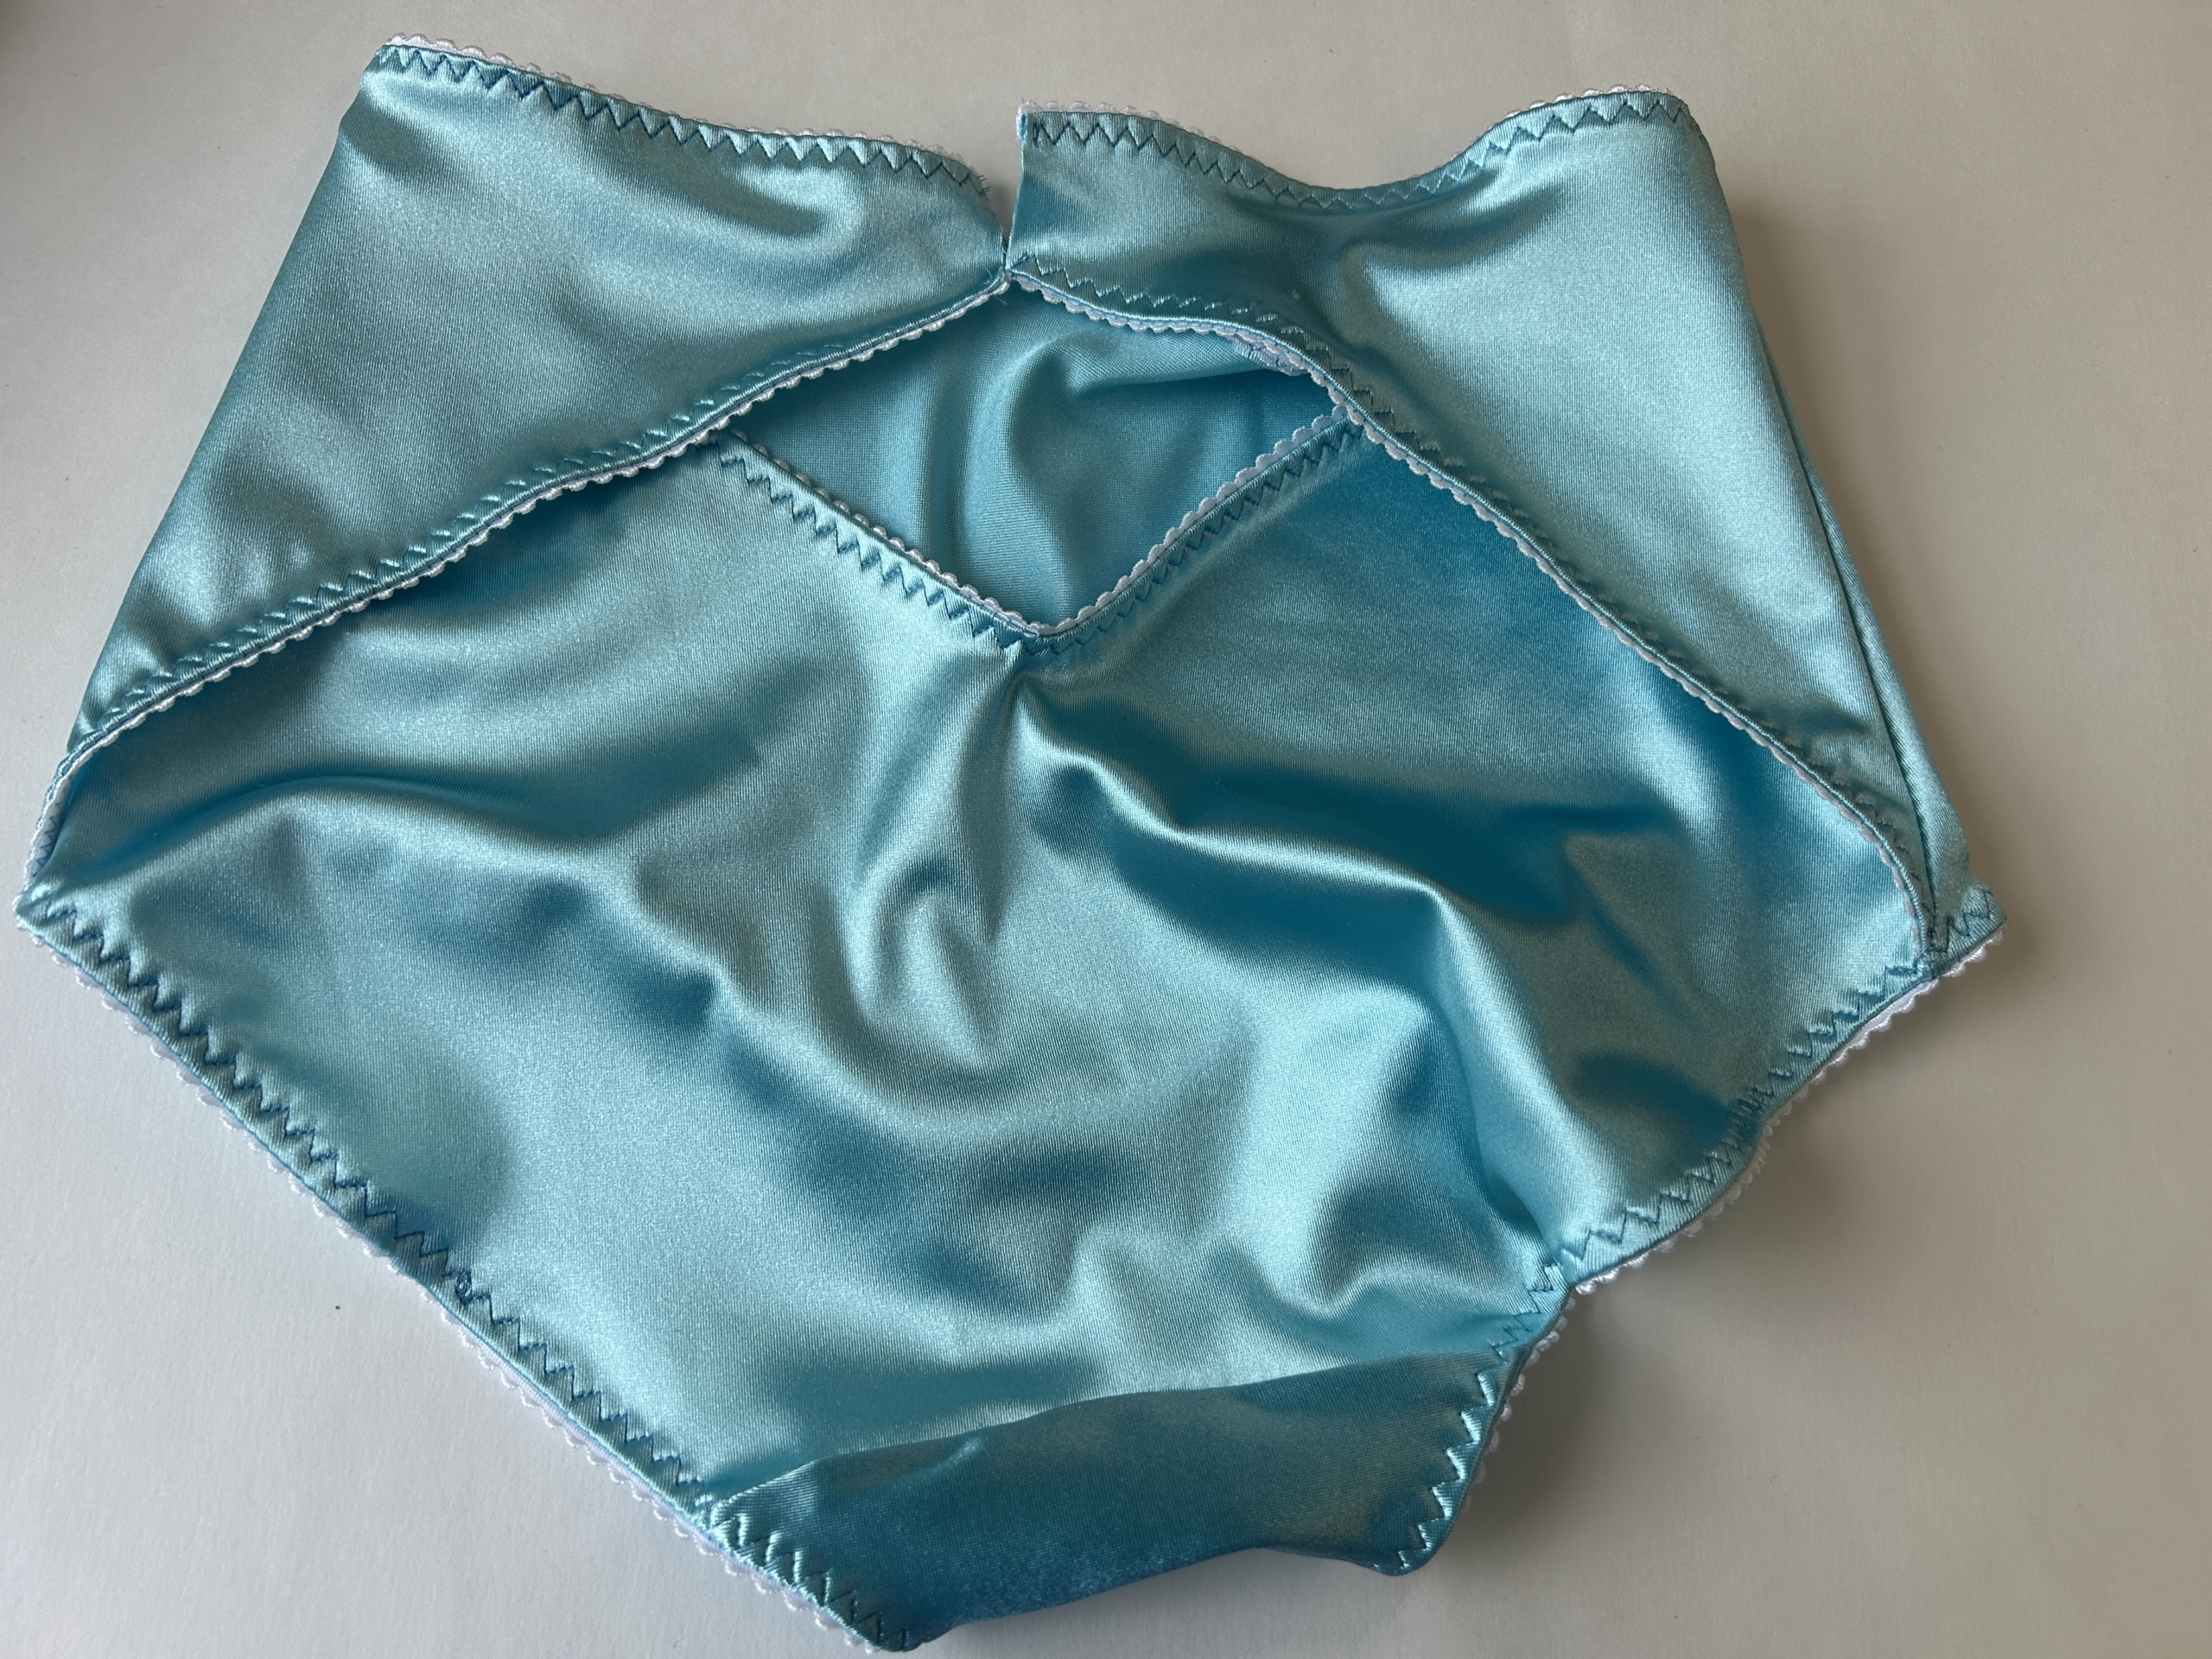
Step Three: To make the ribbon, sew right sides together, and flip inside out. We recommend hand stitching to finish the ‘ribbon’ ends, so it’ll provide a cleaner look.
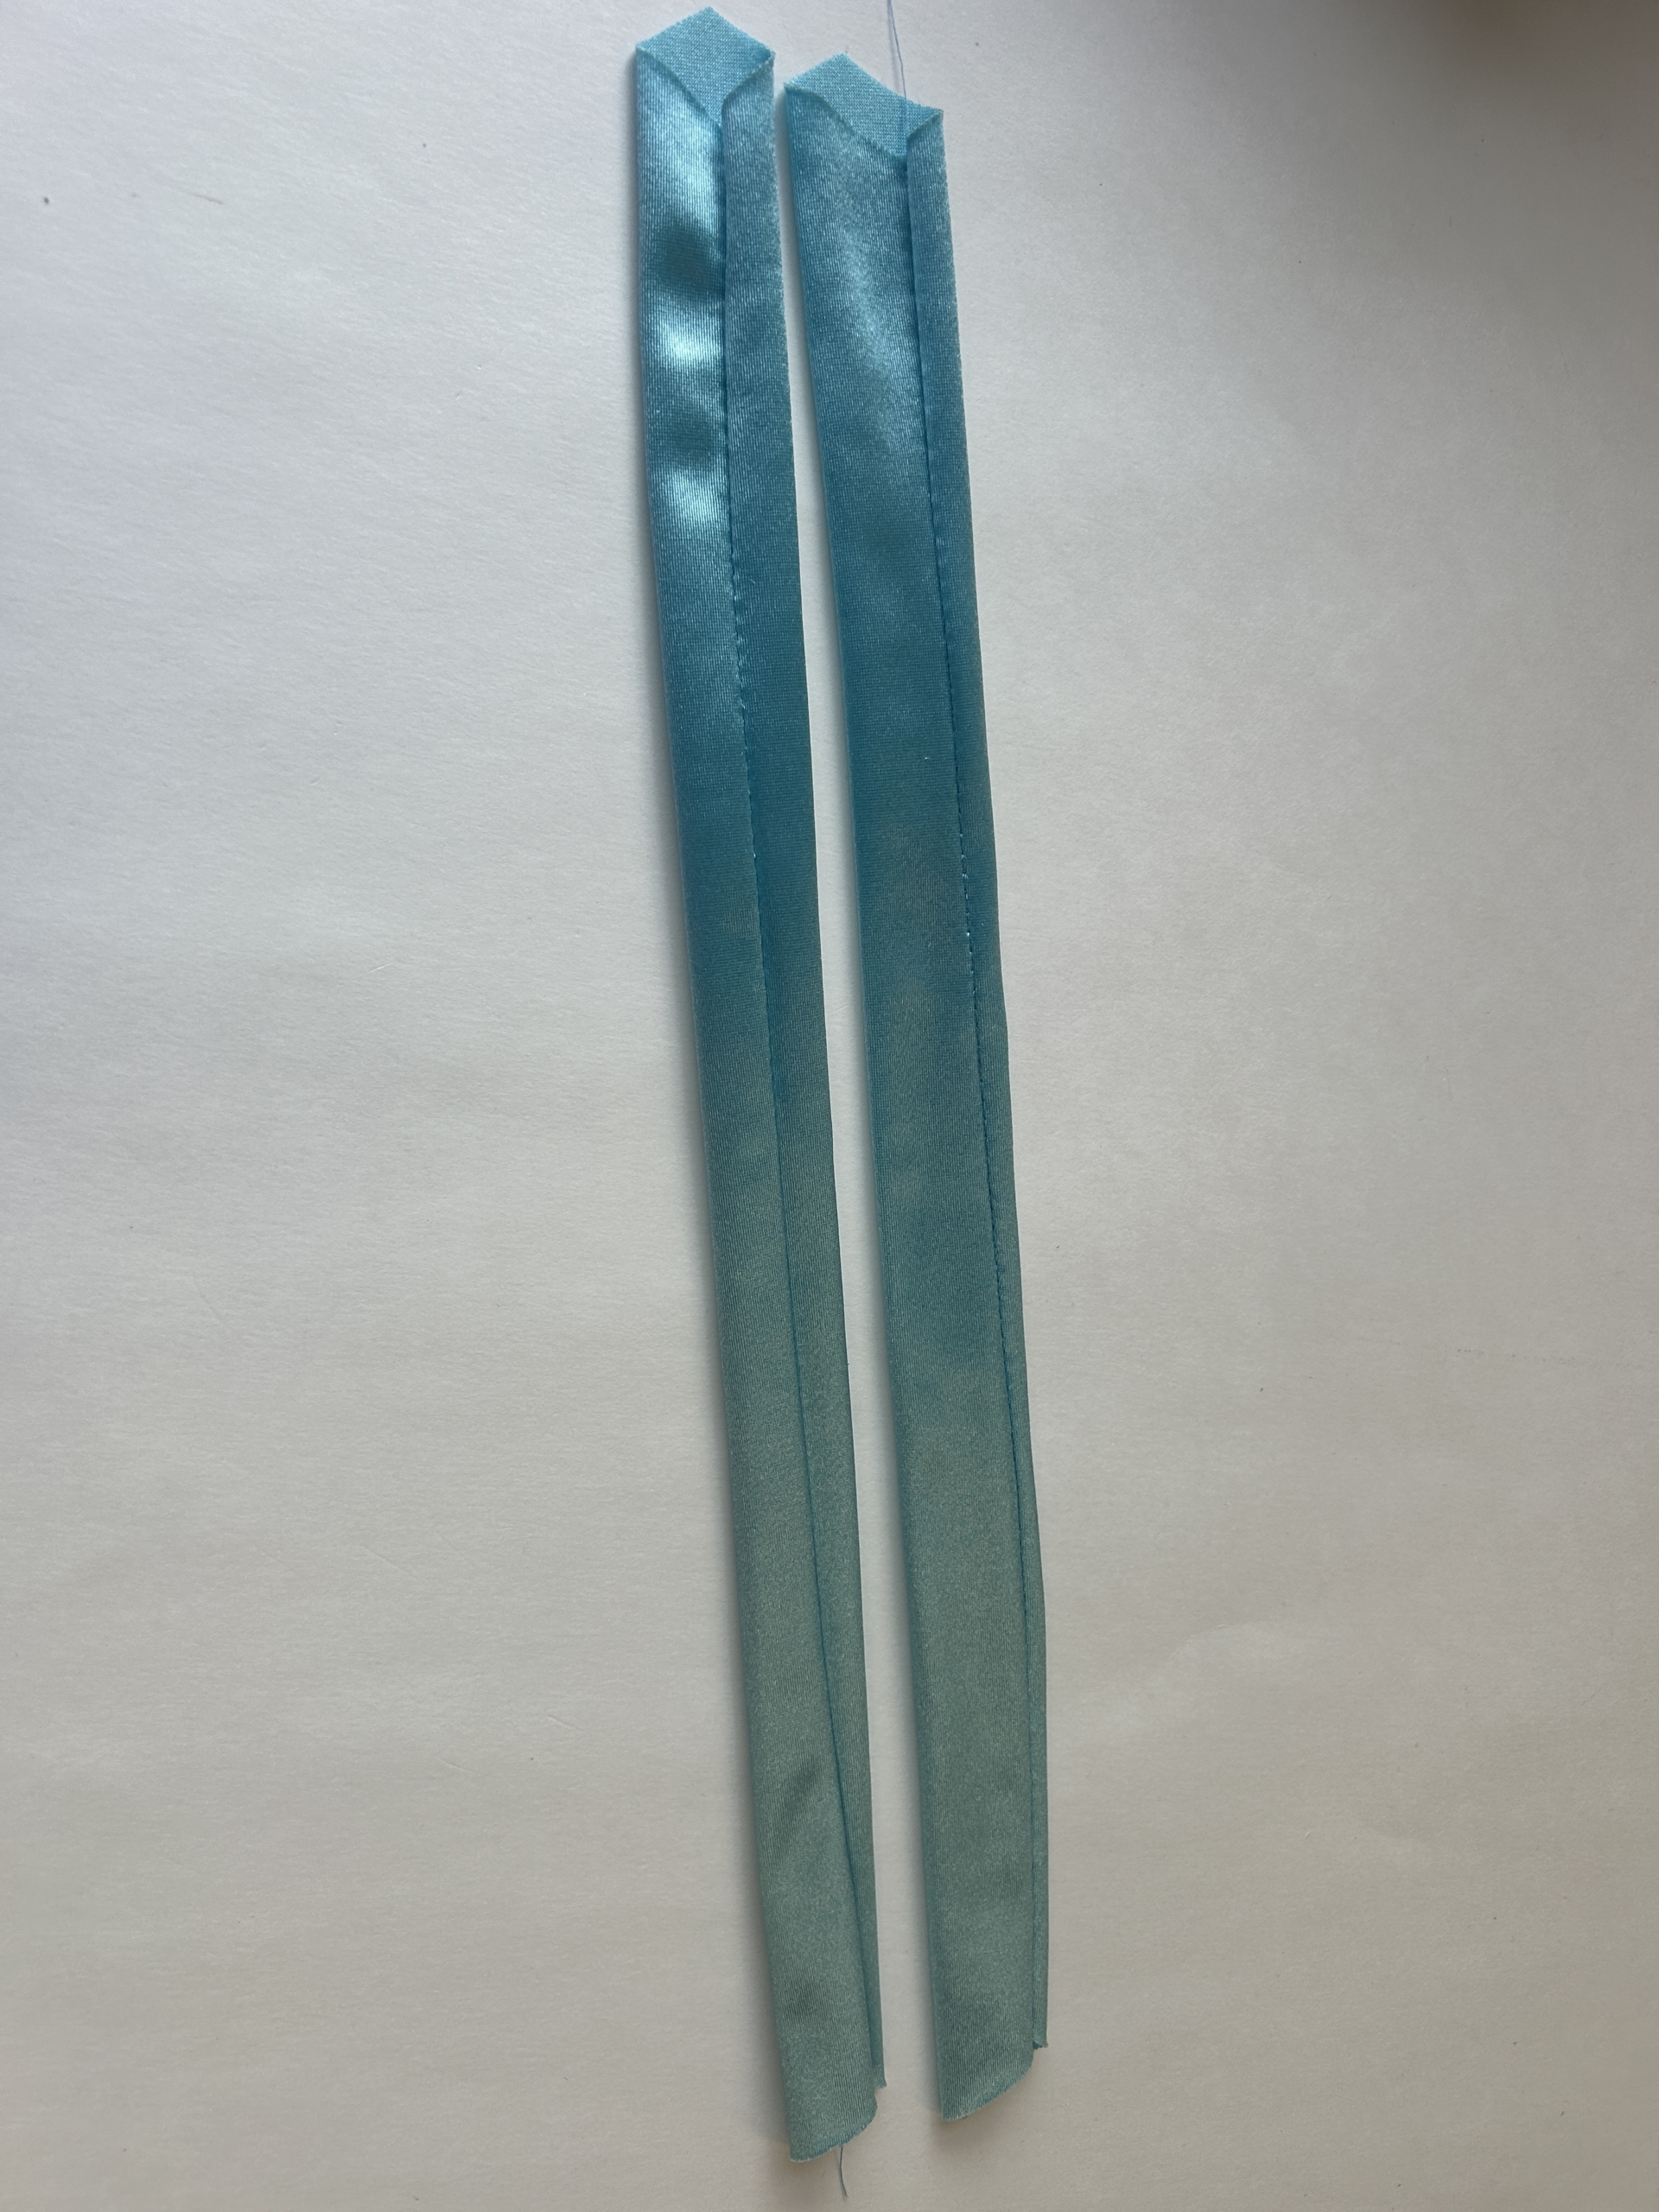
Step Four: Attach your ‘ribbon’ to your Top Back pieces using a standard zig zag stitch. Once attached, tie your bow. You can leave it as is, or once you have created a bow you’re happy with, you can stitch in place and add a fun charm. 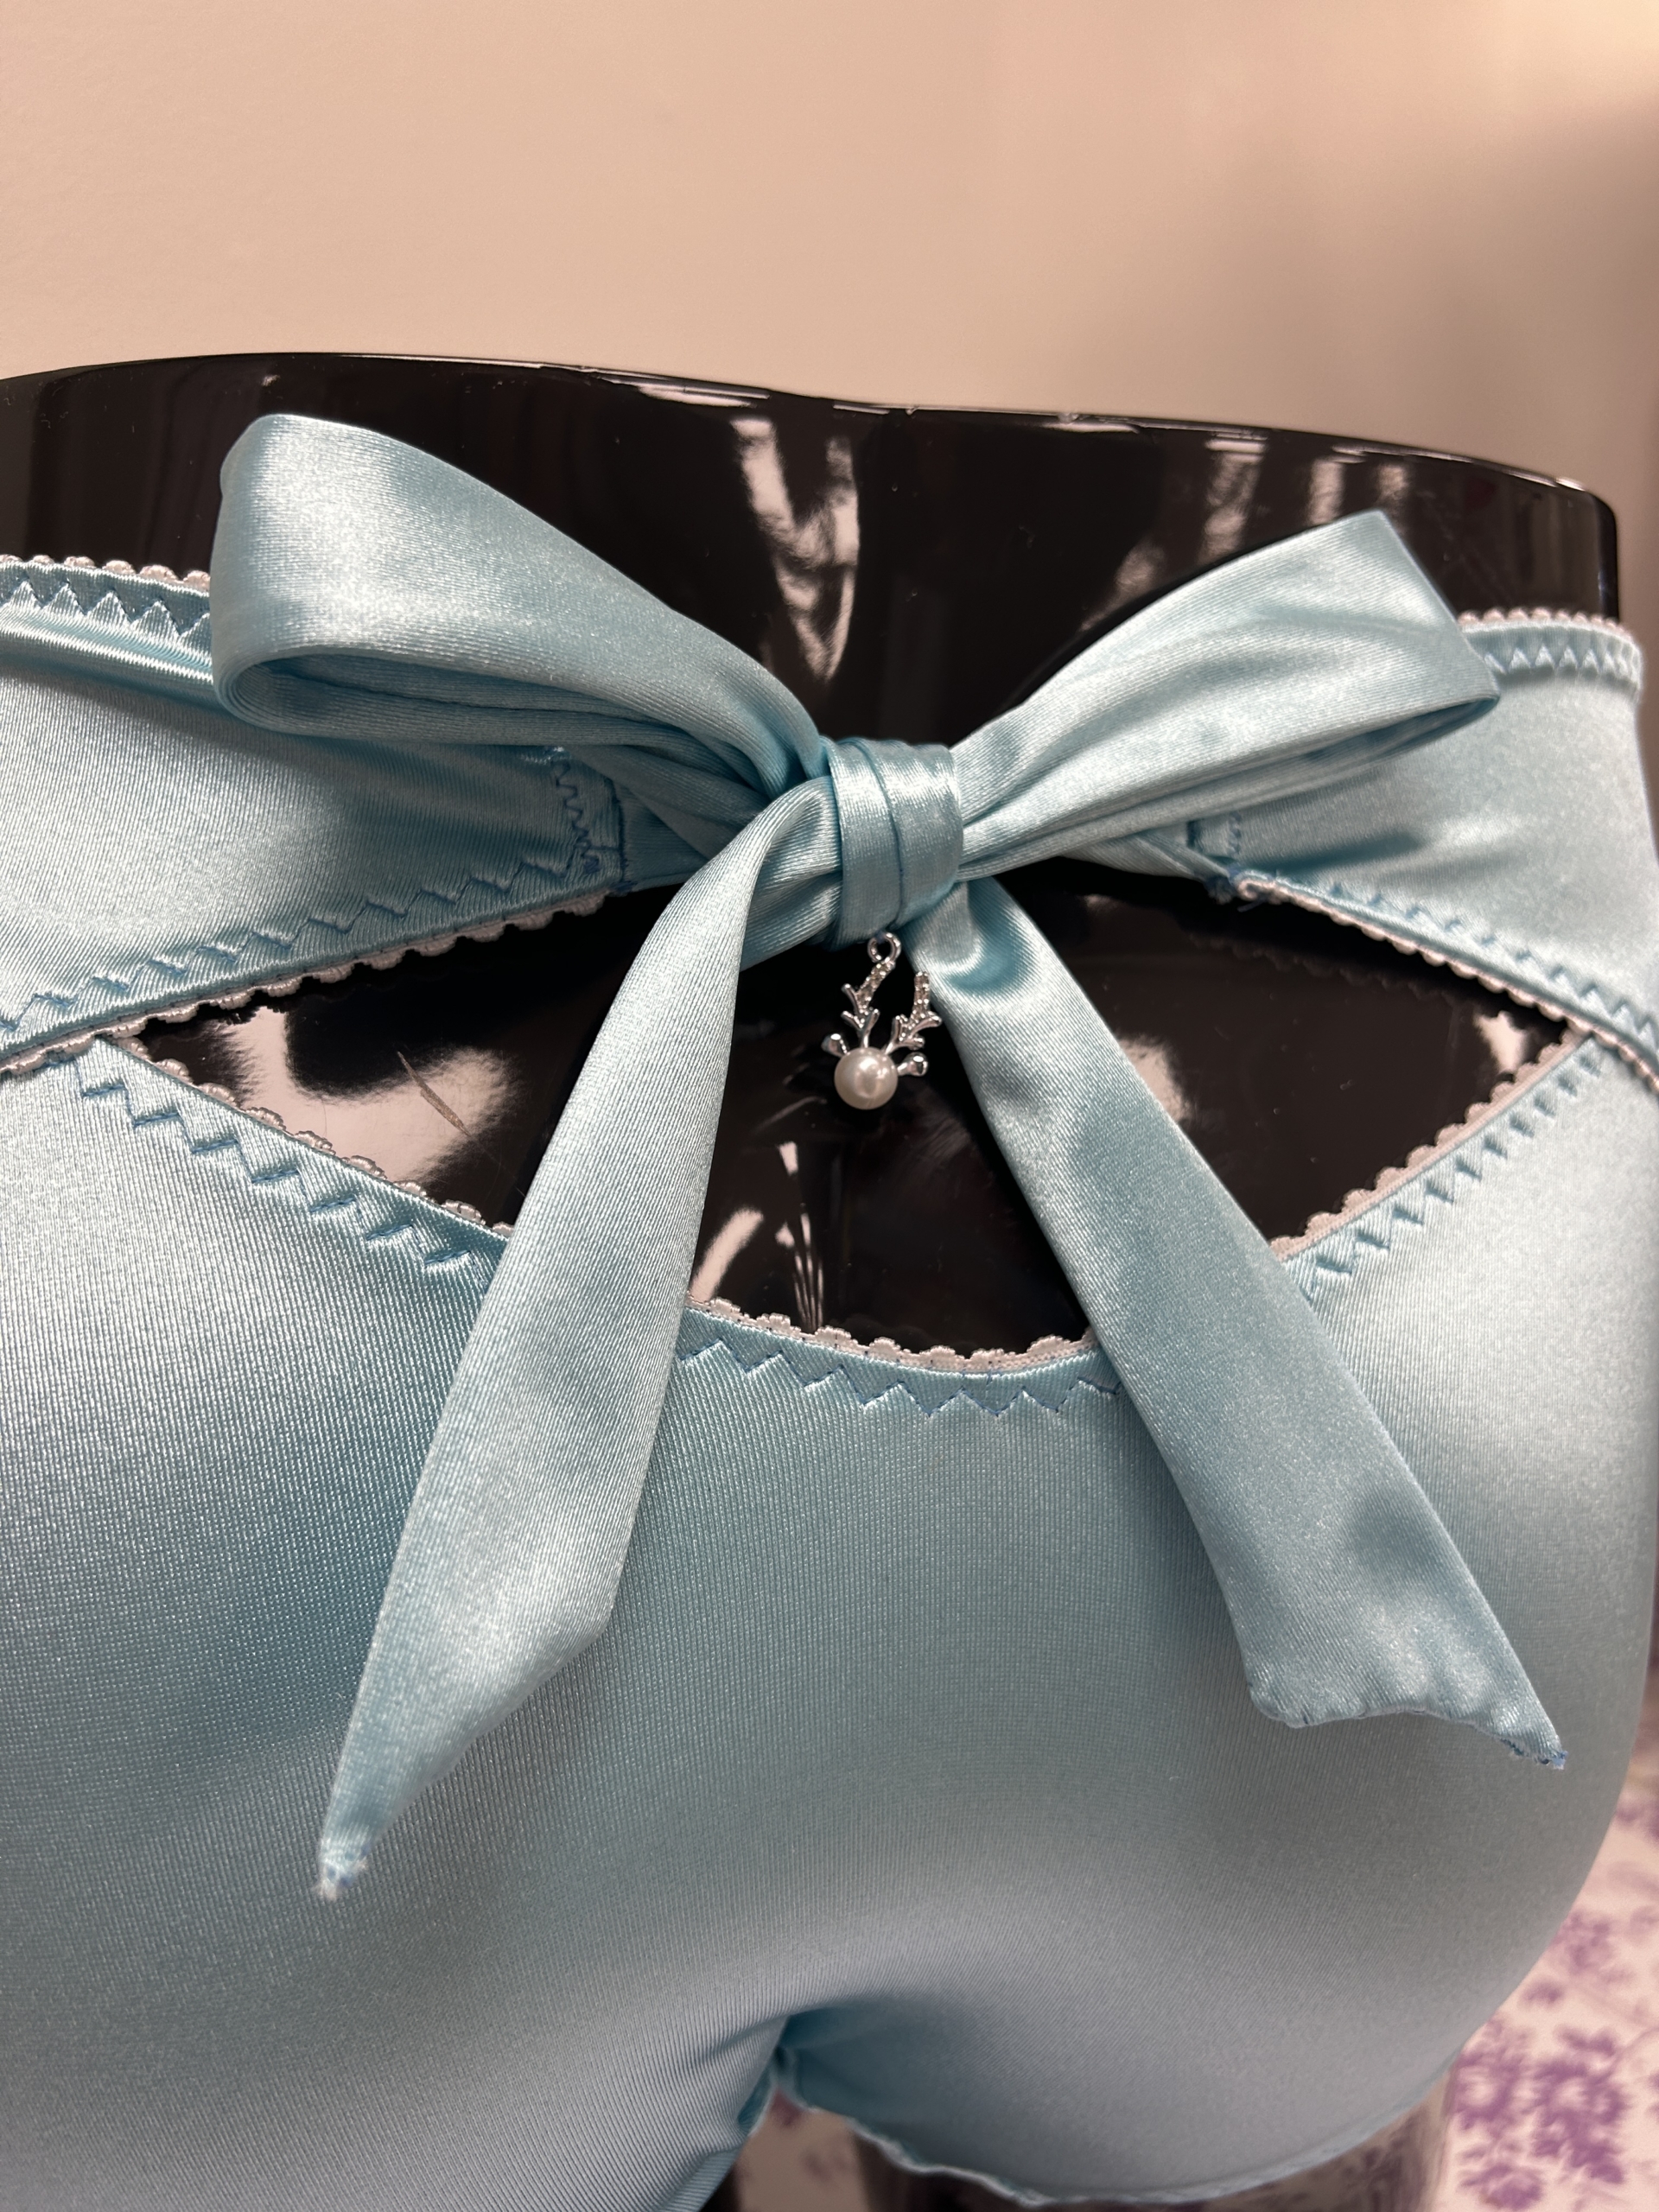







This is so creative! Thankyou for your site!
Hallelujah, I thought you had abandoned the blog. For those of us who don’t do social media (if I am not paying I am product to advertisers not customer, and the privacy stinks) the blog is the way to go. I used to check out FB periodically but they changed something recently so that you can only see the two days of posts.
Have you started opening on Saturday yet? can’t find hours on the website, would expect to find them under about or contact….
Don’t be a stranger now!