A lot of you have commented on our Spider bra we made for Halloween. It’s on our Ashley mannequin in the window of the new store (along with a life-size witch who cackles when folks walk by) A lot of you also asked how we made the spider bra. I didn’t originally intend for this to be a blog post, so I didn’t take pictures as we were working on it. However, I can hopefully explain it so you could duplicate it if you want to.
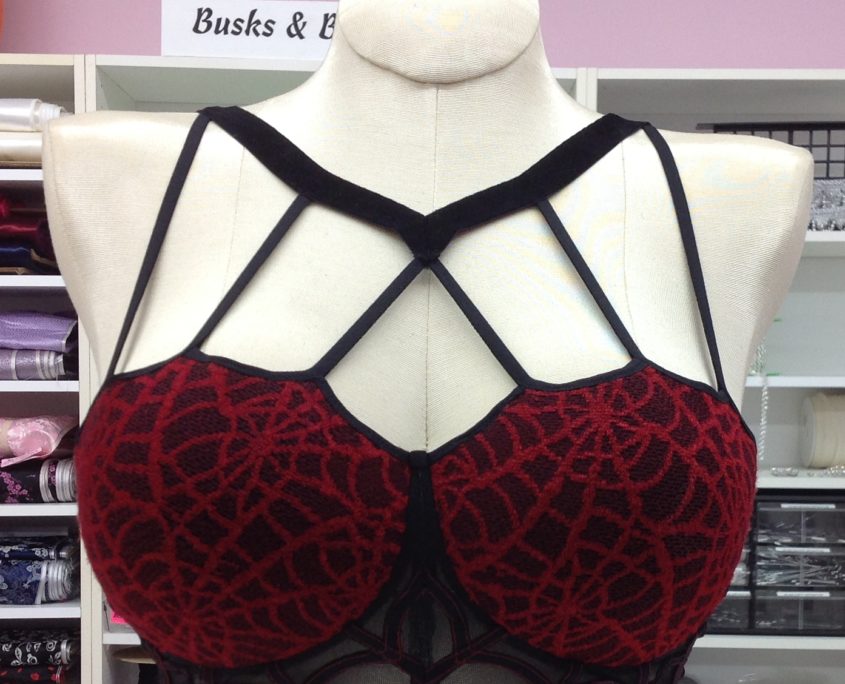
This spider bra started life as a pair of pre-formed foam cups (the MB Balconette cups to be exact) Denise and I spent several minutes deciding how deep to make the cutouts. Once it is cut, you cannot change your mind! We zig-zagged over the cut edges to compress them so we could more easily sew on the fold-over binding. Luck was with us when we found a scrap (literally)of the red spider web fabric in our stash of fabrics in the store. It was barely enough to cover the cups! So we knew we had to be creative to finish the frame!

The next set was the binding itself. We started in the middle and sewed each section of fold-over binding on. Denise used the 1/4″ fold over rather than the wider 3/8″ as the wider one didn’t want to cooperate around those tight curves. She left a long tail at the end so she could use it later for the straps.
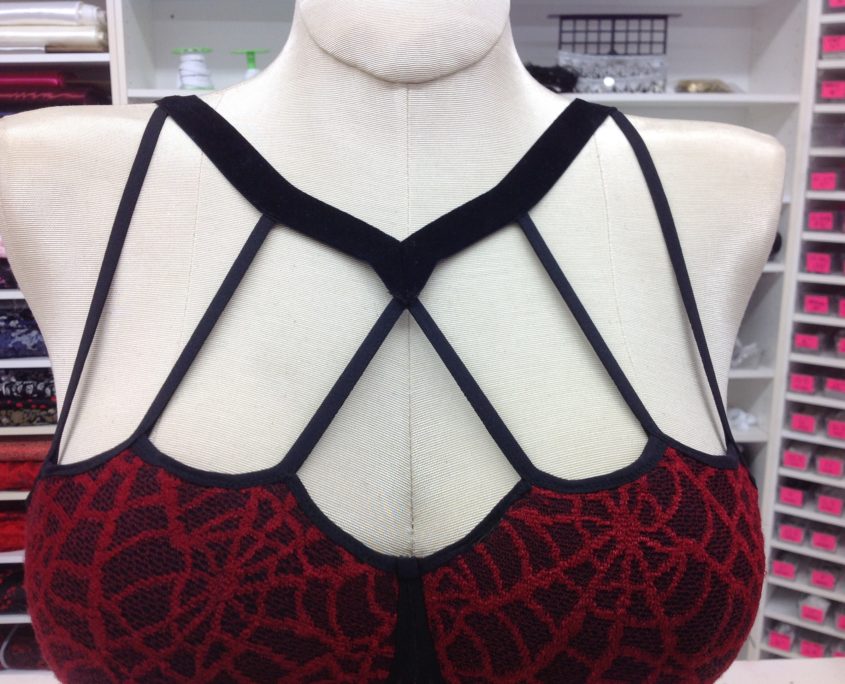
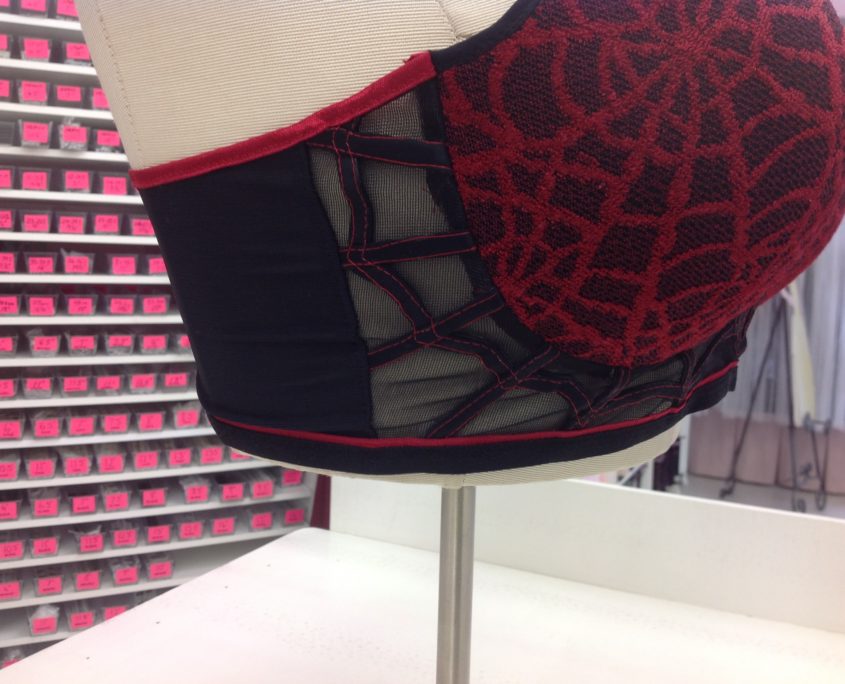
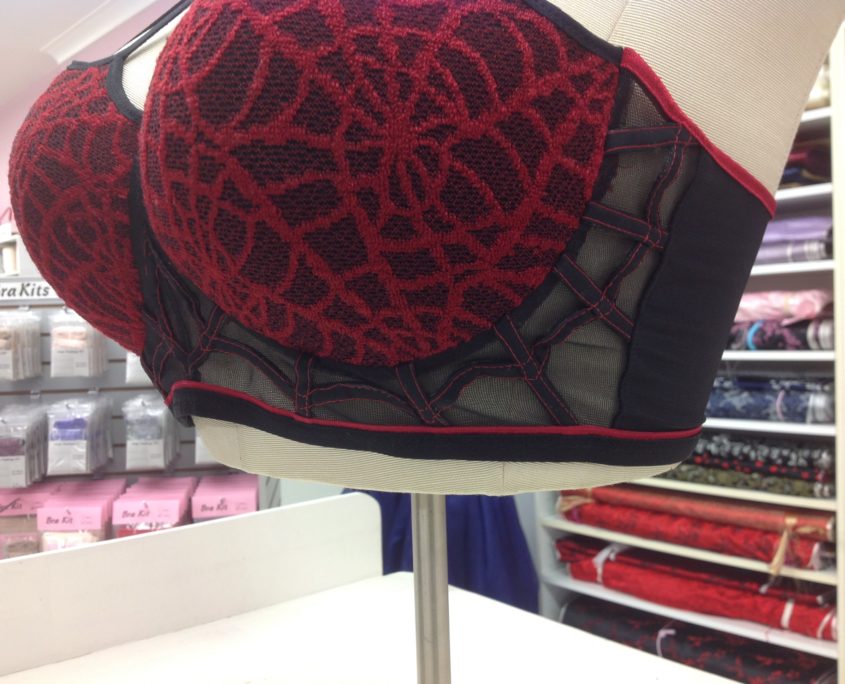
Then she focused on the frame and band. You can see the spider web theme carried through the frame too.

She made tiny lengths of duoplex that had been put through the bias tape maker to finish to 1/4″ wide. Then she sewed it to the frame which had been cut from sheer cup lining. Getting the tiny lengths to curve for the web could have been a challenge, but Denise made bias strips so the curves were easy-peezey!
Here’s a close up of the centre front bridge and the detail of the spider web!
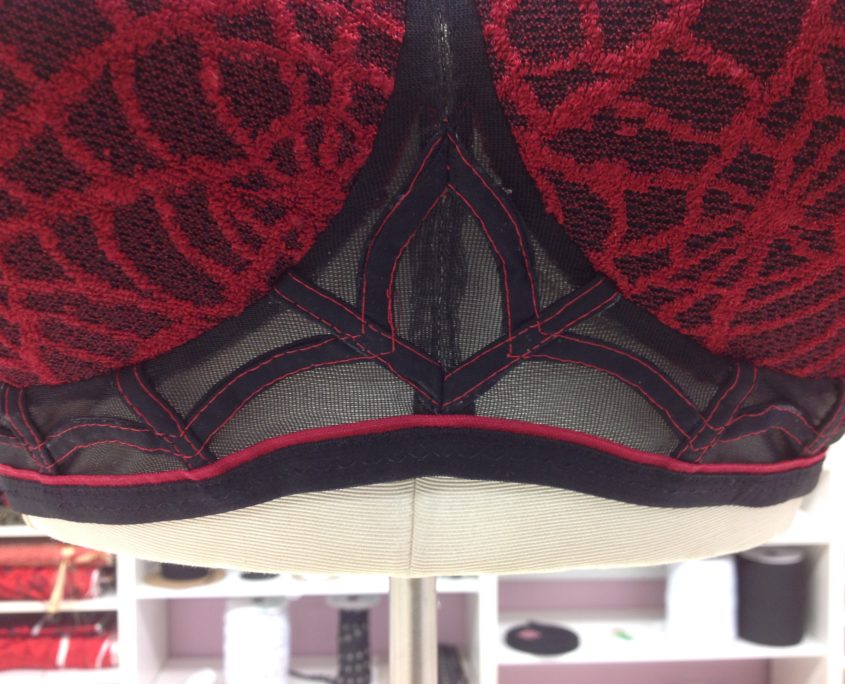
Once the web on the frame was all sewn down, she finished the bra as usual…except for the added touch shown here. Denise added a bit of the red fold-over binding inside the black fold-over she used for the bottom edge.
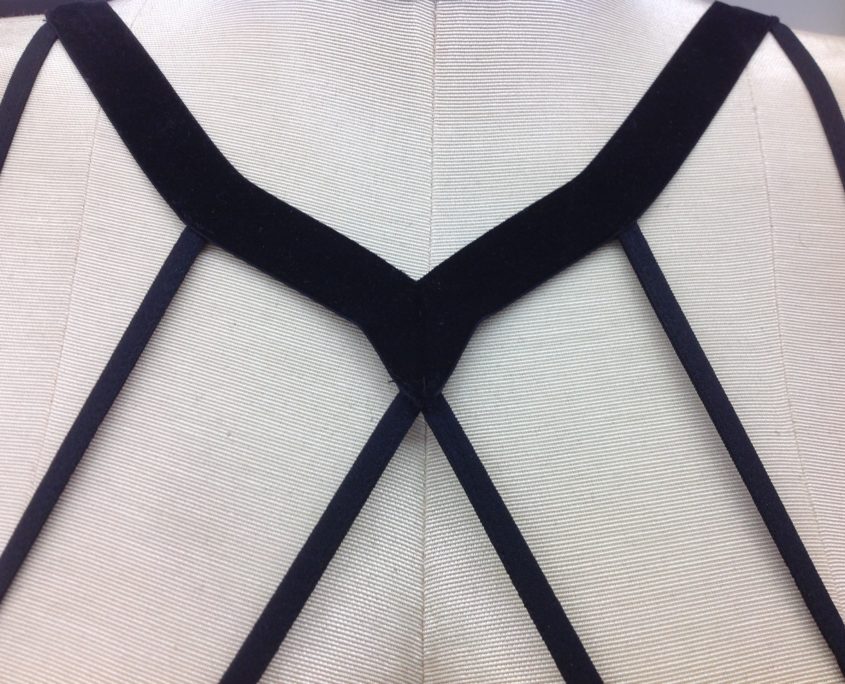
Finally, she used the stretch velvet ribbon to make the front strap band. She tucked the small web spoke elastics under the velvet ribbon and stitched them down securely. That front is actually a mitre made from the two pieces of elastic.
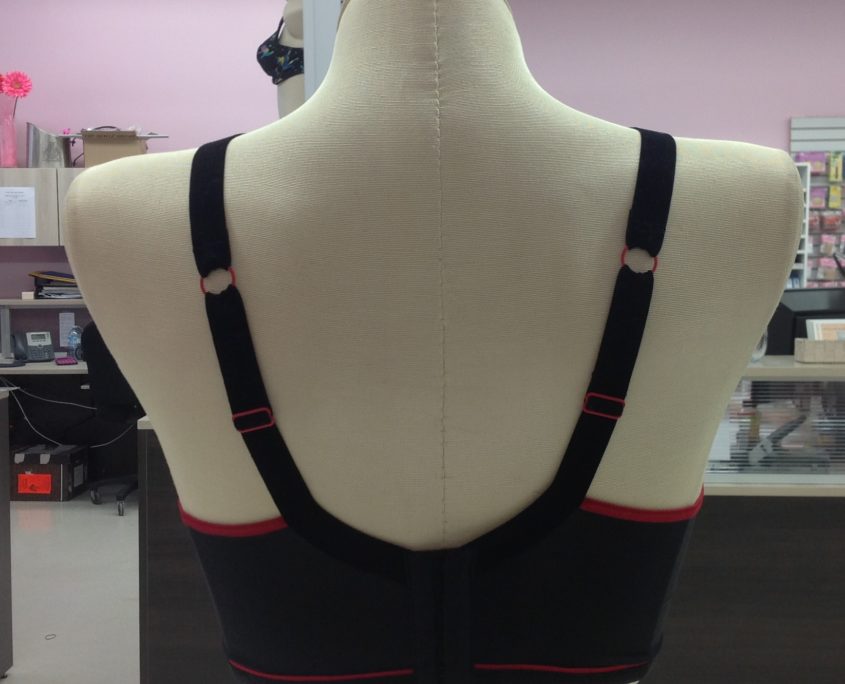
The back of the bra – nothing too surprising here! I love how the “halter-look” of the front straps aren’t actually halter straps but regular straps for the back, making this spider bra comfortable to wear as well as pretty to look at!
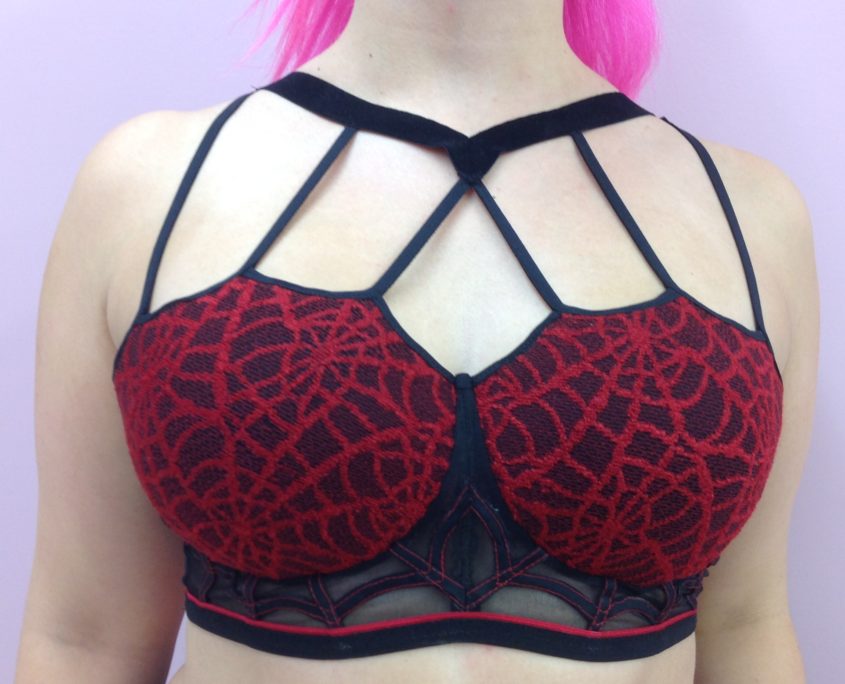
We love it when our creations actually fit someone! In this case, it’s our lovely Agata in the spider bra. Whoever fits into the bra, gets to model for us. In any case, she is all ready for Halloween. And that, my friends, is how we made the spider bra!
Happy Halloween everyone!
Your Fairy Bra Mother,
Beverly



wouah bien joli modele se soutein gorge
I love reading ALL your posts!! This Spiderweb bra is so pretty and I also like the way it looks in the neckline but finishes nicely on the back! You are on my bucket list! Sandy B.
Supercalifragilistic expealidocious! I LOVE ❤️ ❤️ ❤️ THIS!
I haven’t heard that word in a very long time!
So beautiful and creative! You always out do yourselves.
It’s really wonderful! Thank you so much for sharing the construction information!
You are most welcome. We had fun with the design and construction and wanted to share it.
So creative! The black fold over binding that you refer to, is it foldover elastic or is it binding made from a stretch lycra? I have a ready to wear sports bra (a Freya) which has fold over elastic at the top of the bra band but wasn’t sure if the 3/8″ fold over elastic was sufficient to use in making my own version. From what I see here, it is at least worth a try. Great post.
We normally would use our 3/8″ fold-over elastic but Denise felt it was too wide for the spider web spokes, so we switched to 1/4″. Worked like a charm! Then we bought some red and trimmed up the 3/8″ black FOE as an added detail.
What an incredible bra! Thank you for sharing how you made it. I think you explained it very well. Just gorgeous!
It was coming up Halloween and I thought what a great idea for a store display! Ta-da – the spider bra was born!