Happily Ever After – How to Sew a Nursing Bra
In this post, I will go through how to sew a nursing bra the construction steps on . In my last post, I showed you how to draft a pattern with the same look as a vintage nursing bra, on that I thought would have great potential as a modern adaptation. Well you should see it now – it is truly a bra with a happily ever after ending! I had a few revelations along the way, and actually thought of ways to streamline the production and make it look better, so I will share those with you as well.
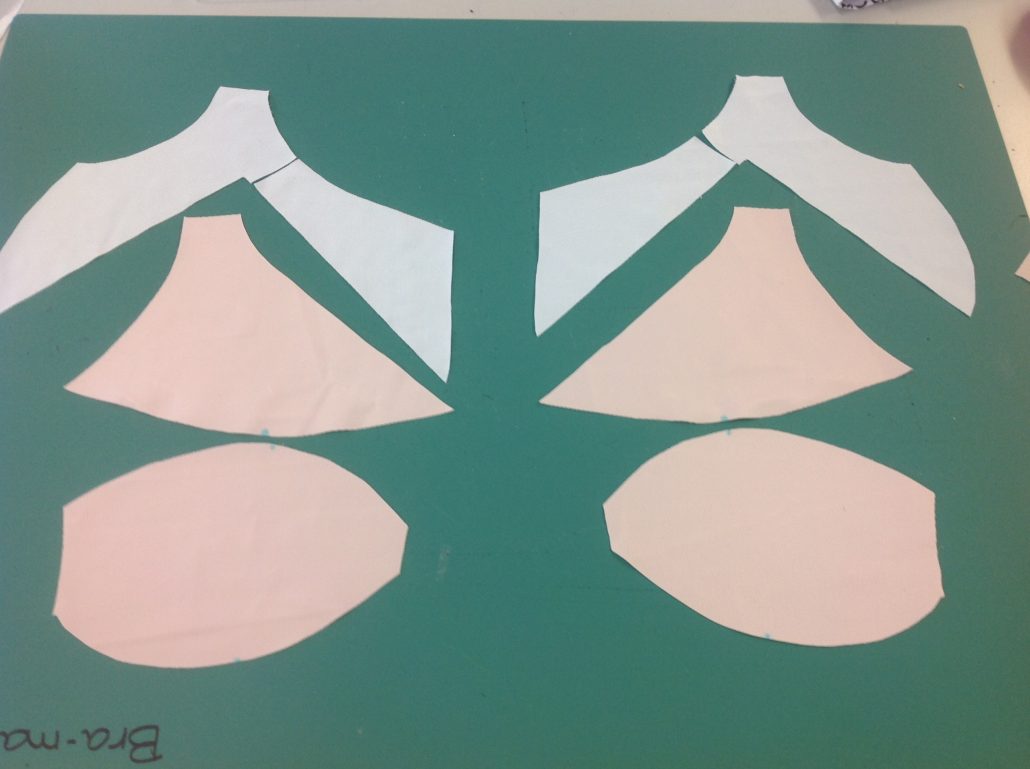
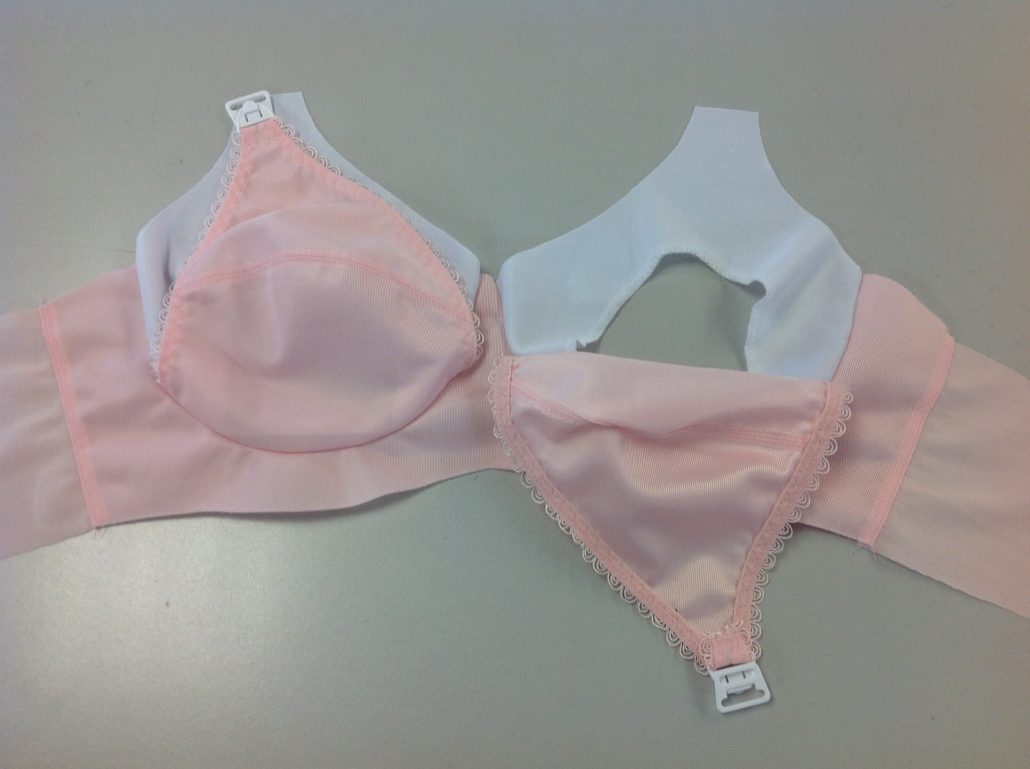
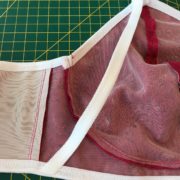
The first thing to sew is the outer cup, shown in pink here. You may recall I re-cut the inner sling (shown in white) to be one-piece with a curve on the inside edge. It was at this stage that I realised I wasn’t going to like the look of a seam along the neckline edge, even if it did save on fabric.
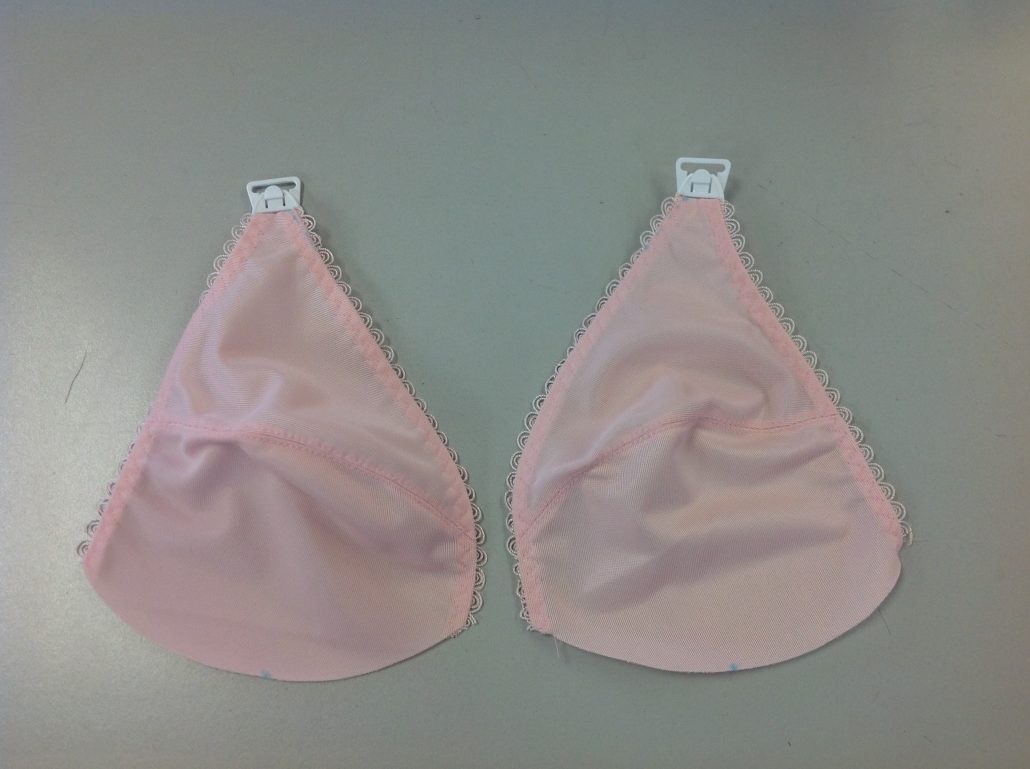
Once the outer layer cup seams are sewn, trim the two edges with some pretty trim. We used white loop-a-licious, not because we didn’t have pink but because of the white clips, I wanted to bring more white into this bra. I show the clips sewn on here, however in reality, it is better to sew them on later in the process. Lesson #1.
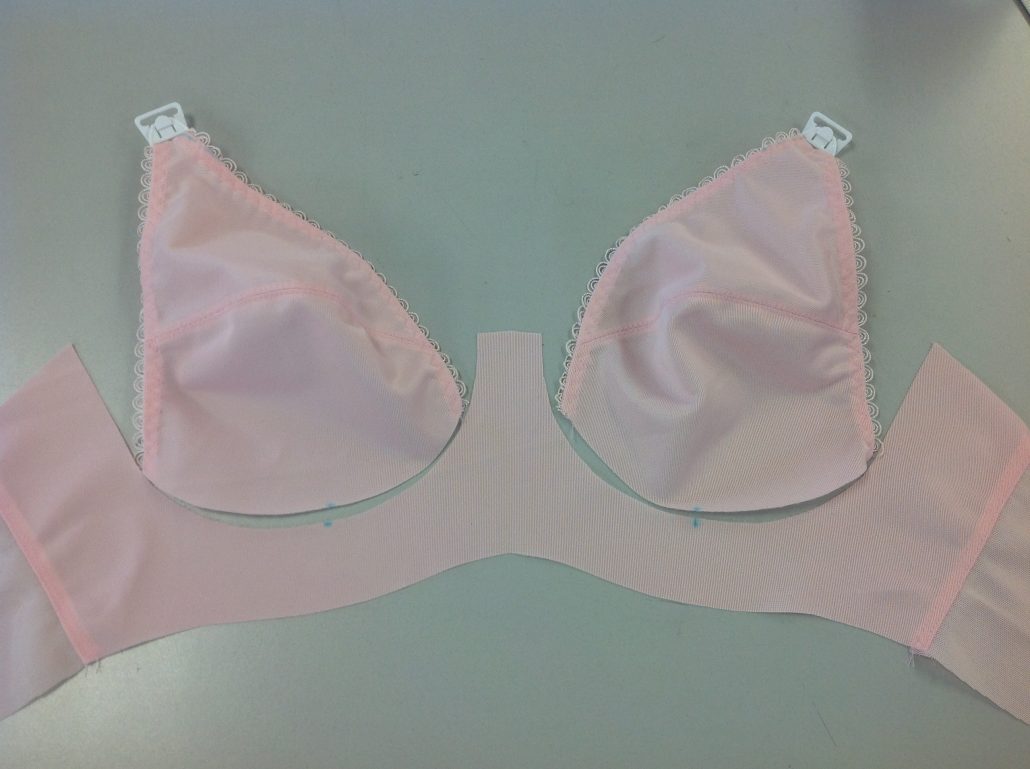
Once the outer layer cup is sewn and trimmed, our next step is to sew the frame and put the outer layers cups in the frame. Yes, indeed, we sew the outer layer cups in the frame before the inside layer. The best way to make sure they are in the right place is the mark and match the bottom notches.
The Inside Cup Layer
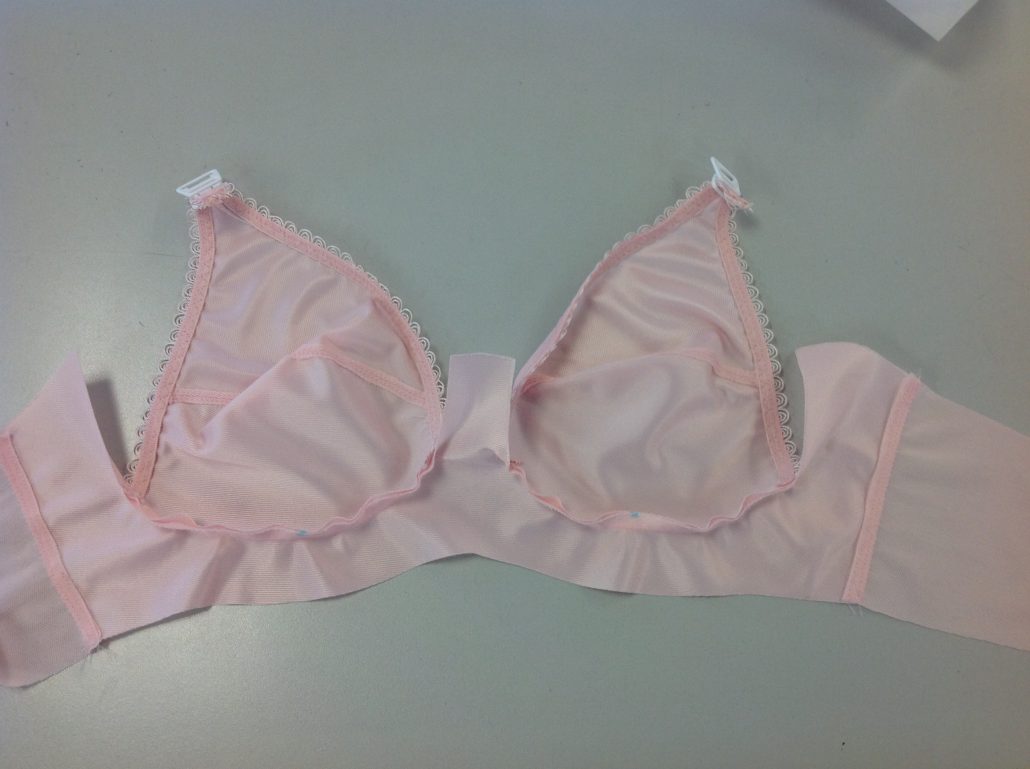
Now we prepare the inside layer of the nursing bra, which is the layer that attached to the strap. Serge around the inside curve. This particular fabric is Duoplex, however if I were doing this again, I would use power net, which has a bit of stretch. It’s also a bit more “meshy” like the original. Lesson #2. You can see now why we sew the inner cup layer on after the outer cup layer. They are in their correct order when you look at the cup from the right side.
Here’s a sneak peek at the business end of the nursing bra strap tab. Is it making sense now?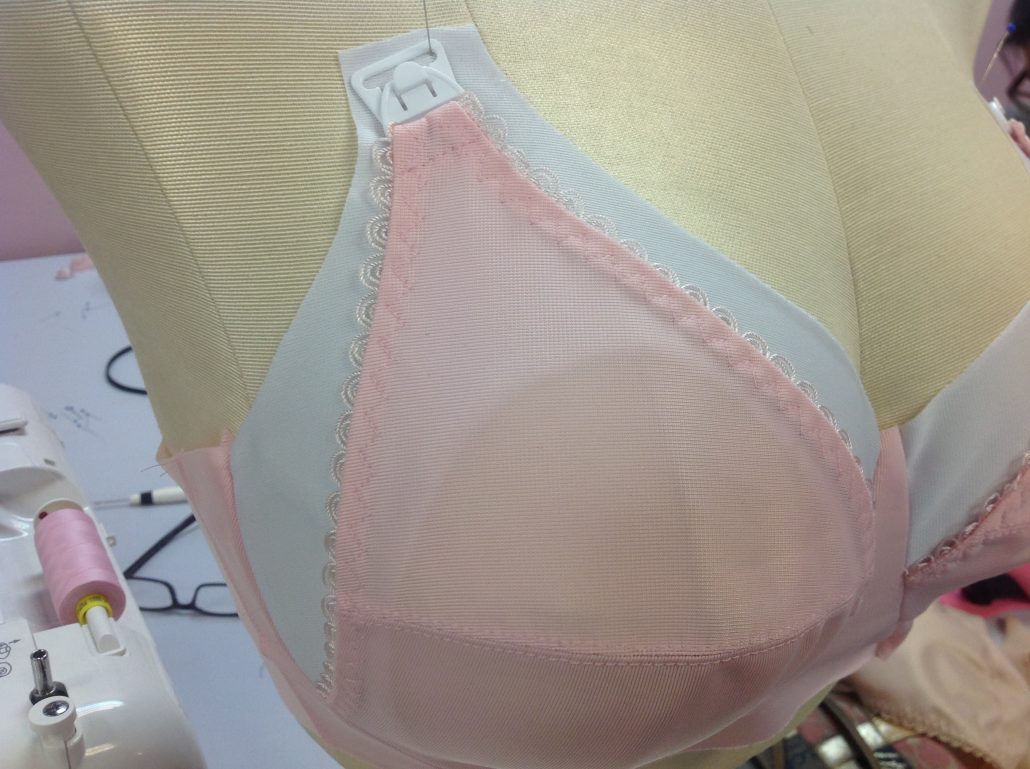
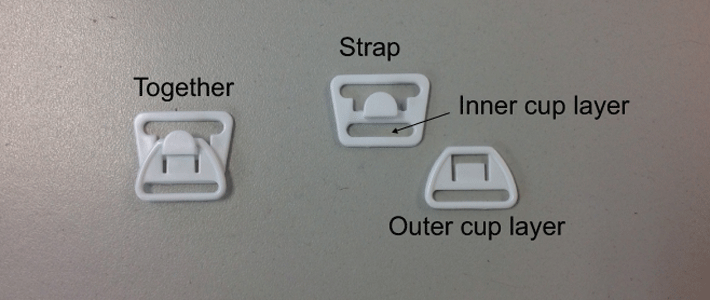
To complete our nursing bra, we sewed the elastics to the bottom and top band, plus along the neckline edge. I don’t need to show you that, do I? Once you sew on both edges on each side of the strap tab, then you can put the other part of the nursing clip on. Here’s a close-up of the parts of the One-handed Nursing bra clip and what parts of the bra they attach to.
Are you ready to see the finished bra? Here’s the front. You can see the outer cup dips down a little at the centre front exposing the inner cup layer.
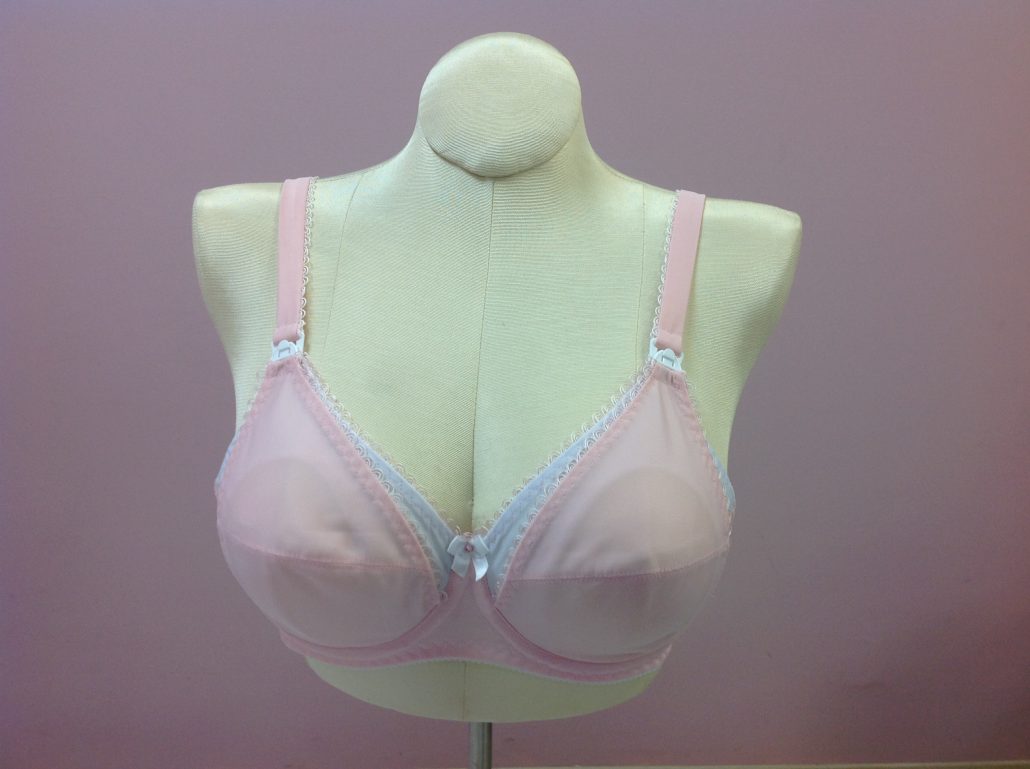
Here’s a view from the side. If I did this again, I wouldn’t have it dip down so much at the side. I would keep the dips confined to the upper cup. Why? So that the breast wouldn’t be inclined to pop out at the side. Lesson #3. Check out the straps, too. They are a simple tube of fabric with the trim sewn in the seam, which helps to unify the whole design.
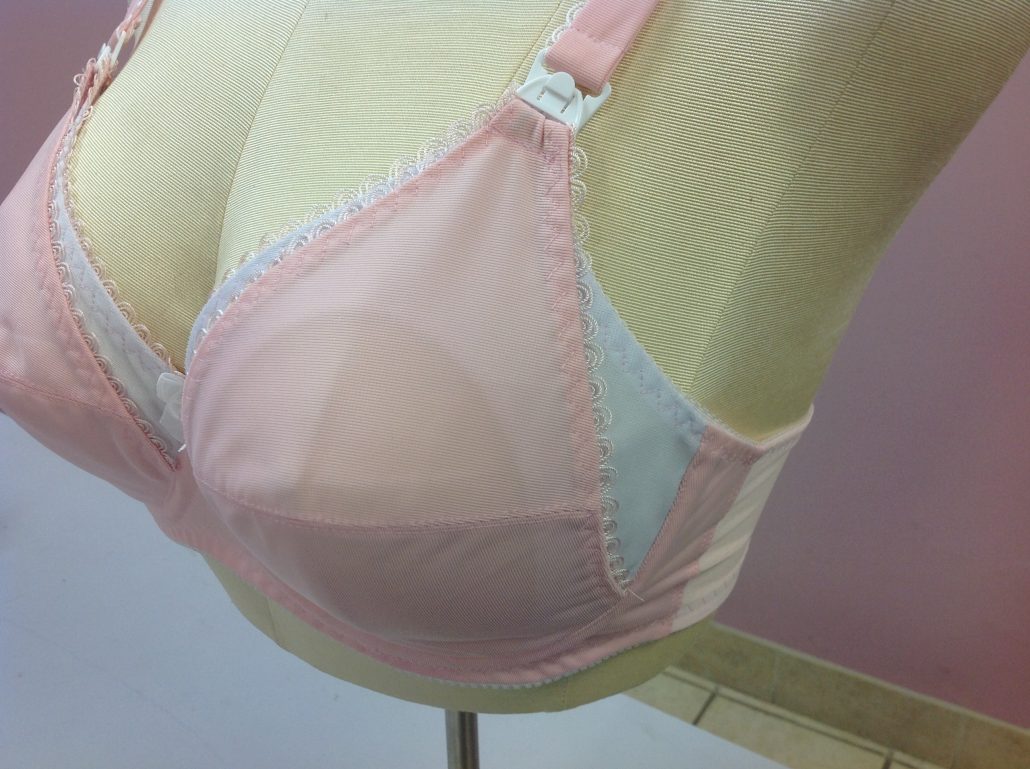
I hope you have enjoyed how to sew a nursing bra as well as the drafting. I certainly learned from this bra and the Happily Ever After version of the original!
Your Fairy Bra Mother,
Beverly



Dónde consigo el patrón ?
I’m a 34K and have been trying to locate a pattern to try to make my own nursing bras. Would you have a pattern that you sell?
Beautiful bra. Do you have any bra magic for keeping nursing pads in place or from falling out?
I am sorry but I don’t, but what about a really tight bra…lol?
Haha! I mean when the cup is lowered during feeding. Sometimes I lose pads and don’t notice.
I’m really craving to try this!!! <3
Such a beauty!!!
Mons