Happily Ever After – How to Draft a Vintage Nursing Bra
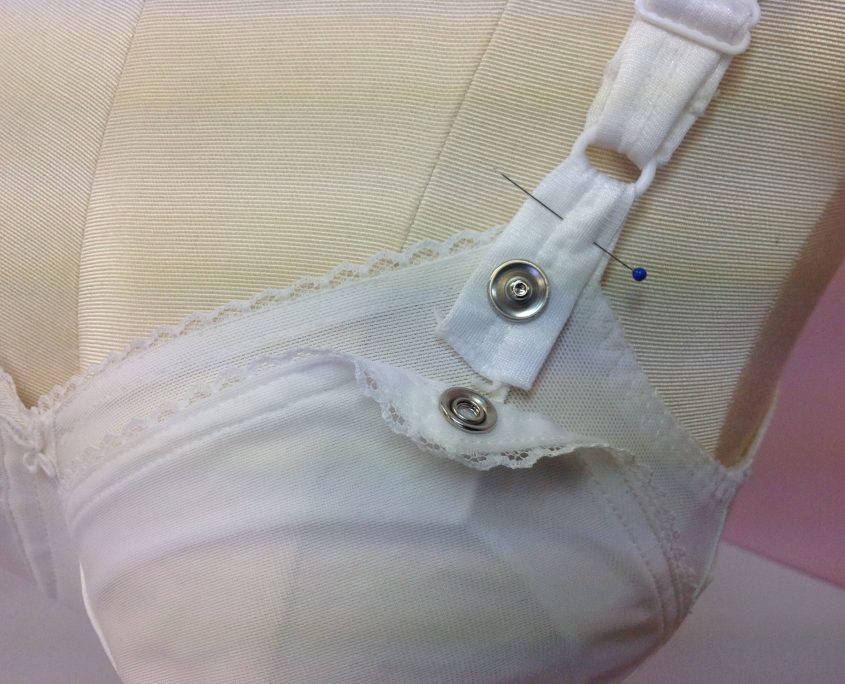
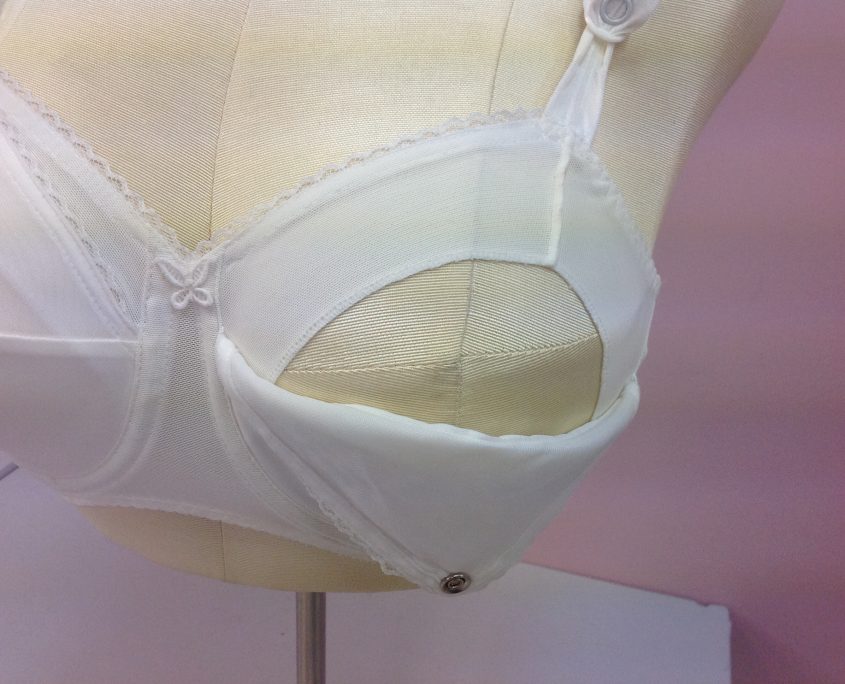
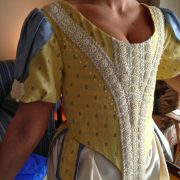
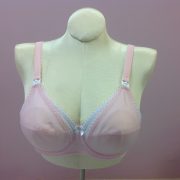
In a earlier post, I showed you the Vintage Nursing Bra in my Once Upon a Time series. In this post, I’ll show you how to draft a Vintage nursing bra made of modern bra-making materials, hardware and sewing methods, so that new nursing bra can live Happily Ever After in your bra wardrobe. Just to remind you, this is what cup of the Original bra looks like
 Before I show you how to draft a vintage nursing bra, you need to convert your pattern to a horizontal seamed cup pattern. To do that, you can check the post, Horizontal Hocus Pocus. If you have my Craftsy class, Sewing Bras: Designer Techniques, it’s in the lesson on changing the cup style. You will need to trace one upper cup and two lower cups. Make sure you have the seam lines marked on your tracing.
Align the Pattern Pieces Along the Seamlines
Now that we have our basic pattern ready, we can re-draft the strap tab. This will make room for the addition of the One-handed Nursing Clips, which are much more modern than using the poppers as shown in the original. The finished width is equal to the width of the small part of the clip, plus the two seam allowances. I made the strap extension about 1.5″ (37 mm) above the original upper cup.
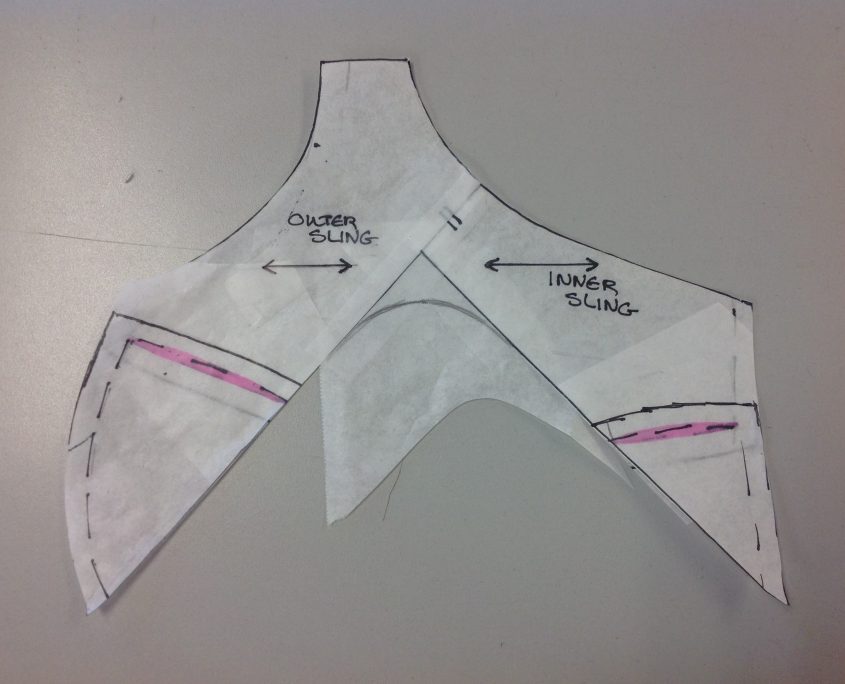
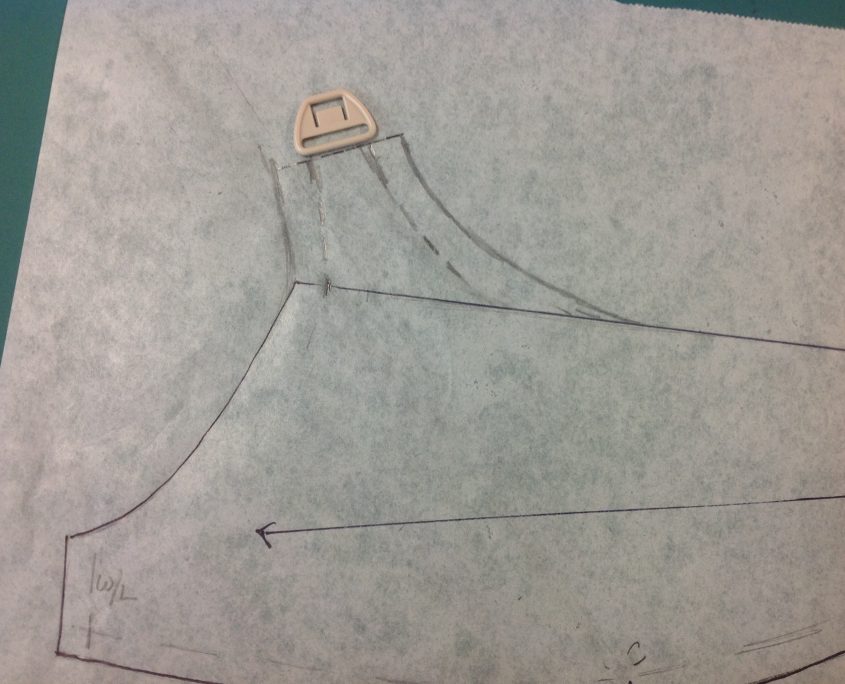 Find the point half-way between the apex and the side (it’s shown here in pink). Align the half way point and the point at the end of the seam (at the side seam) with the corresponding point on the upper cup. Do that at the front as well.
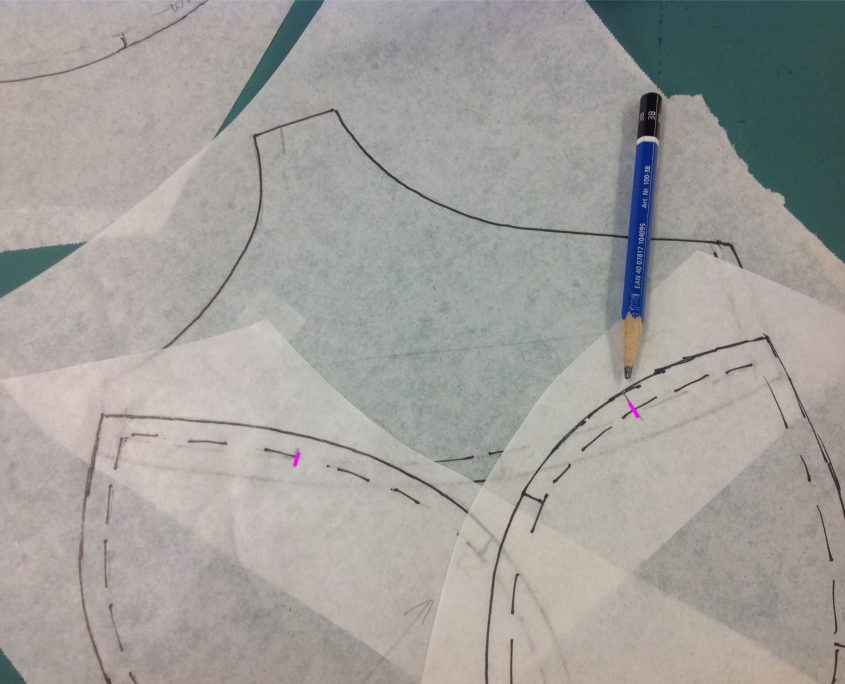
You will notice that you have two elliptical areas between the two lines. These don’t happen on every bra, or in every size, but don’t worry about it. It’s quite normal. You will need to trace this drawing a second time, as you need an inside layer and an outside layer.
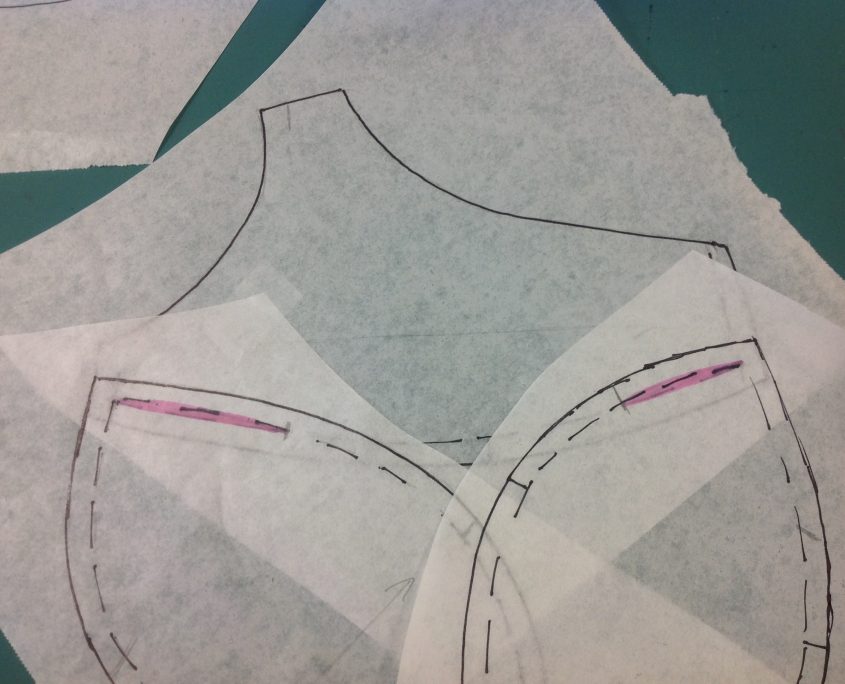
Let’s Draft the Inside Layer First
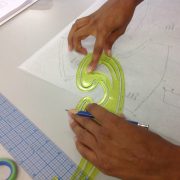
Now to draw the actual seam lines of our inside layer. This is the part that will remain attached to the strap when the outside layer lowers for feeding. On our original bra, the seam on the inside layer was smack-dab in the centre of the strap.
I thought that was too much bulk, so I off-set the seam to the neckline. Wrong move, Beverly. Who wants a seamline in the neckline of the bra? No one. So I changed the inside layer to one piece instead of two, so it can be cut in one piece. They wouldn’t do it this way in RTW because it would use too much fabric. But for us, it’s OK. Notice the piece touches those half way points
How to Draft the Outer Layer
Now that we’ve drawn our inside layer, let’s do the outer layer. This is the part that drops down. The neckline edge and the side edge drop down a little from the inside layer. I dropped my side down past the horizontal seam by about 1″ (25 mm). In retrospect, I wish I had paid more attention to the original. It clearly does not drop post the horizontal seamline. Lesson learned.
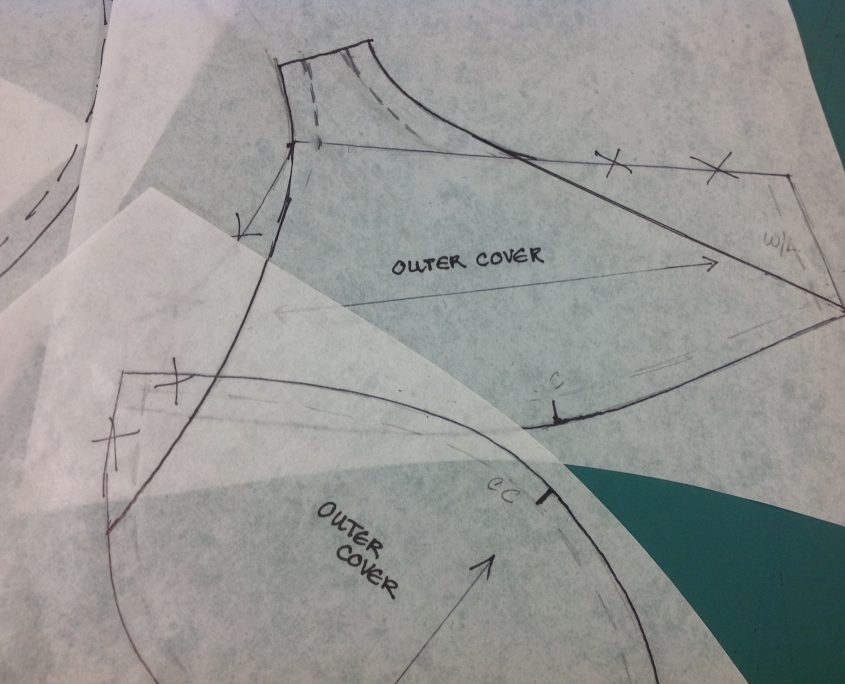
The front I did the same way, and again I wish I had only taken the outer cup to the horizontal seamline. In other words, I could have should have used only the upper cup to draft the outside layer. Check out the original bra above – the outer layer clearly ends at the horizontal seam so that all of the lower cup can act as a support sling. OK, so when you make one, don’t do what I did. These are my outer layer pattern pieces.
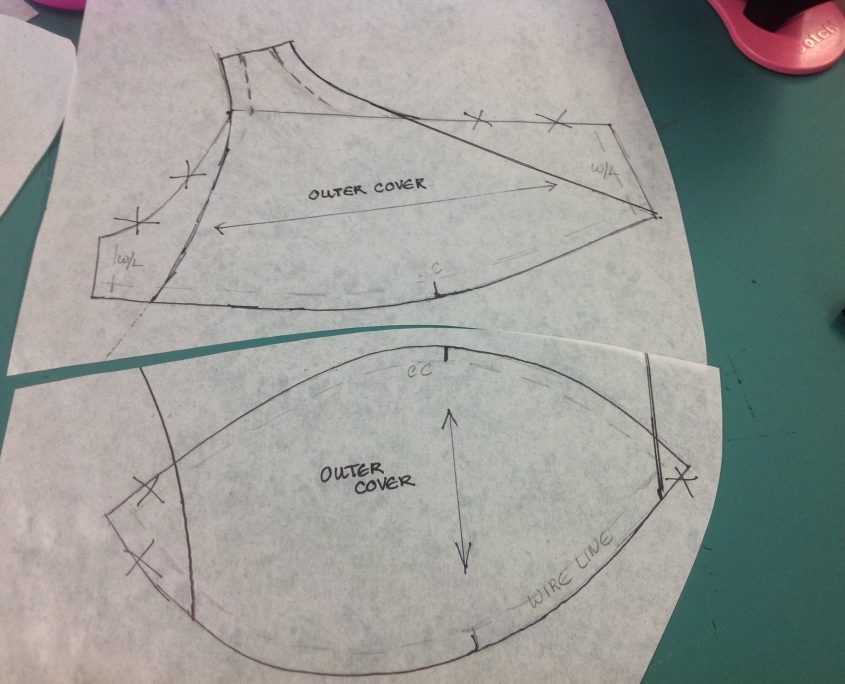
One thing to make sure of is when the inner and outer cup pieces are laid over one another, that the two cups have a generous overlap area. Thus, when the bra is on, the overlap will keep the breast inside the cup and not peeping out through a too-skimpy overlap.
Now that I have shown you how to draft a vintage nursing bra style, are you curious to see how it all sews up? For that, you’ll have to read my post next Sunday morning!
Your Fairy Bra Mother
Beverly



Nice Information! Thanks for sharing with us. I definitely try this style.
I definitely want to try this style. This way I can use my existing pattern, and just make modifications to the upper cup, as I prefer a multi piece lower cup. Also, I think the sturdier under layer will be better than the small sling on other patterns, especially if you are like me and wear a large size.
I agree Janet! The other thing I would do differently with this bra is to make a complete collar around the wire line, rather than the sling as shown here. It would still look the same, but would be easier to sew into the frame. I do agree about the multi-piece bottom cup too!
I’d love to try this!! <3