Our underwear pattern Cheryl has proven to be a very popular pattern for us. That back seam provides great shaping over the derriere and the alternate versions of the patterns provide lace details that any lace-lover can appreciate.
But what if…you really wanted a fabric front with an all lace back? Can you “hack” the Cheryl pattern to make such a creation? The answer is YES you can. Here’s how to make the Cheryl into an all-lace back version.
As with any design changes, this one starts with the pattern that already fits. In this case, we used the Cheryl view 4 that uses the fold-over elastic binding for the leg and waist finish. Split the front from the back at the side seam. Draw a line at the narrowest point of the leg curve. That line should connect to the top waistline edge at a 90-degree angle.
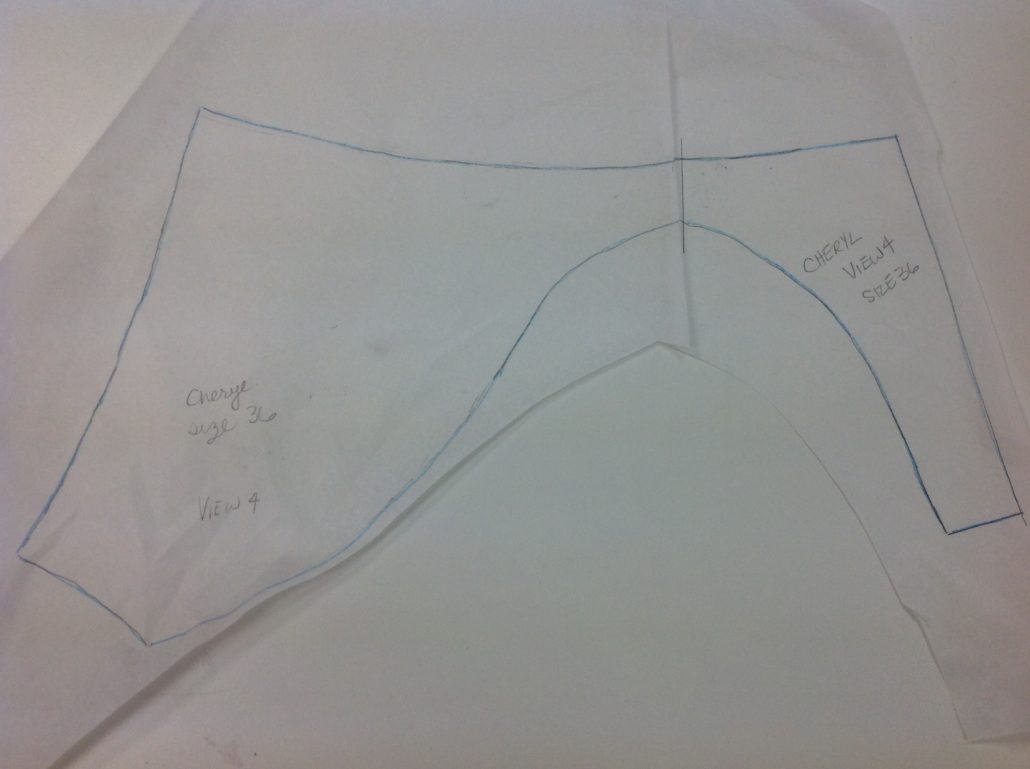
Cut the pattern, then add 1/4″ (6 mm) seam allowance to each side of the split edge.

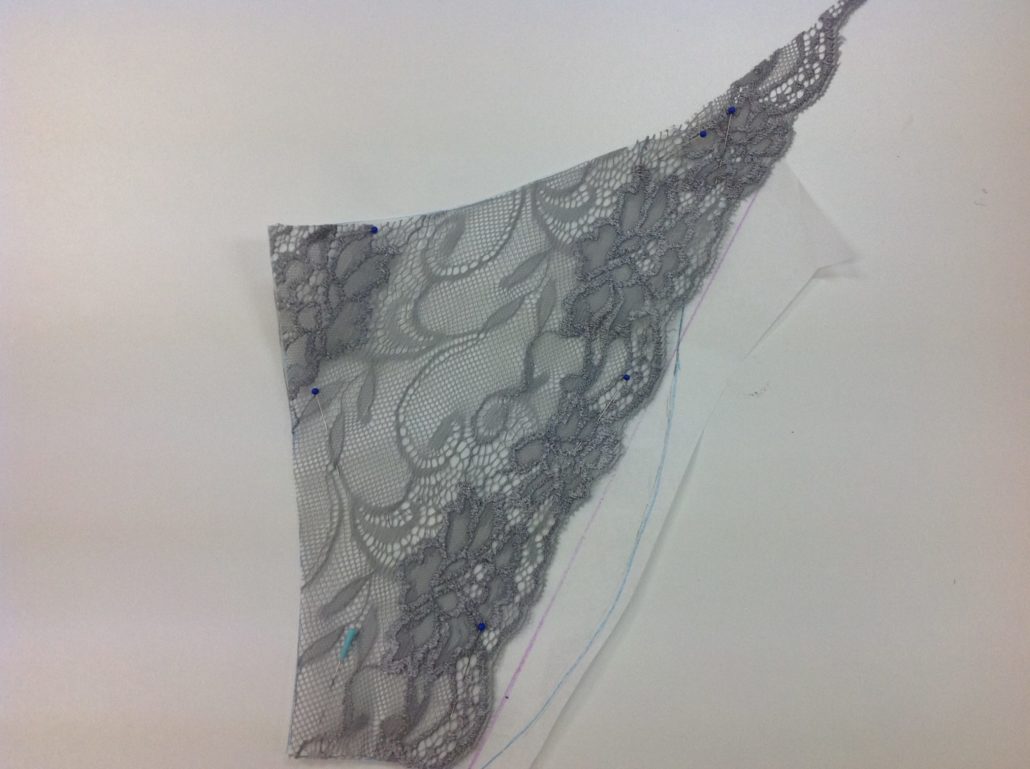
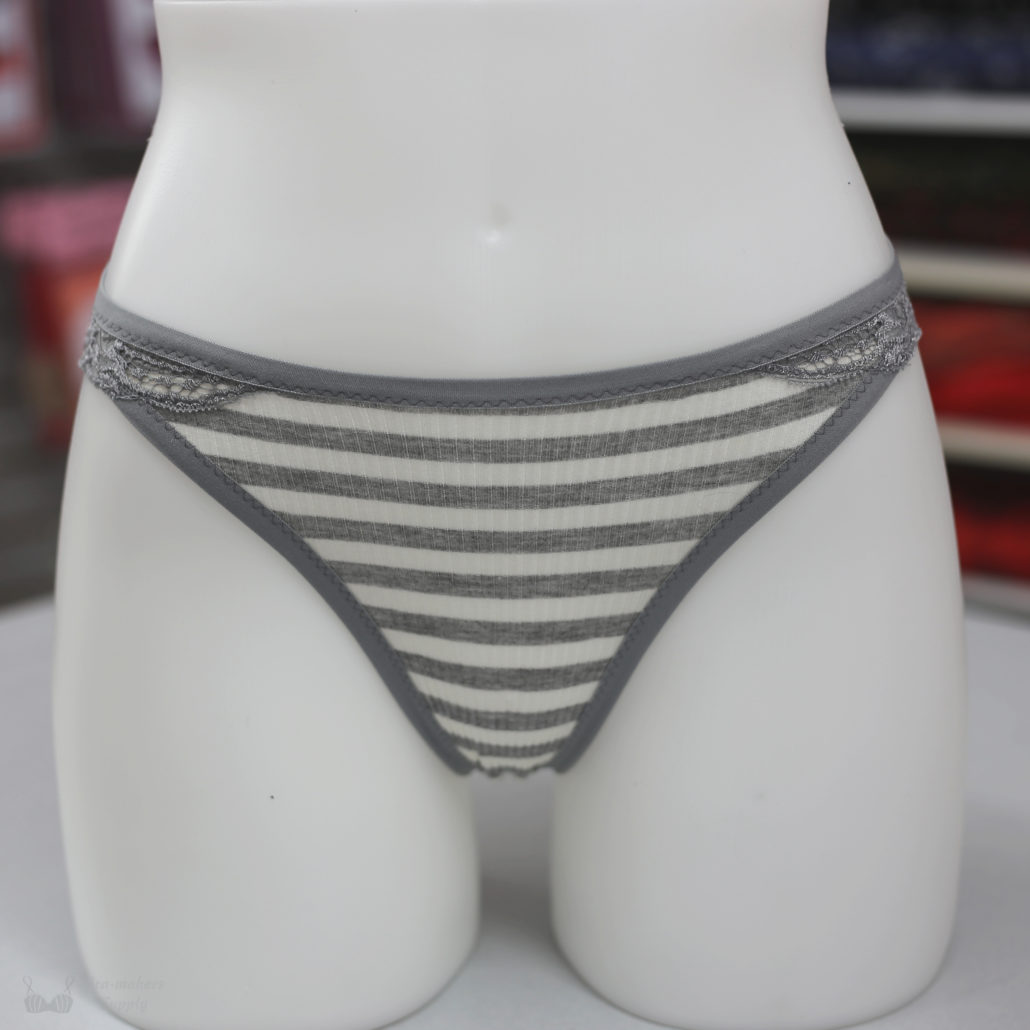
Draw a straight line from the bottom of the side seam on the back piece to the top of the gusset seam. Lay the lace along this line. Notice that quite a bit of the bum curve is not cut off. Yes, that’s right – an all lace back that uses the edge for the leg curve is always going to be a cheeky cut. Notice too that we cut a second small piece of the lace so it will extend to the front. This will be sewn into the side seam.
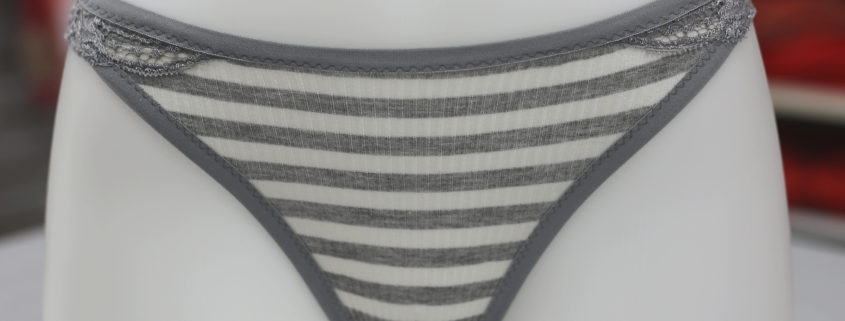
Next prepare the front and gusset piece by sewing a cotton lining to the gusset and seaming that to the front piece. The apply your fold-over elastic binding to the edges.
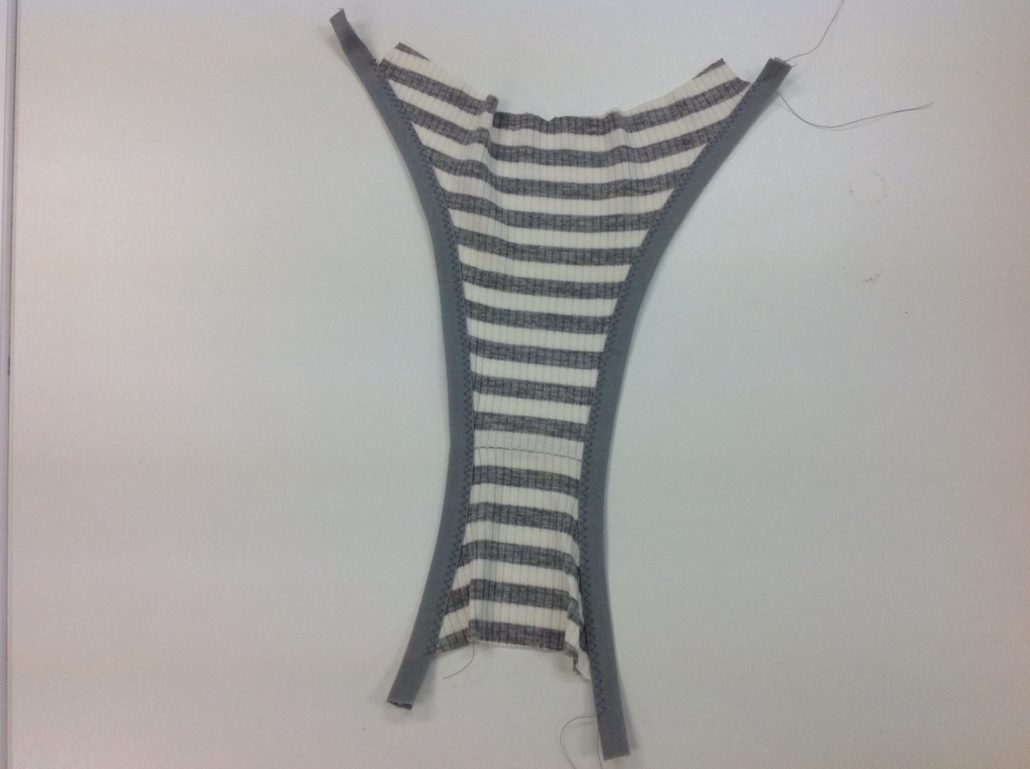
When you sew the front to the back at the side seams, you will have 3 layers – the back, the front and the small triangle of lace. That small triangle of lace will overlap the fold-over elastic binding on the front.
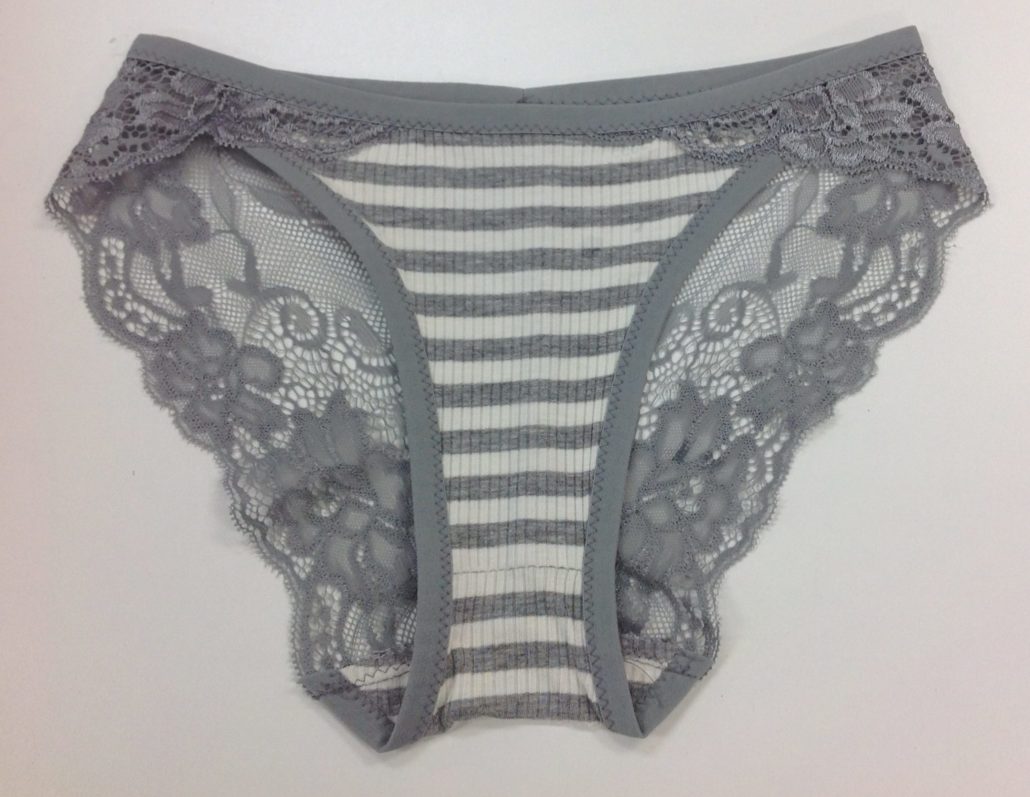
Finish the waistband with fold-over elastic and you are good to go!
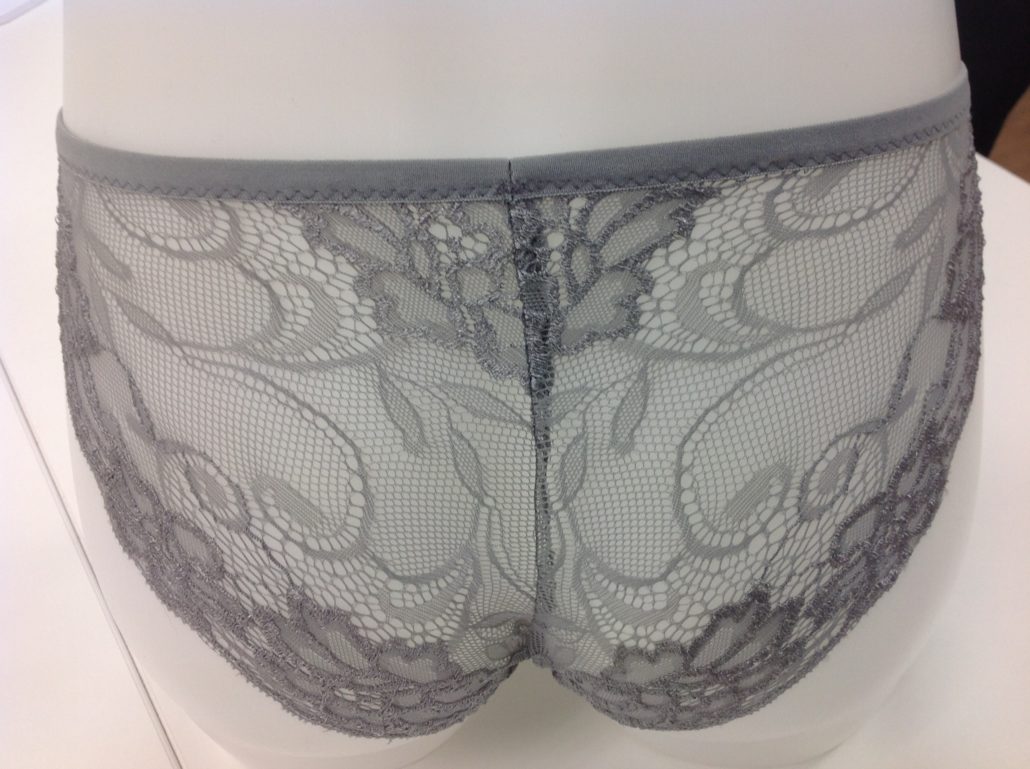
Here is the finished Cheryl hack!







Trackbacks & Pingbacks
[…] The Fairy Bra Mother has a tutorial on hacking the Cheryl Panties for a lace back. […]
Leave a Reply
Want to join the discussion?Feel free to contribute!