Continuous Bias Strips
This is not a technique that is strictly bra-related however every now and then you might have a use for making miles of continuous bias strips (think decorative bias trim on corsets, perhaps or in home dec such as upholstery, slipcovers, valances or cushions) You “could” cut the strips then sew them together one by one, but why would you? I have a method where you can sew one seam, then cut all the strips in one glorious, continuous length. Curious? let’s get started!
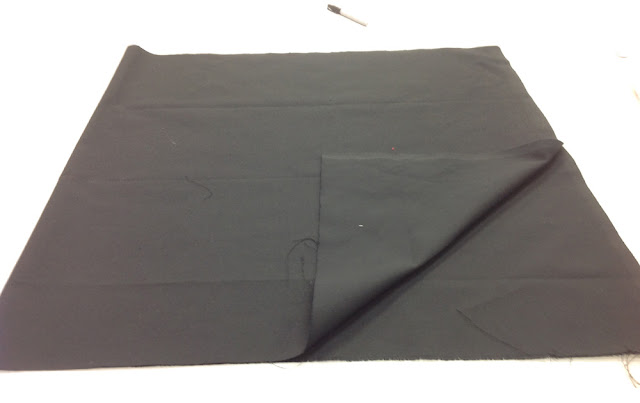
Start with a piece of fabric for the strips half as long as it is wide. So here the fabric is 54″ (137 cm) wide (normal width for home dec fabrics) so this piece is 27″ (70 cm) long. Fold it in half with right sides together so it becomes a square as shown.
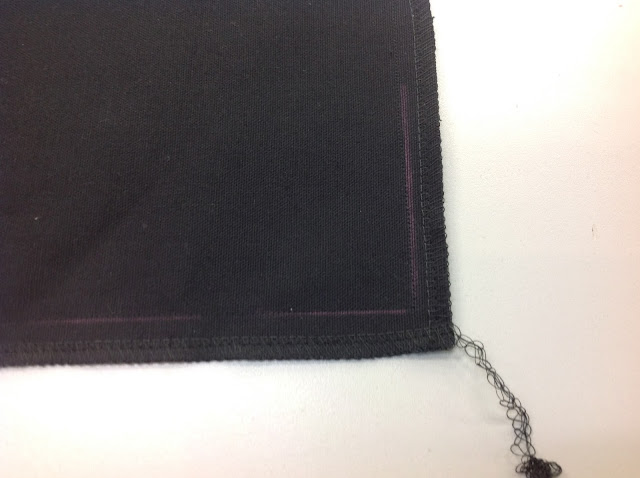
Mark if you need to, but sew and serge (or zig-zag) the three open edges. I have these marked with chalk but that is because it is hard to see on black. Blame my friend Judy! (She needs this bias strip for piping she is using for a hall bench cushion.)
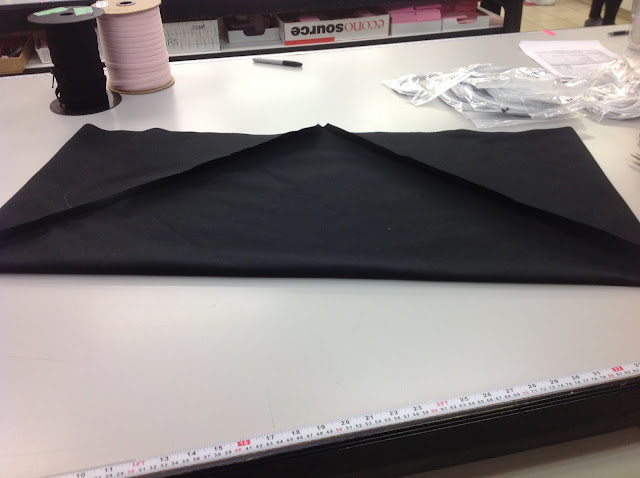
Now cut off the 4 corners at an angle. Don’t be shy about cutting corners, you need to be able to get a scissor blade in the hole.
Now mark across from one corner hole to the corner hole opposite. I mark this line in chalk
Cut through ONE layer only! Disaster will befall those who cut through both layers.
Disaster averted! Once the top layer is cut, grab each side of the cut line and pull away from you until the whole thing forms a giant tote bag.
That’s the hard part of making continuous bias strips! Everyone gets to the cutting one layer step, then they freeze and don’t go any further! As long as your bag looks something like this, you are on the right track! There is one open long side, and two sides and the bottom on a fold.
Now cut through the bottom fold (the long one opposite the open top) Judy is pointing at the one you cut
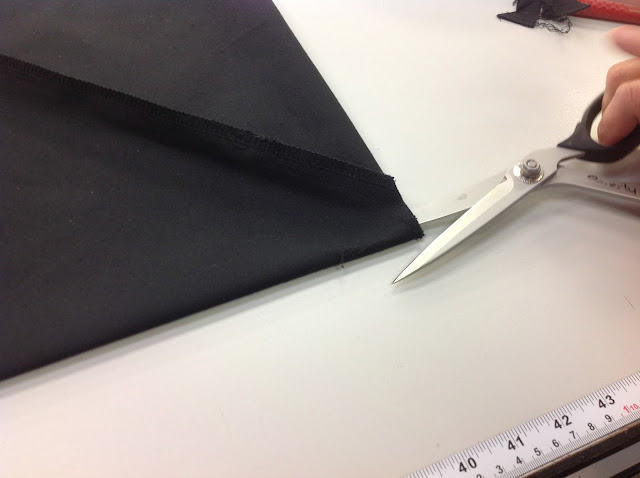
Just stick the scissor blade into the hole at the corner and cut!
Done! Your fabric should resemble a giant tube open at top and bottom
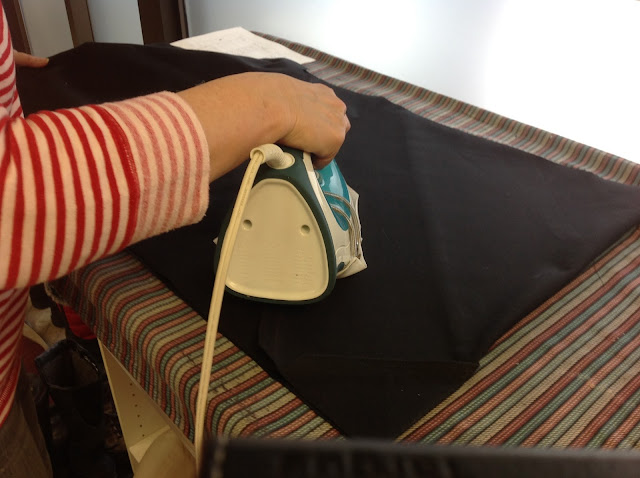
Now’s the time to press the 3 seams in the same direction – this will make sewing piping much easier!
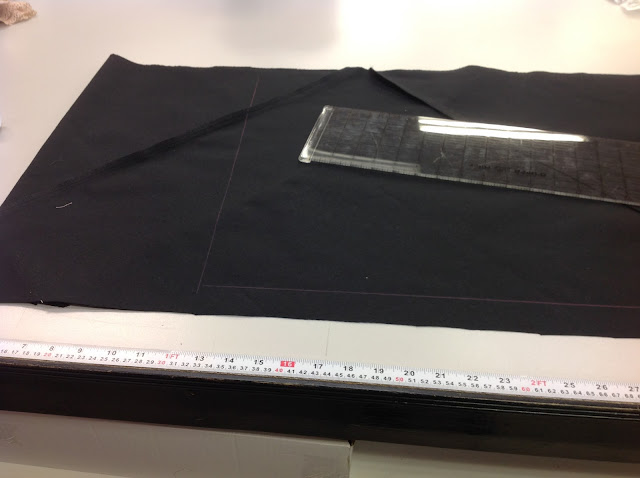
Now mark one end down from the fold (doesn’t matter which one) about 8-10″ (20-25 cm) and draw a line across from top to bottom (cut end to cut end)
On the bottom edge, it is pretty ragged looking. Lets cut off that bottom ragged edge and make a nice straight line perpendicular to the folds on the ends. No need to do the top edge.
Determine how wide you want your strips. You can wrap the cloth around the piping cord and mark the width you need, allowing one half inch for the seam allowances. In this case, the mark measured to 2″ 95 cm)
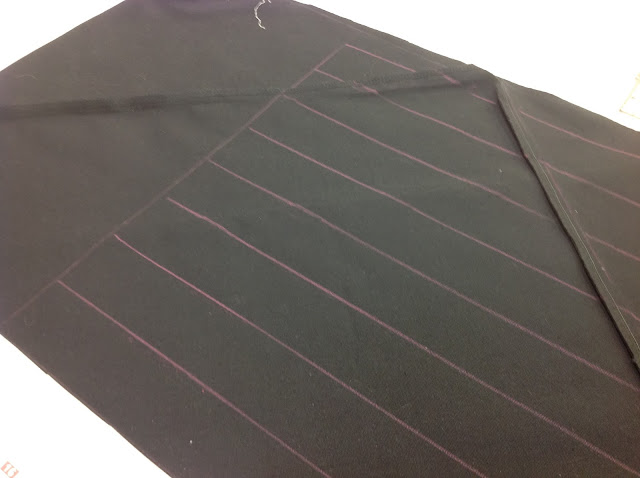
Now we draw lines 2″ (5 cm) apart from the line you drew across the short side all the way to the other folded end
.
Now cut along the lines to (but not past) the line across the short direction. You are cutting through both layers. Judy is indicating the no-trespass line.
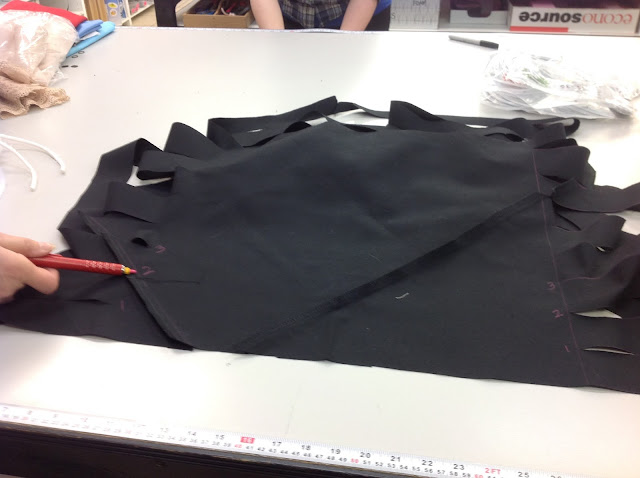
This is called the Octopus! Attached at the top end but cut through the bottom. If you cut all the way through the no-trespass line, your octopus will become calamari rings!
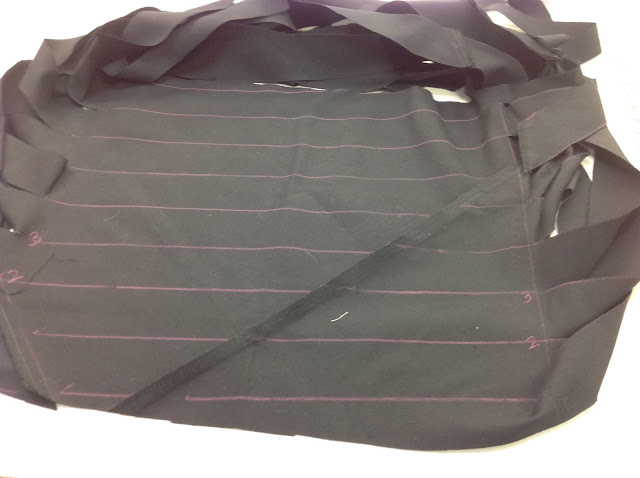
Lay the octopus back on the table and flatten the area out that was not cut. For the first time you do this, mark each cut 1,2,3 etc. on both sides starting with 1 at the first cut. Once you have done this, you won’t ever need to mark the numbers again.
Chalk a line from cut 1 to cut 2, cut 2 to cut 3 etc, off-setting each line to the next higher number. You can taper the first cut to nothing, keeping the width of the strip at 2″ (5 cm) as long as you can.
Cut all the lines, making sure you don’t cut through any layers of fabric that might wander into the path of the blades.
At each end of the long bias strip, there will be the tapered ends that were the beginning and end of the offset cuts. Cut off the tapered bits
Now you can measure how much continuous bias stripping you were able to make with 27″ of fabric. Judy was astonished to discover we made 16.8 yards (15.5 metres) of stripping 2″ (5 cm) wide!
So the next time you continuous bias strips for binding, think about this easy method. In fact, you can use a scrap of fabric and try this out at home. All you need is fabric half as long as it is wide!















Ooh, I’m going to try this today! Thank you so much for this detailed tutorial. This beats that other bias strip method! The last impediment to sewing a luxurious piped shawl collar robe has been removed! 🙂
Thank you! This looks much easier than the tricky parallelogram method I have used previously to cut bias strips.
I love that you are posting a lot more, Beverly! You are a wealth of knowledge, and we appreciate the extra work you do to share this! Thanks!
Yes, me too! your blog posts are SO valuable!!
I hope you do. Thanks for reading!
I learned this method a loooong time ago and that's the only way I did bias strips. Seems pointless to me to cut and join individual cut strips.
Cool! I'll try thiss
Oh how cool! Thanks so much for sharing!