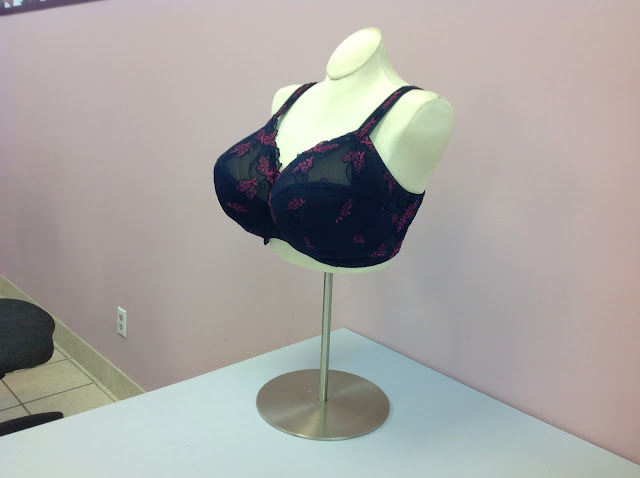
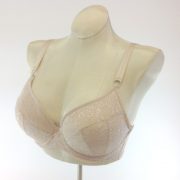
Recently a student brought me an interesting challenge. She purchased a ready-to-wear bra and wanted one just like it, but not necessarily the same fabrics. I call this… wanting something the same, only different! Her bra was a European sized at 34K and it certainly did fit her nicely. But could cloning Ulla in a 34K size work as well as it does for the smaller sizes, like D or DD? The bra has a horizontal seam with a split lower cup. So many of the larger cup sizes benefit by a horizontal seam – you can add so much shaping. On the upper cup, there is an internal power bar running from the strap to the seamline. This protects the lace on the upper cup from tearing under the tension on the strap and it also helps to direct the breast forward.
I decided to use my go-to method of cloning, instead of the one I talked about in this post. I have done cloning with pins for many, many years, and I still like it. As a creature of habit, I went with this method. The key to this method is the 1/2″ thick foam core board, but you also need sturdy pins (with a head on them), paper, ruler, pencil, curve etc. – round up your usual drafting stuff and get ready.
… then un-pin from the front and let the second half swing around. You have to remove enough pins to allow the cup to swing, but leave enough intact to make sure the shape is accurate. it’s a tricky little devil!
The dark area you see above is an internal power bar that goes behind the lace from the strap to the seamline. No need to clone this piece separately, you can draft it from the upper cup piece afterwards.
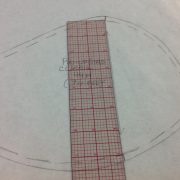
The next step in the process of cloning Ulla is to clean up the lines once all the pieces are “pinned and penciled”. Lines that are meant to be straight, such as side seam and lace edges, I use a ruler. Otherwise, I use my curve or free-hand if the curve is very shallow. The trick is not to actually connect each dot but to combine art with engineering (I love that!) and to hit as many holes as possible along the path. (that’s a bit like golfing, I think!)
If two seamlines aren’t the same length, and it happens, you have two choices. If they are off by 1/8″ or a few millimeters, I use my best judgement when they are together to see which is likely to be correct. if they are off by a lot (more than 1/4″ or 6 mm. I will pin the pieces out again. It only takes a few minutes and the results are well worth the effort.
I also walk the wire line seam around to make sure it fits and make notches where the seam of the cup hit the frame as shown above. All that’s left is to add the seam allowances and make up a test bra! Just be sure to use fabrics that are similar in stretch to the original. That’s the only way to see if cloning Ulla worked out well. But that’s for the next post!






Greetіngs, I Ƅelieve your web site could be having browser compatibility issues.
When I look at your website in Safari, it looks fine hoᴡever when opening in IE,
it hаs some overlapрing issues. I just wanted to give you a quick hеads up!
Other than that, great sіte!
Thanks for letting us know…sadly we have always had problems with this new website in one way or another…we are looking to switch to a different platform!
Very cool! Thanks for this post. I'd like to give this a try sometime.
Oh yes, I forgot that important bit of information. You do need to remove the underwire before you can clone the bra accurately! I have now edited the original post! Thanks!
Hey Bev, thanks for posting the method to the madness. I'm assuming that in order to copy the cup you remove the underwire, is that right??
Thanks again! 🙂
Monserratt
You are very welcome! Cloning as a way of developing a pattern has been very instructional to me over the years, as I've been able to tell a lot about a company's sizing and their grade rules by pinning out one or two of their bras.
Aww…thanks Starr!
Wow! This is a really helpful post. Thank you so much.
Hmm…I'm too lazy to do that, again. We did that once on a course I took in Winnipeg, Plus, I've never had a RTW bra that fit me properly, so I'm much happier with your patterns!