Boob Camp June 2016
You always know when Boob Camp June 2016 is over because you know our Digital Fashion Show is about to start! A glorious line-up of what our students have made over their 5 days with us at Bra-makers Supply, in the heart of the Hamilton fabric district.
Usually we start off the week with two days of the beginner bra class, however all the students had already made a bra so they could jump right in where they left off. Two of the students needed to be re-fitted (ain’t weight gain a B***h!) but once we got that over with, they were set to go.
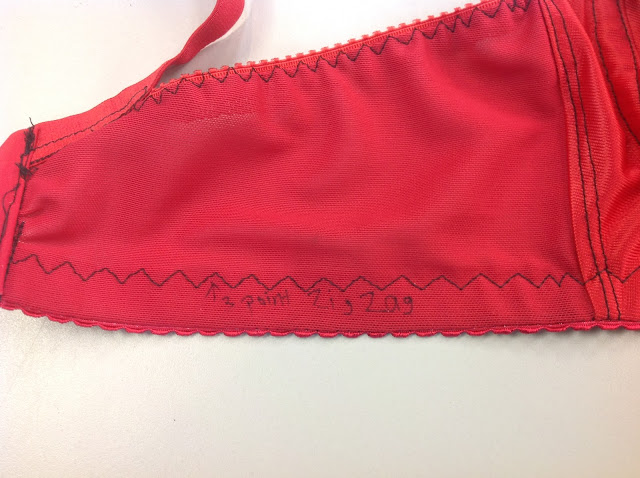
Our first red bra is a Franken-bra. That’s my term for the bra that they make for learning purposes. This one was no exception. The stitches on the band elastic popped (she should have known I was going to pull it to test it!)
On the other side she wrote down the settings she needed to use on her machine.
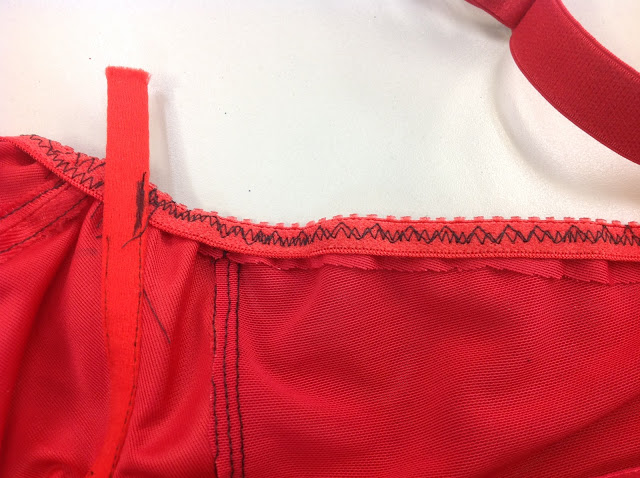
Then she had some trouble with the top band stitching…where was I when this happened?
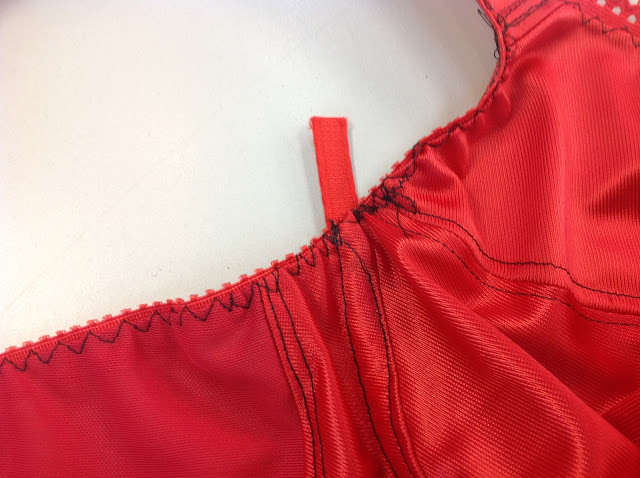
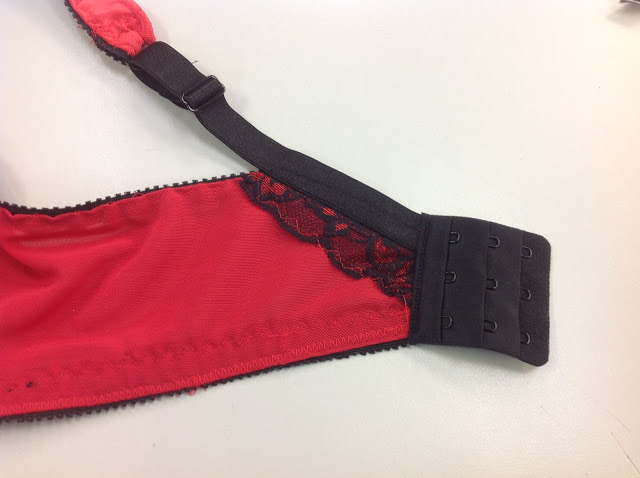
Looking at the inside, you can see that the stitching of the second pass should be at the edge furthest away from the edge of the fabric. But here it is too close to the edge and it is causing the elastic to wave. Don’t do that!
This student went on this week to do some wonderful things, so don’t feel bad. She learned a lot from her mistakes and to be fair, it was at least 6 years since she was last here with us.
Butterflies and Front Closings
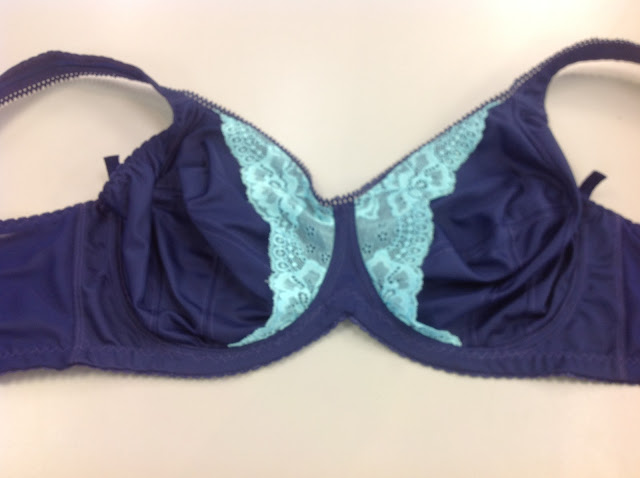
Usually, the students will do a butterfly bra in the Beginner Bra class, however for some reason, this student chose to do another – this one on navy blue fabric. You can see the wire casing hasn’t been closed off yet, but I wanted pictures!
Here’s the Classic Bra converted to a Shelley style, and the full band converted to a partial. We like to convert a bra from the pattern that’s been fitted rather than make the students buy a different pattern. It saves them money and they don’t have to do all the fitting over again. So this student did two amazing conversions – Classic to Shelley and Full Band to Partial Band.
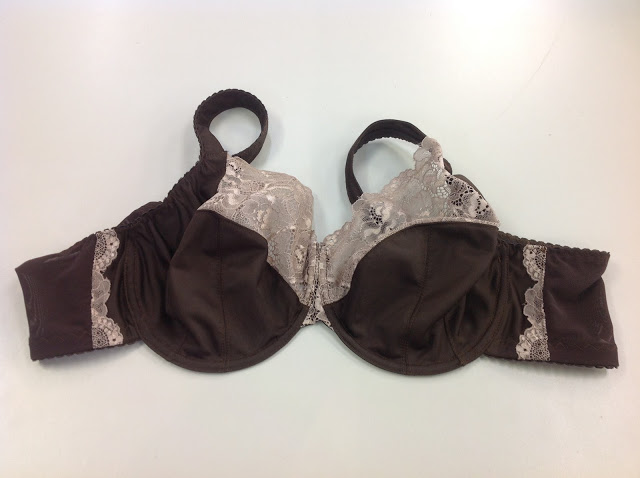
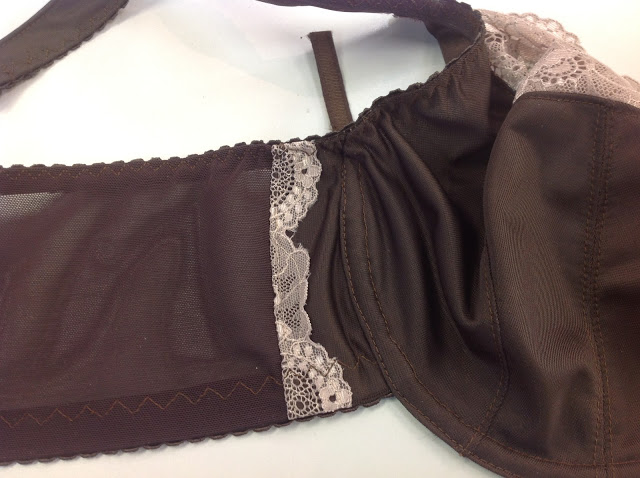
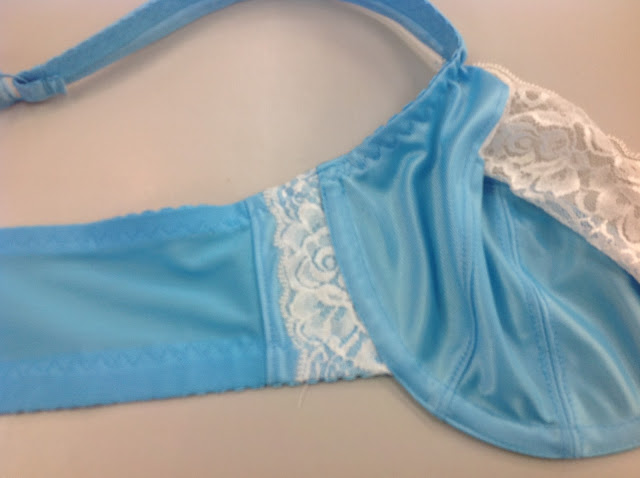
Look at this lovely lace detail on the side seam. Our Boob Camp Instructor, Denise always shows the students where they can sneak in a bit of lace!
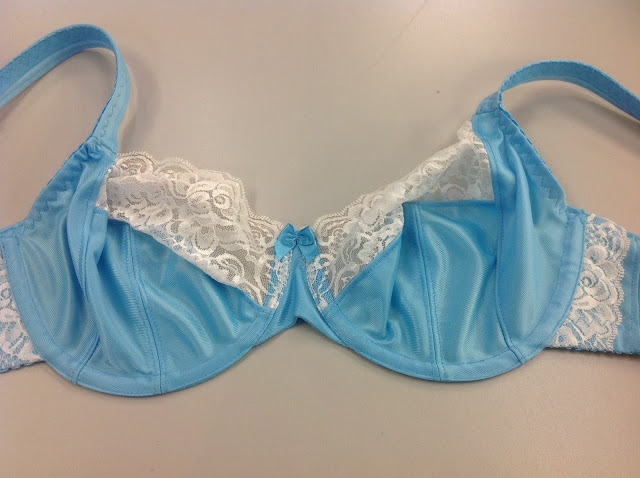
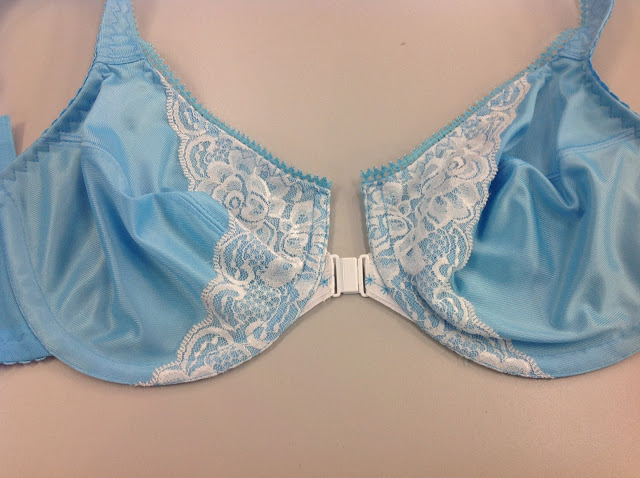
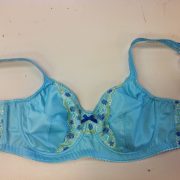
Sometimes it seems all the students see what the others are doing and they want to do it to. Yes, someone made another partial band bra. We see a lot of the turquoise
Duoplex in the classes!
Here’s more lace trim tucked into the side seam
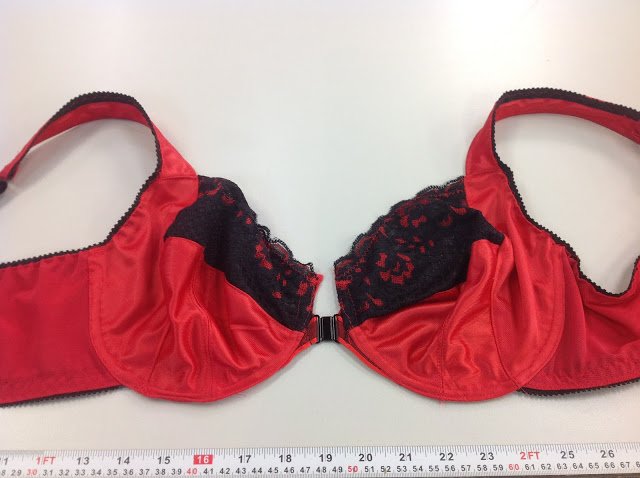
It must have been the week for red bras, for here is another one, but this one is a partial band bra with a front closing. it’s a bit tricky to get a front closing clip into such a narrow area, but with the help of the magnetic closures, we managed it!
The only problem with a magnetic front closure as the student explained, was it tended to stick to her sewing machine bed, her seam ripper, pins, and any other metal around! Those are powerful magnetic closures!
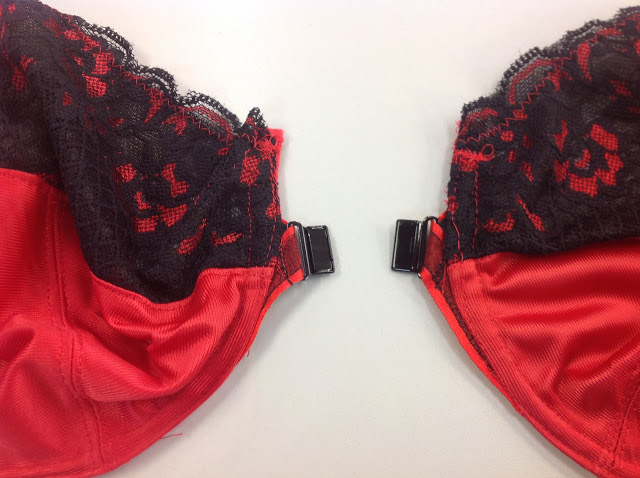
She had me do a double take when she said she had a pacemaker (magnets and pacemakers are definitely a no-no!!) however then she laughed and said “kidding!” All right for her but she almost gave me a heart attack!
Once again, Denise’s’ special addition of lace at the back strap area uses up those tiny bits you really can’t use anywhere else.
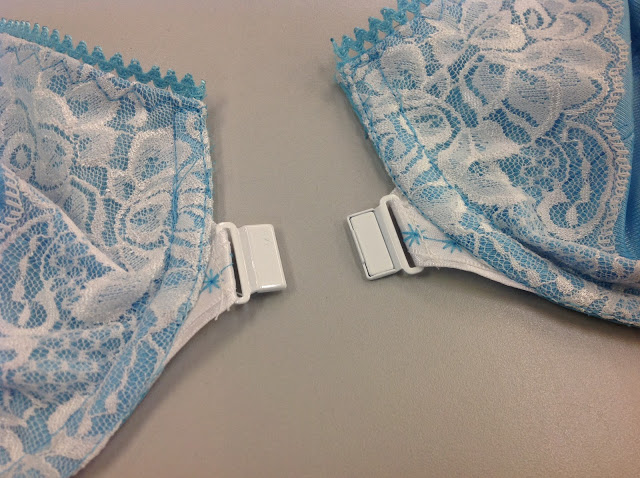
Here’s another front closing and another turquoise bra. Notice that our students chose to use the built-in stitches for embroidering on the ribbon used for the front closing. She embroidered quite a bit of it before I noticed. I didn’t have the heart to tell her she only needed a few inches!
Here’s more of that bra with the
magnetic clip. We have those clips in two sizes, 1/2″ and 3/4″ (this one is 3/4″ tall) and four finishes: white, black, gold and silver.
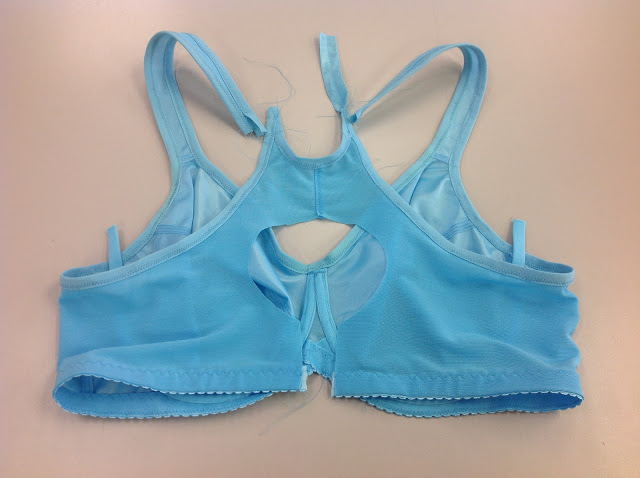
Next we had a request for the racer back (Y-back) bra. Is it any surprise that it’s turquoise? Seems to be a popular colour. Could it be that turquoise is the one colour that suits all skin tones and appeals to young and old? This bra didn’t quite get finished when I came in with the camera but it got finished soon after.
Cloning Around
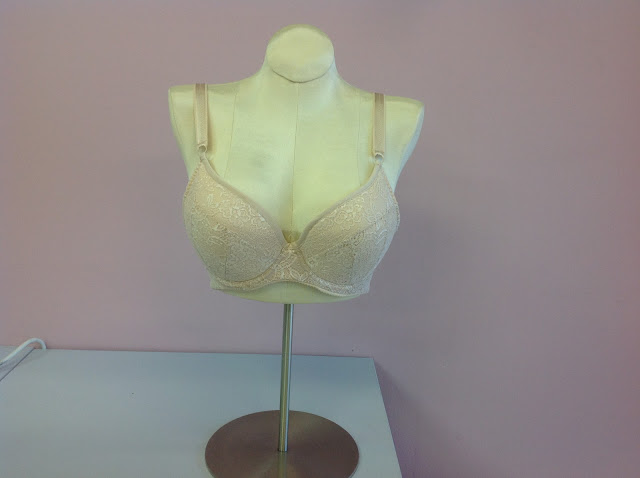
We almost always have a Boob Camp with students wanting to do cloning, that is, copying a pattern from a ready-to-wear bra that fits. Boob Camp June 2016 was no exception! One student did a cut and sew bra, cloned from a ready-to-wear bra. I am writing about this in a future post, as it is a clone of a seamless cup. So watch for that coming up in the next few weeks. But this is the result (just to tease you!)
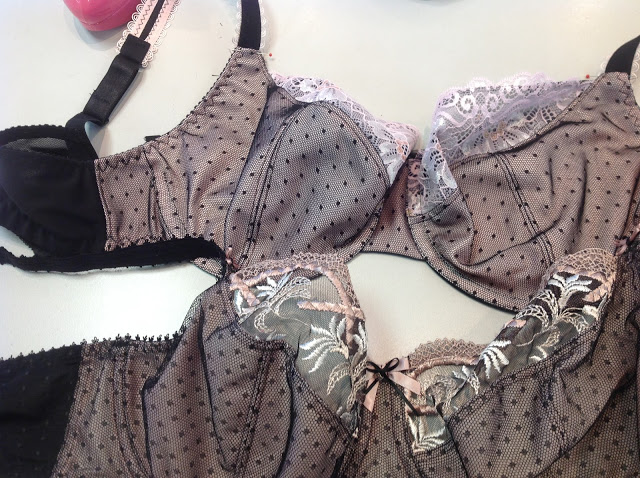
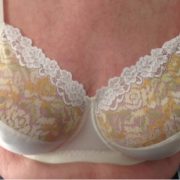
Sometimes the students will bring in a bra that they love to clone in Boob Camp. Cloning takes more time, but the results are so worth it. In this case, it took the better part of 3 days to do it the way she wanted, but here are the results. Which is the clone and which is the original?
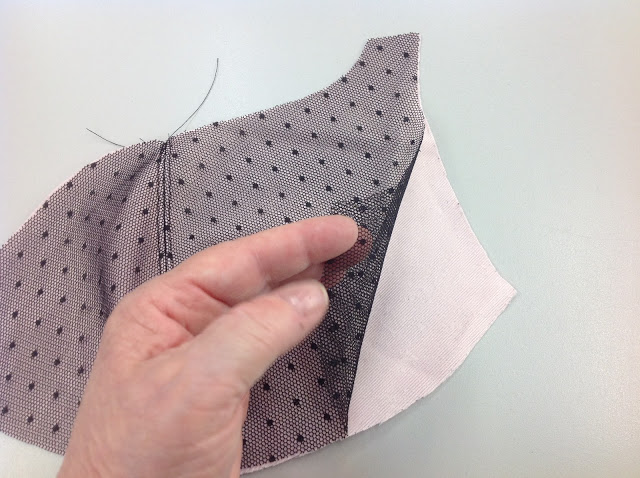
Here’s how we got that netted overlay. The netting was spray-basted with Perfect Baste spray to hold the fabrics together while we cut the pieces out.
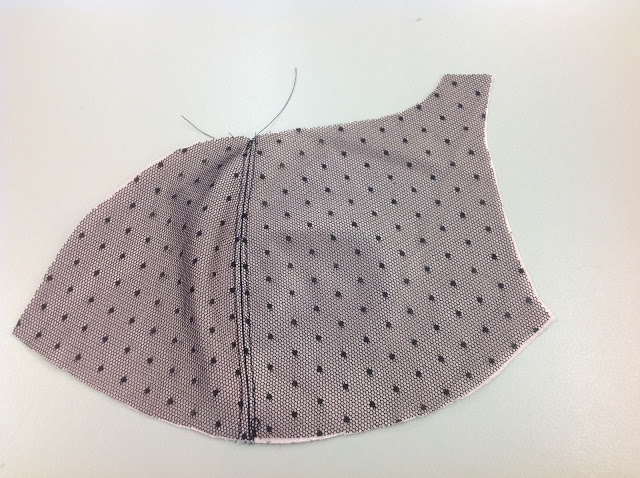
Then we sewed them as if they were all one piece. Top-stitched and the whole she-bang done all as one. it doesn’t get much easier than that!
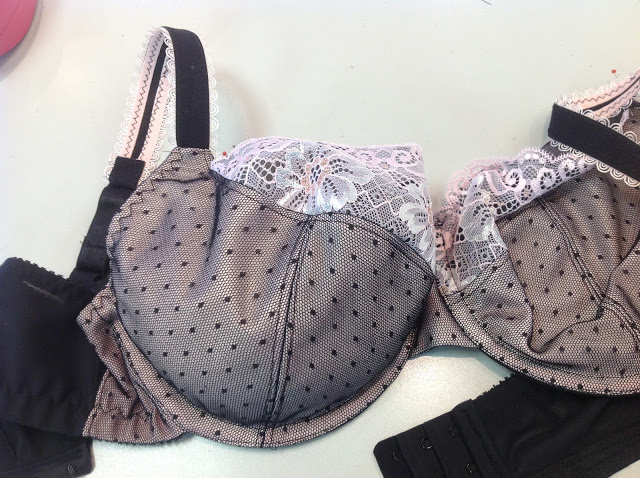
Here’s the bra all done. All that remains is the final try-on. Does it fit as good as the original?
It fits better! The original had a bit of gapping along the neckline edge. Well, we certainly knew how to take care of that little issue, don’t we?
So Boob Camp June 2016 is over, but I believe the next one is in August. So I have time to get ready to film another Craftsy class in July and perhaps enjoy the summer a little bit before it’s over! How much Bra-making have you been doing over the summer?










Beautiful bras! Great inspiration. How exciting to know that there is another Craftsy class by you, Beverly? Any hints on what it is about?
Well…let’s just say it’s Bottoms Up this time!