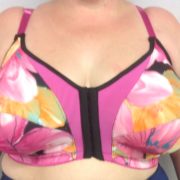
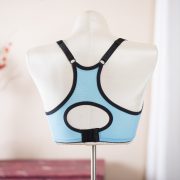
One of the things women love about our new Ingrid bra pattern is that it is so versatile. We designed it as an everyday, wireless bra for the larger sizes, but apparently it can be used for much more than that. Women have turned that pattern into a racer-backed sports bra, a bathing suit, and even fancied it up with crystal trim. But what about making Ingrid into a mastectomy bra? In October, for Breast’s Friends month, we’ll share with you how to make a pocket for Ingrid. It’s actually really easy and may bring relief to someone you know who needs a mastectomy bra.
It’s easiest to start with Ingrid sewn up part way. Use the side that needs the pocket – in this case, the pocket is for the right breast. Use a foam core board and a piece of paper over top, and pin Ingrid down so all parts of the perimeter touch the paper without stretching.
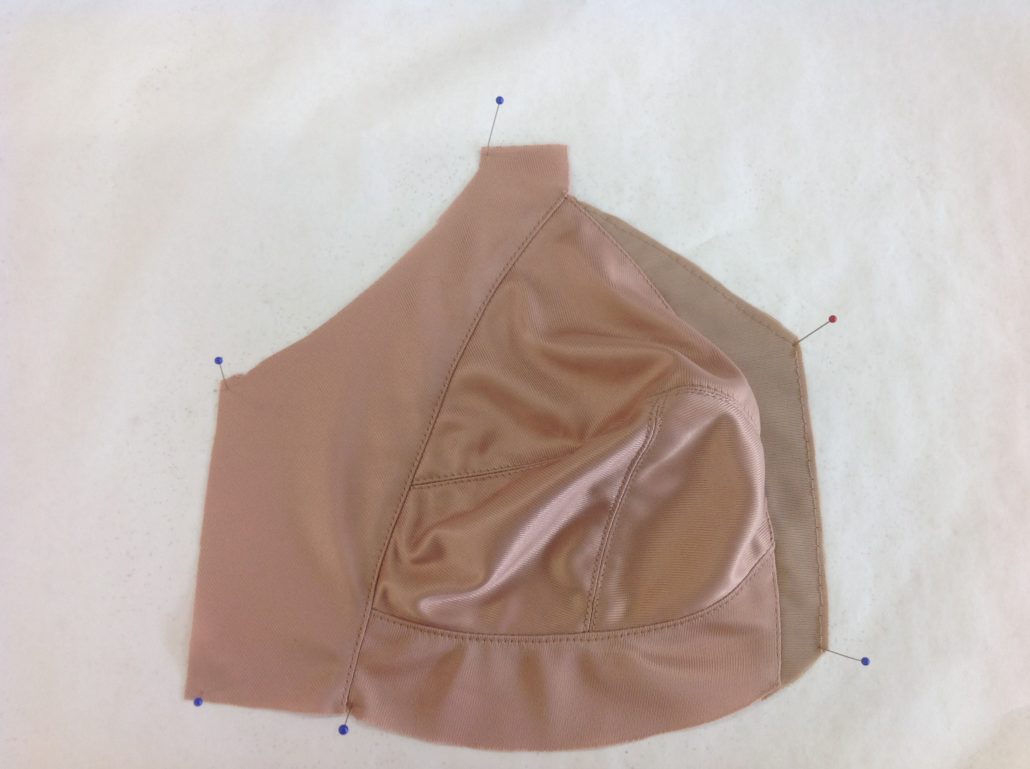
Trace the outline. We call this the footprint.
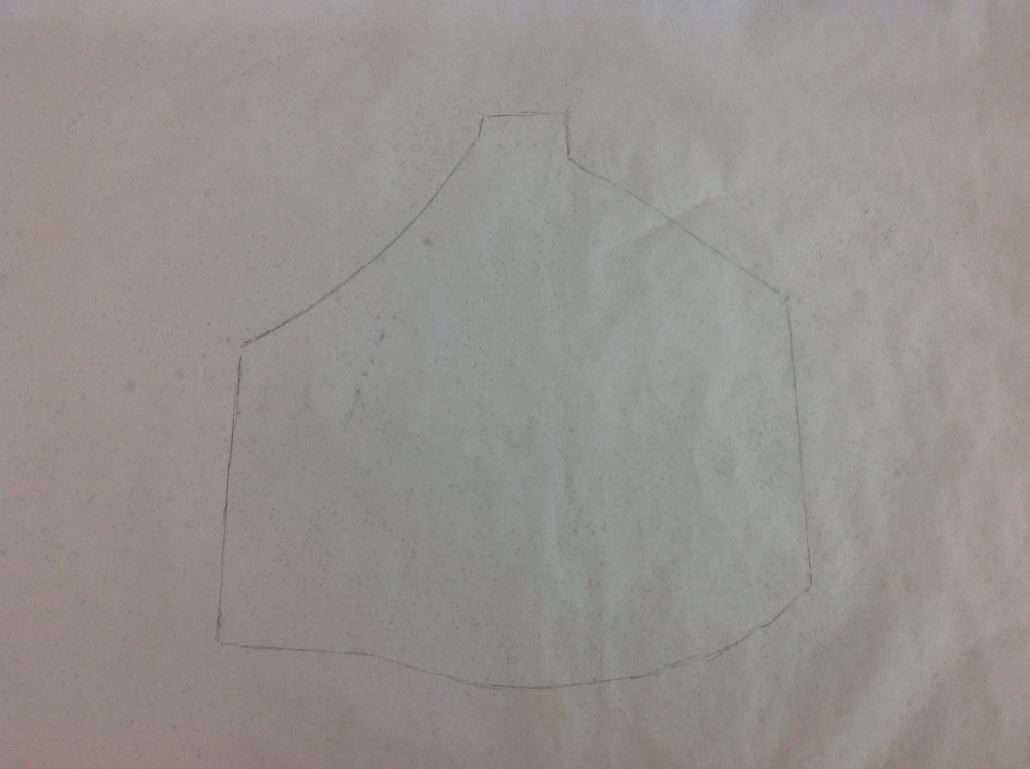
Now divide the footprint in two parts down each side of the strap – the inner (shown in red) and the outer (shown in blue). Trace off each section and you are ready to sew the bra.
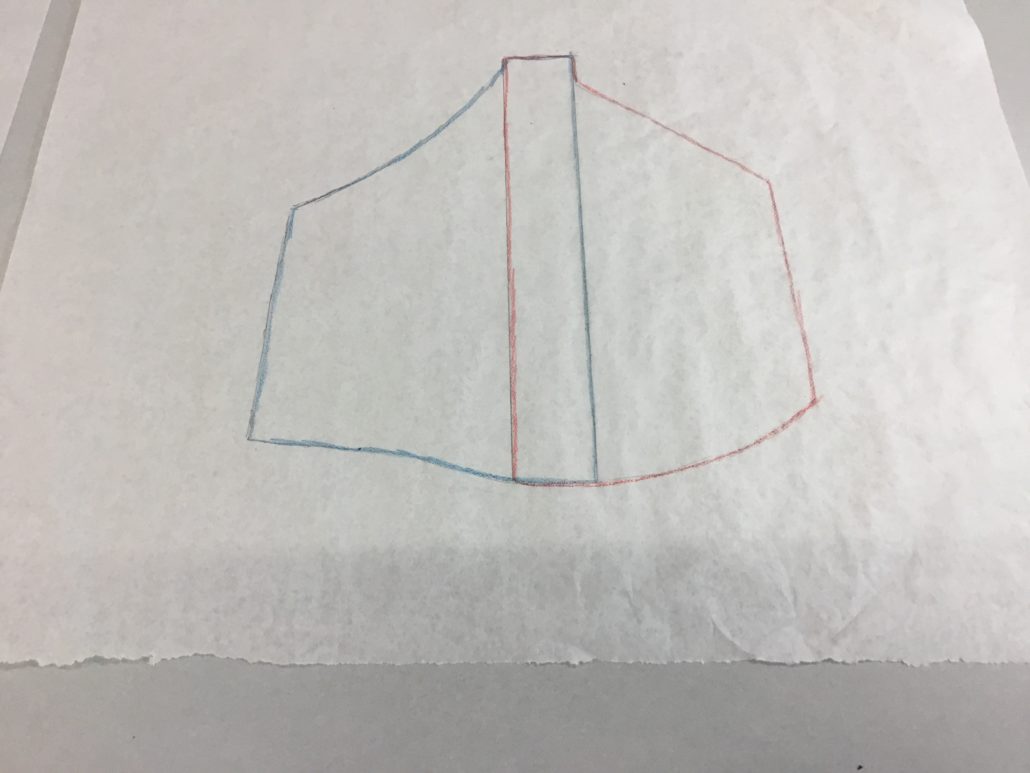
A Pocket for Ingrid
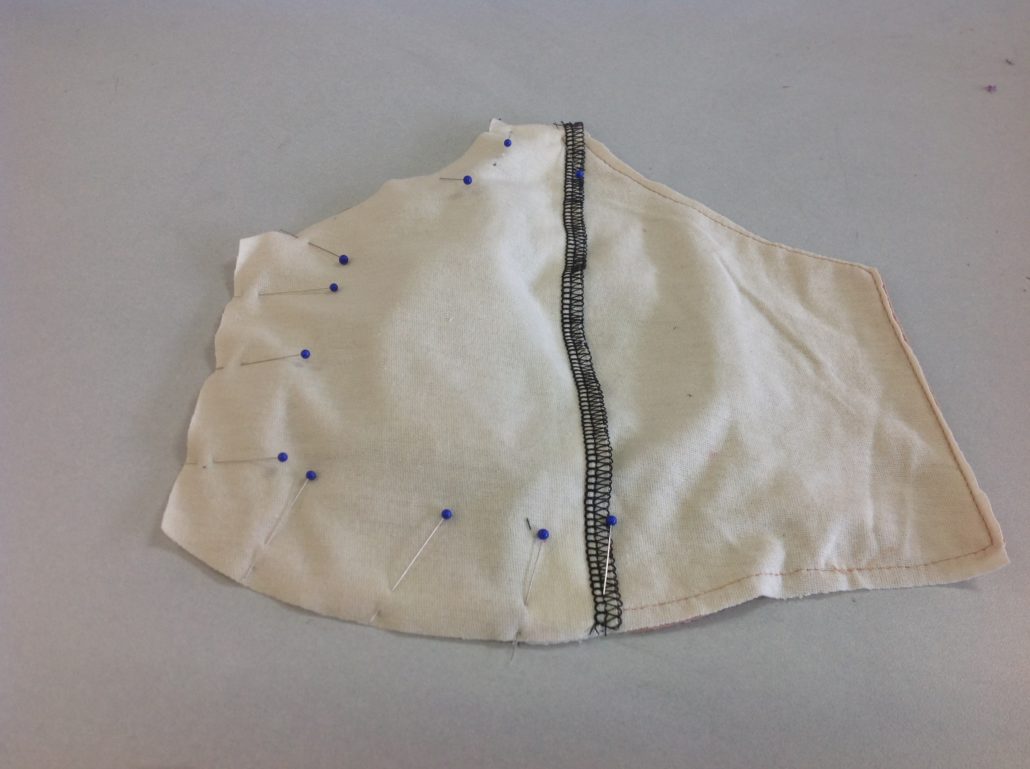
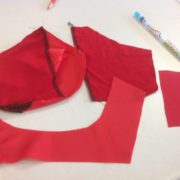
The best pocket fabric is one that is soft and stretchy. We particularly like Bamboo Rayon but Organic Cotton Jersey works well too. Soft is the magic word here – you don’t want the fabric to be a source of irritation. Serge the two straight edges.
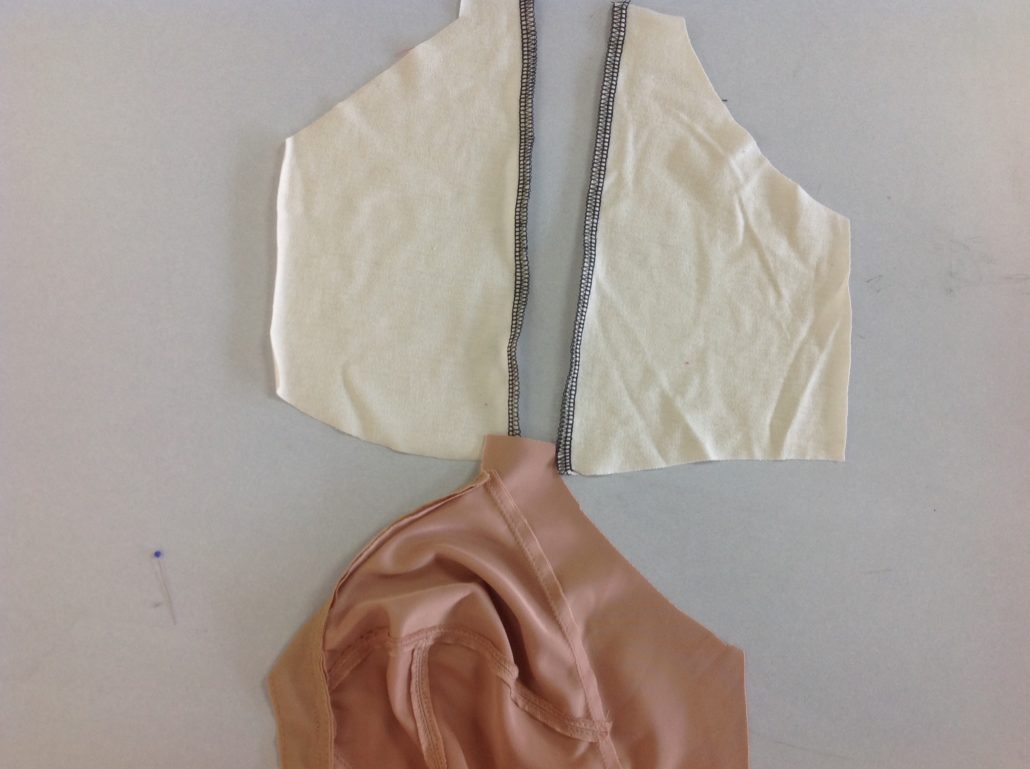
Pin and stitch the one pocket first. On a Classic or other full band bra, we do the inner cup first. However, it doesn’t matter on Ingrid.
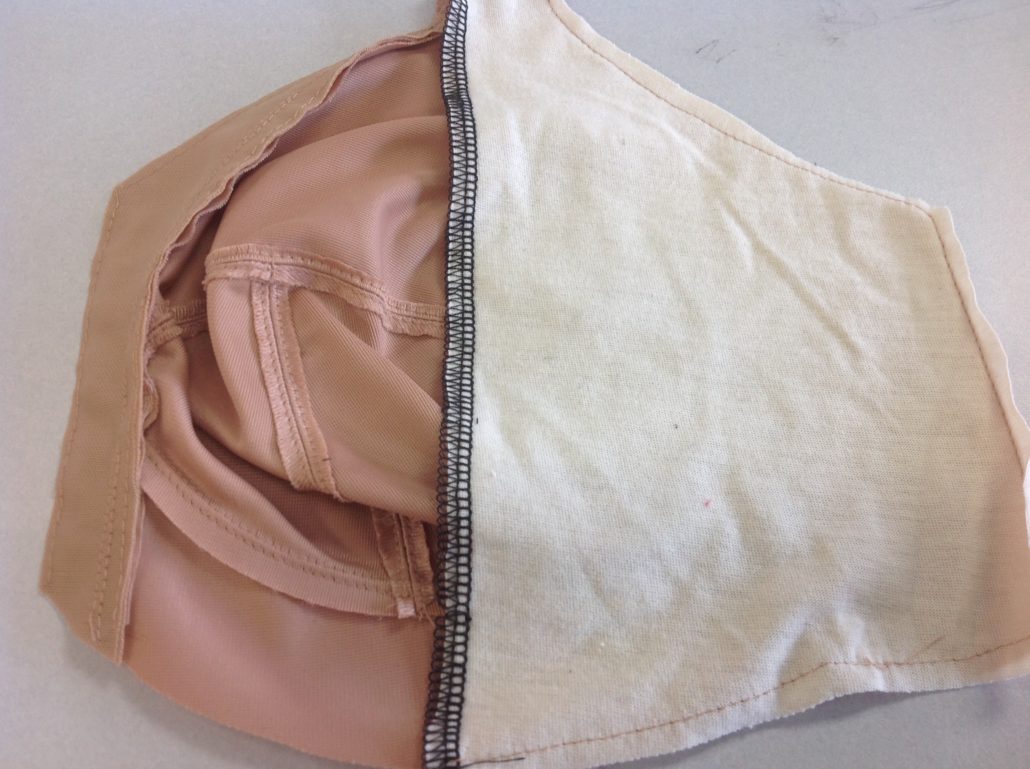
Then match the pocket edges to the neckline and centre front.
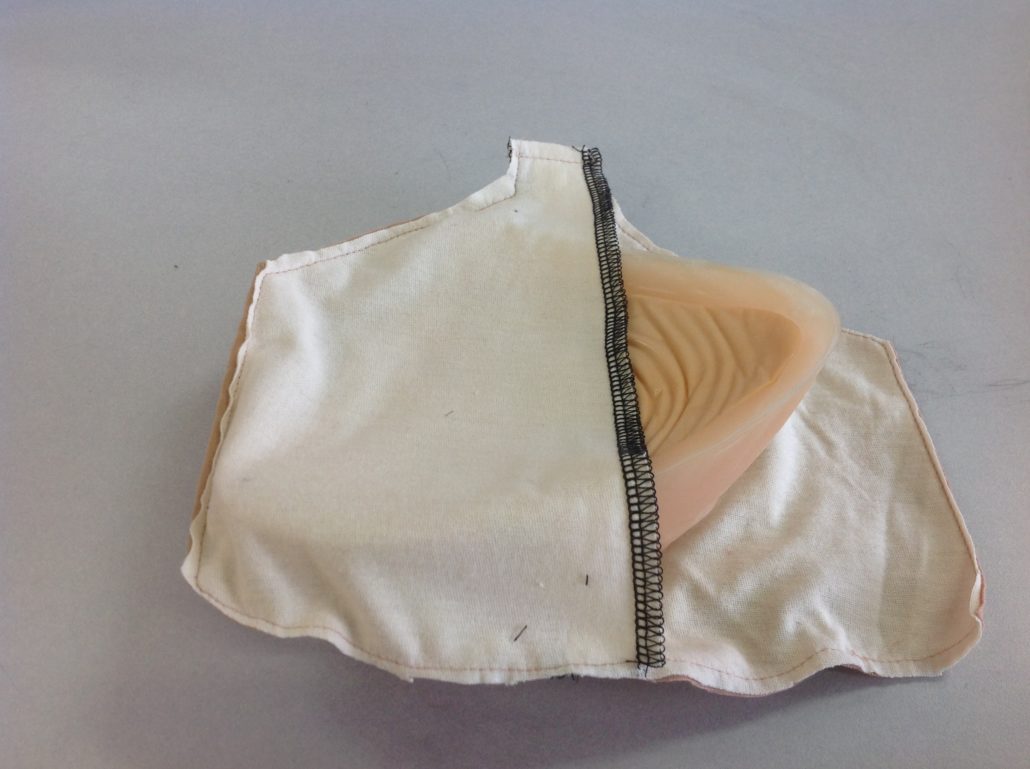
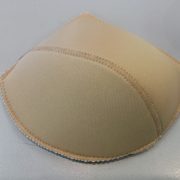
Here is the cup pocket sewn in and the silicone breast form partially inserted. Your pocket for Ingrid is complete and you can finish the bra as you normally would.





Thank you so much for this information. I nearly got it right when I made the pocket (for the right side), but its lovely to have expert advice on how to draft it correctly. Thanks again.